Dave, the stereo gods are saying the system can pull 66 amps. That’s why I decided to just go with a Lithium and small trickle charger for the stereo power source
Well I just orderd 2” of the 8inch wetsounds AS-8 self powerd subs. I’ll get Working on boosting the Rear seats up 1inch. I will try and make some Aluminum spacers To lift the rear bench seat up for clearance. Let me know if you have any Ideas or Hacks for raising the rear seat
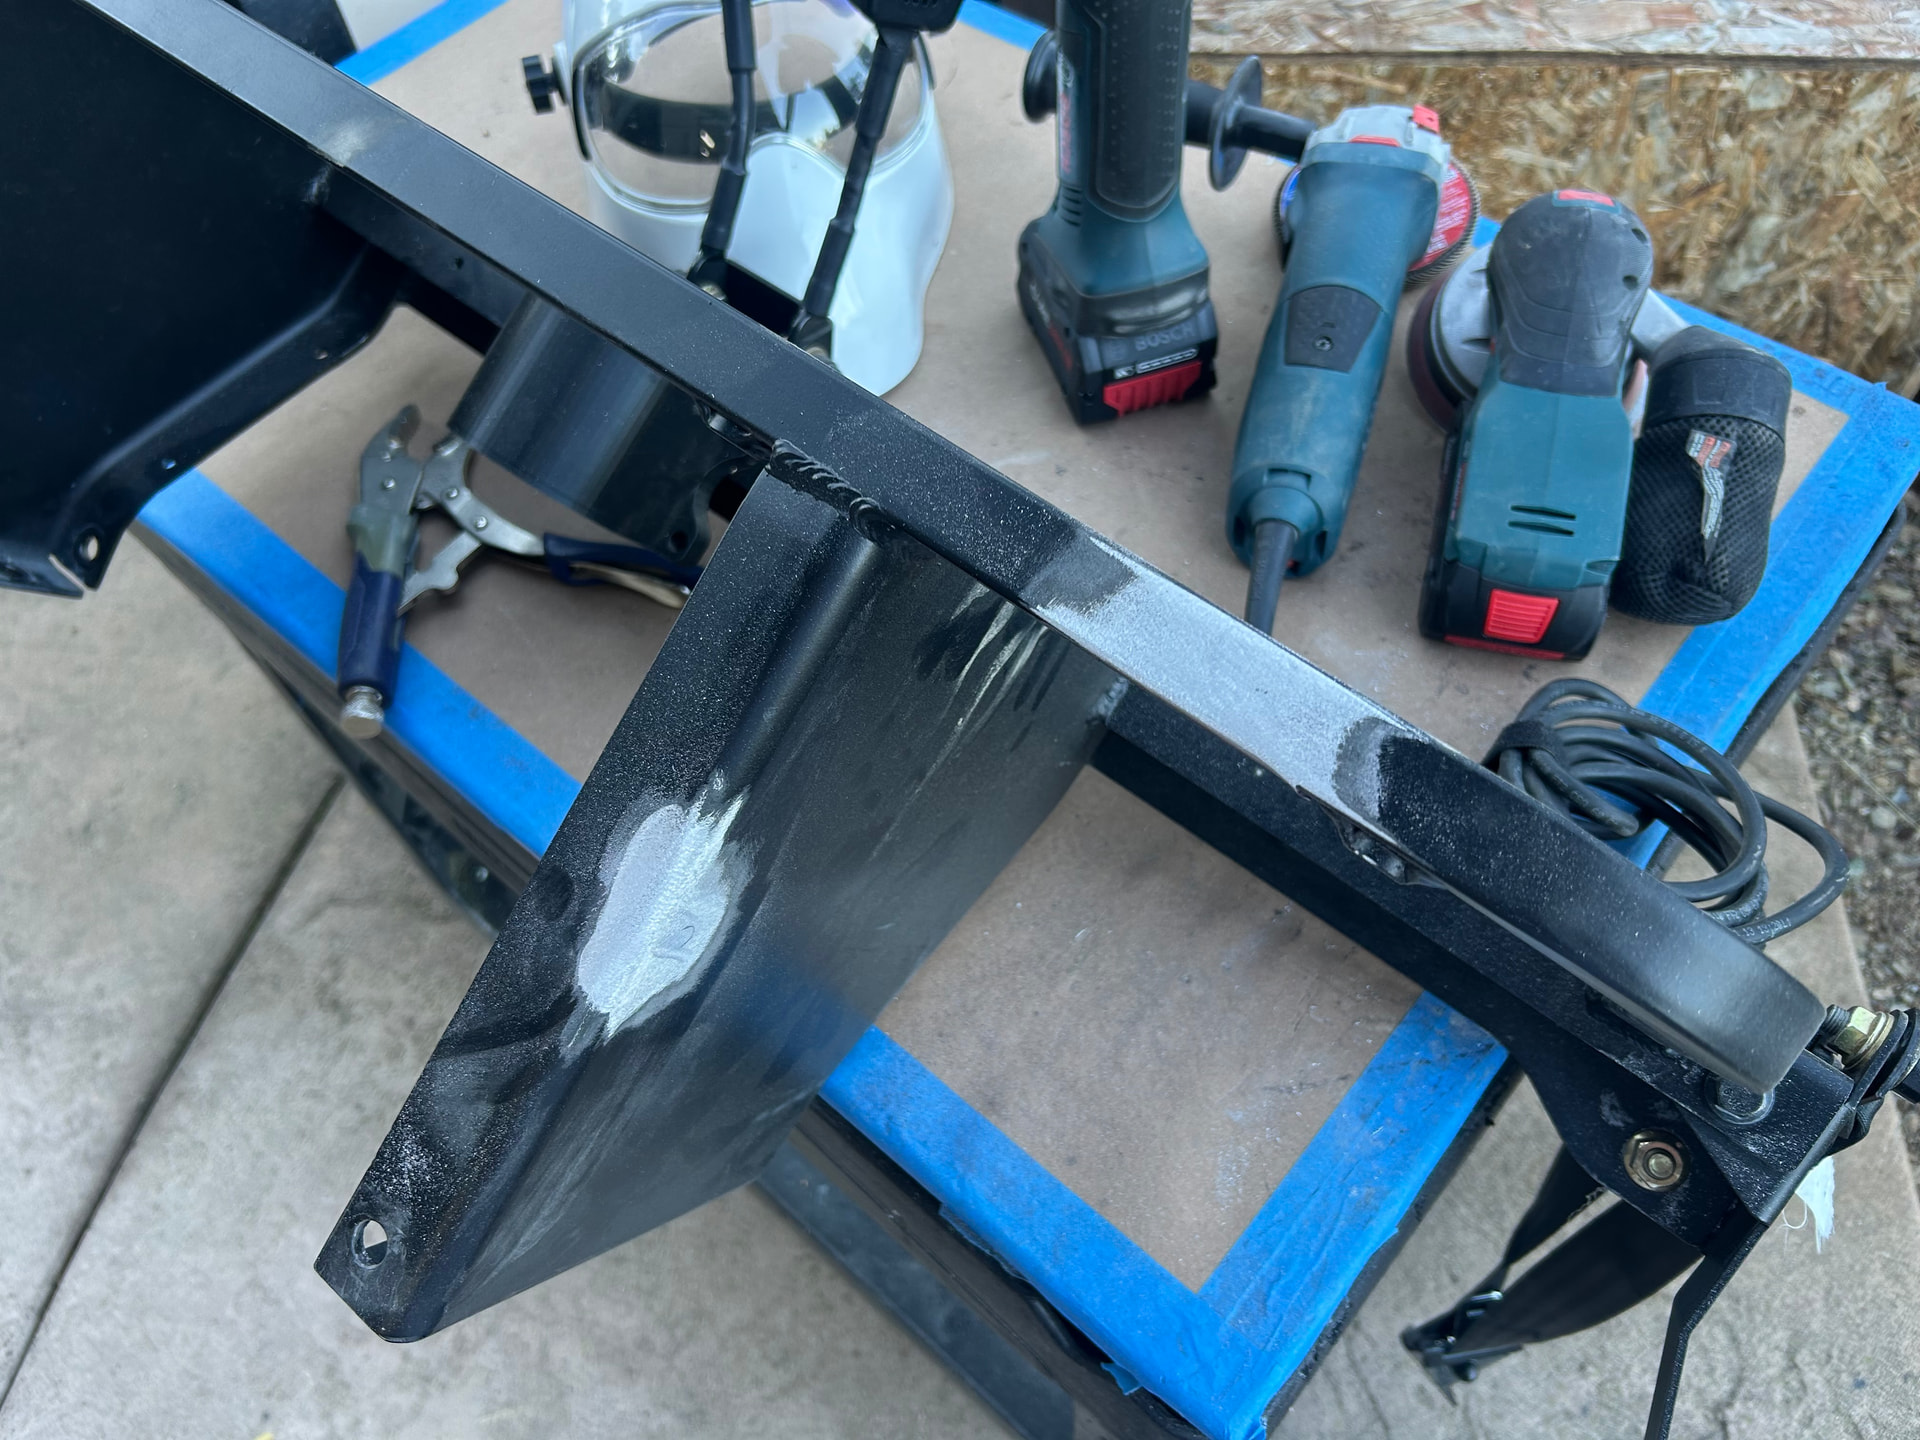
Ok Got my Battery tray painted & installed. If you haven’t tried RivNuts you should they may great threaded inserts

You can grab these kits on amazon, they come in handy.


im gonna put some EVA foam on the inside of the battery tray to try avoid any vibration OR rash marks/damage the hardware or contact with the tray could do to the battery. Very supprised at how light this 100 AH battery is
2 Likes
Anyone take your rear seat out? man that thing kicked my Ass. The 15mm bolts have some lock tight from Hell on them. You have to have a Kick ass impact or else it’s gonna be a long day for you. The key is to make sure you are dead nuts straight on the Bolts& Nuts or else your stripping that sucker and yes I had to hack saw 1 off and for me it was the easiest one to get to so that was a blessing Air Hacksaw and a Metal Demond Blade from Diablo and it was still slow cutting Thems some Harden bolts.

Well now that the rear seat is out I have to fab up the 1 inch spacers and jack the rear seat up buy 1 inch
Are they stainless?
It sounds like galling when there is no lube on the threads. That will fuse brand new bolts as you are assembling them!
They are definitely not stainless, but they have a Loctite material on them . The nuts even look like they could be jam nuts you know the kind that resemble a Ny lock nut but our designed to somewhat cross thread as a way of not backing out

I did that once. It swore it was 21…


I still have to make the Riser pieces for the seat belt support.

I’ll use this to make the 1 inch riser.


Here is the 8inch under the seat

I’m gonna cut back this aera so it can slide back another 2 inches

Here is what the sub looks like slid all the way back and where it’s gonna live

You can see from the first pic it was almost flush with the Seat frame now it’s back a few inches

This is turning out just as expected. They are tucking away Nicely. Fingers crossed that when I hook them up that I can use 1 Bass Controler knob with a splitter to adjust both subs with the 1 knob!!
1 Like
That is turning out to be a real nice install.
Agreed. And its even all in one thread too.
2 Likes

Looks great and clean but I would have taken a bandsaw to the back-top corner of the speaker box and epoxied it back in from the inside of the box and left the seat/structure alone. Or hung the front of the speaker from the seat bar and sawed off the bottom rear corner so that it was easier to keep the speaker away from the floor, water, etc and clean underneath. But I don’t like to get too deep in disassembly unless it’s electronic and I can do it on my bench and probably stems from not have garage space for it.
^^^ Doug LOL: ^^^
So my car had a hole in the rear plastic section so I just copied the hole for the 2nd sub the extra wire is my “service loop” just enough wire to be able to scoot the subs out and adjust them


So I had to run 4” 8-Gauge wire to the back of the car. I used the Flexible wire cover to Cover the Power and Ground wires. And ran them under the car just above the Factory brake lines

I had a few of the Factory Zip Tie mounts

These work out nice only down side ya gotta drill a hole to insert them but once they are in they are not going anywhere

