No it WILL require programming if you take it stock from ThunderStruck -
Email them and ask them to set the baud rate to 250Mhz before they ship it. Then you should be good to go.
1 Like
ok… will do. Thanks for the back and forth on this one!
Response from Thunderstruck - "The controller is programmed to 250kbps then? Regrettably, OBDii (what the Can Translator outputs) must run at 500kbps. Thankfully, we are finishing an update to the firmware of the Can Translator that will allow the device to reprogram the controller’s baud rate with a fairly simple procedure. This will be ready to ship in the next 1-2 weeks.
However, this will mean that any other CAN devices you have on the CANbus must also be programmed to 500kbps (unless they automatically detect the baud rate, which is common)."
If you reprogram your Controller to 500kbps it won’t work with GEM ecu
Sounds like I might be SOL on this one
Not sure why they say they must run at 500kbps, mine is running at 250kbps
You just need their serial cable and set it to 250kbps
Unless there’s something new that we don’t know.

Even their manual shows how to do it.
1 Like
Tell them you want the one that only works with their controllers. The original one.
@djgabriel2004 I ordered the serial cable with it
My thought at this point, let’s just see what shows up. If we find out whatever this new model is or isn’t compatible with our 2016 high voltage setup, that’s good to know… Although I may need to send it to you guys (@Inwo @djgabriel2004 or @MikeKC) to mess with it
@djgabriel2004 speaks the truth - I am glad he was able to test it.
I knew the CT could be reprogrammed just had not tested it.
What they emailed you is BS per Gabe’s post, it’s in their frikin manual.
1 Like
Alright, putting the CAN Translator discussion on hold for now… will pick that up when I receive the thing.
Got my t-taps in the mail from amazon and jumper-ed the enable pin -

Got the switched power connected to the relay -

Manual says red white is switched accessory so I connected to that post.

In goes the charger -

harnessess from DCI to factory connections

Connected the main disconnect -

Now I just need to trick (i meant convince) one of my neighbors to come over and help me drop in the Tesla battery. I have a Chevy Volt main disconnect too that I have to figure out where to mount. Then I’ll try to get the wheels to spin on jack stands and hopefully for a ride!
Let me know if I’m missing anything…
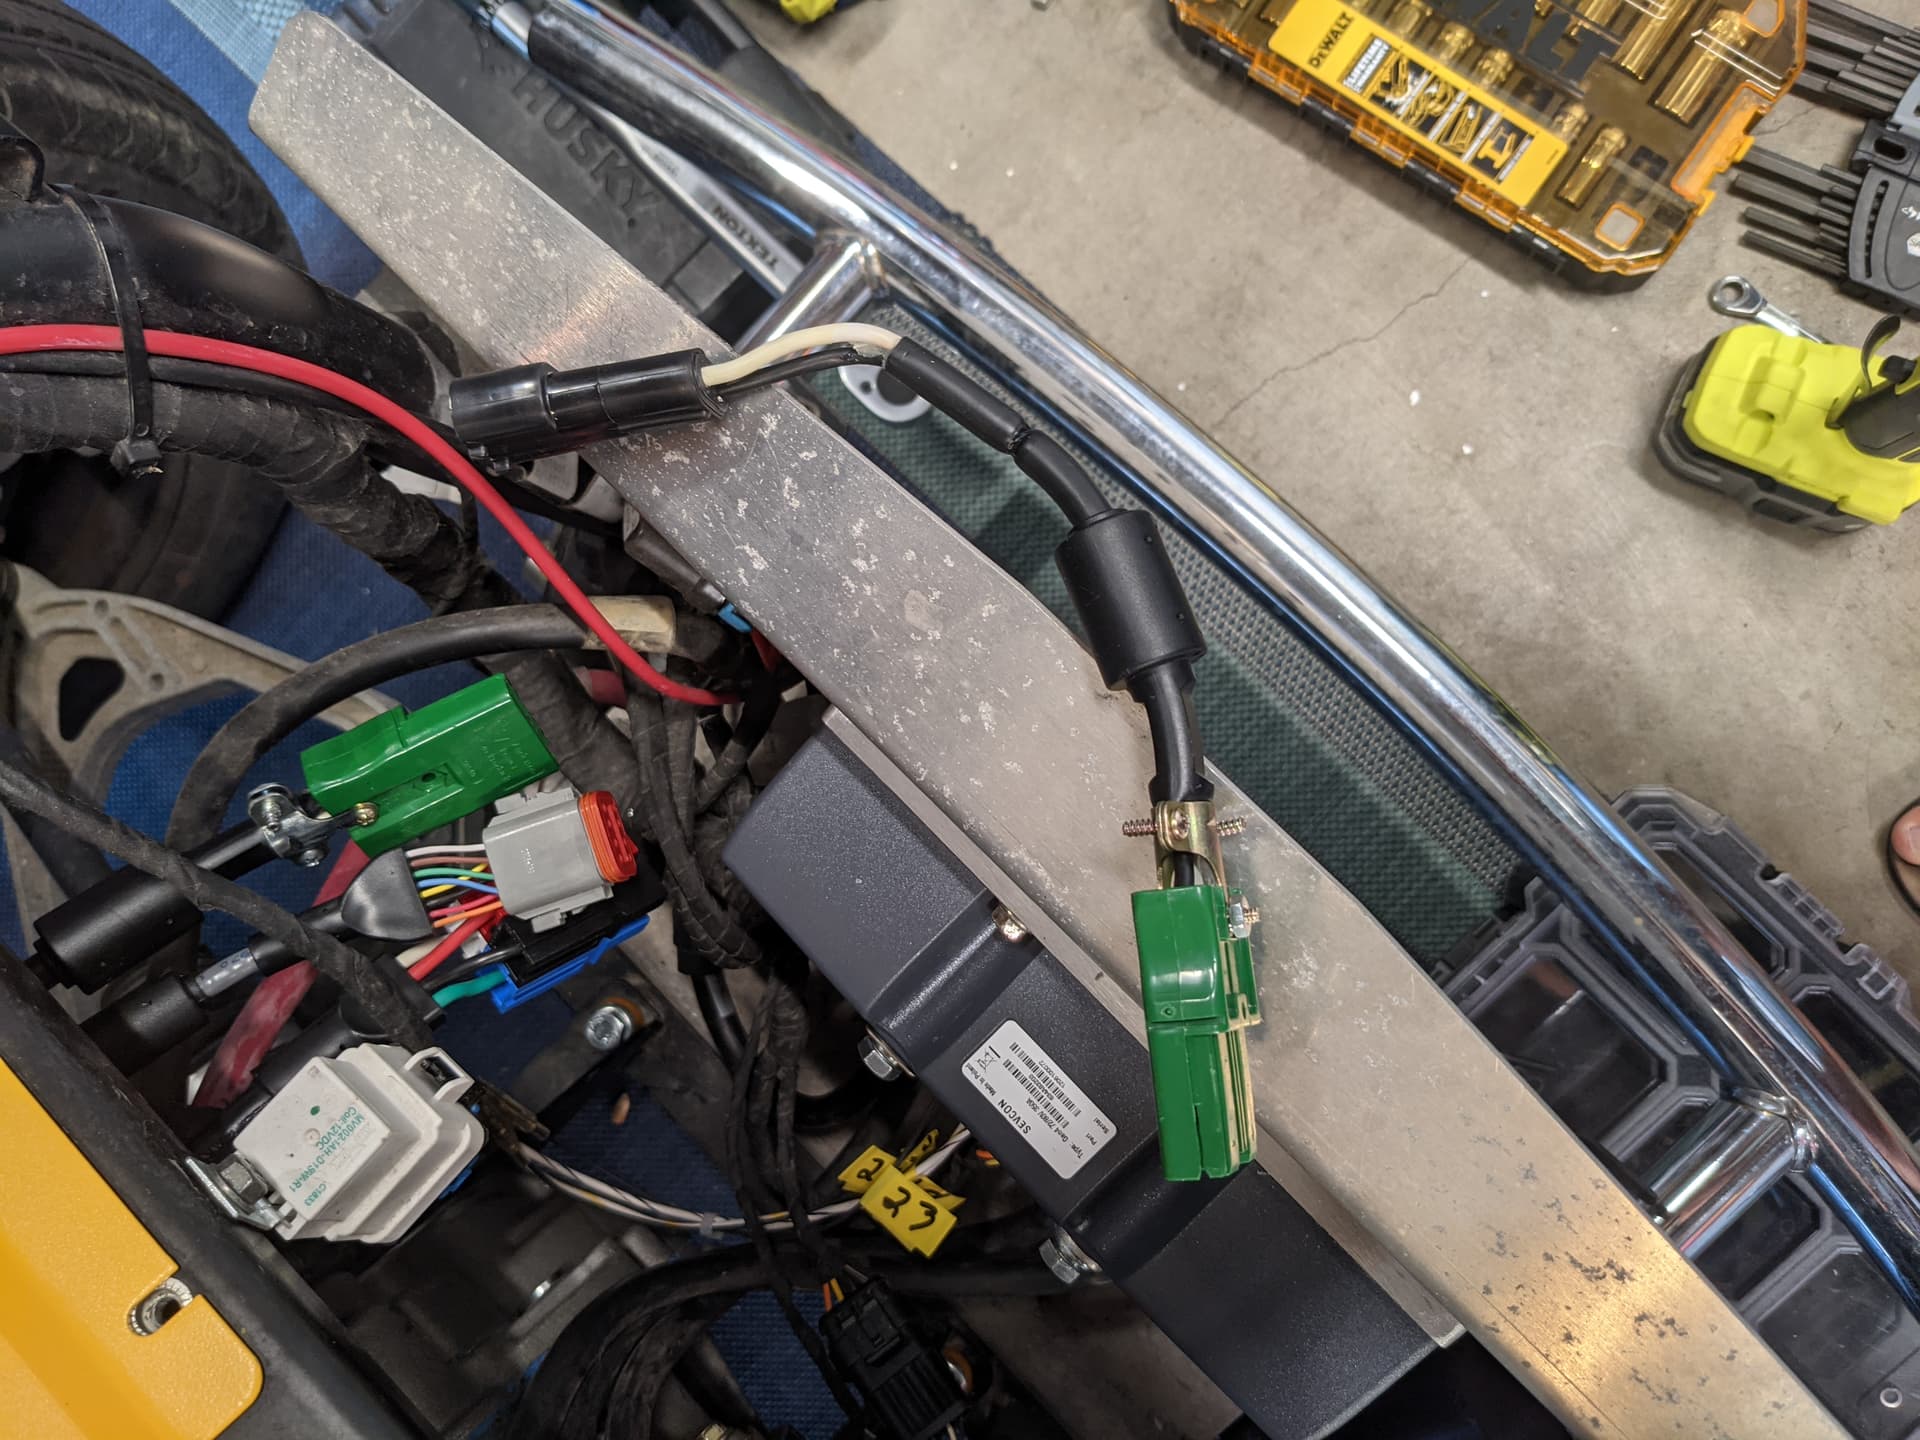
What is the big red and black wire tied to frame?
You have aux. battery correct?
Need a few more things to get charging, but should run.
Charger/bmc relay in last picture needs to be jumpered. Remove relay and plug in a qc jumper, to send battery volts to charger. Or cut the two heavy wires and connect them together.
Temperature sensor in battery compartment needs a jumper also. (white wire from dq)


Correct.
19 more letters needed
1 Like
ok… got it on the charger relay jumper. Thanks.
For the temp sensor, I’m tapping into pin 1 of the deutsch on the charger and running back to the rear temp sensor? which cable?


Not sure. You may need to look at the manual or ohm it out. Mine was different.
You can also do it at the charger if not worried about cutting wires.
Ps
It is the same, see it now. The 4 wire plug has two sensors. Still need to match color from up front or ring it out.
Does this help?

Would I just be jumpering green to green/white?
If I do it at the charger, I’m going from the white wire to where?
You don’t use a temp sensor for lithium.
jump wires 1&2 on the deutsch connector
1 Like
Yes, that is same as 1&2 up front.
1 Like
Ok… I’m tracking. Thanks. All coming back to me now. Lithium profile pin 1 becomes charger enable vs temp sense and I’m not using that with the ant BMS.
Yes, I suggest jumper at the sensor so as to leave original wiring intact.