2016 E4 High Voltage Conversion in SD

got all the pins from the harness into the Sevcon controller plug. the labels made that easy and I double checked before plugging in the controller.


Got the F-N-R switch hooked up. Thanks @djgabriel2004 for the pic

Motor in (damn that thing is heavy… I have sweat literally dripping off the brim of my hat!)

motor cables connected. encoder wires as far away from the phase cables as I could get.

Next Question - what do i do with this?

1 Like

This is to power main relay to switched 12v.

as per @inwo. “Yes it is. Pull the relay and note the 12v corner. Cut that red wire and the opposite corner wire.
They are the coil wires.
The other corners are n.o. contact. 72v and pin #1 of Sevcon. Don’t touch those”

Mine is drivers side, but @inwo car is the passenger side of the busbar. Measure which one is your +12v switched in your car.

This relay powers Sevcon pin 1. Polaris emc will keep shutting it down without a heart beat from the original controller. Wire the relay coil to switched 12v to keep sevcon active.

1 Like

Just so we’re clear. The two coil wires get cut and taped off. Then run 12v to the stub coil wires.
As it’s just a coil, not polarity sensitive. Either way is fine.

One will have 12v from aux battery. Connect to the other one.

Good question. Once i figured out the coil wiring, I was about to ask about the charger and moving over to DCI.

Fresh out of the box.

Any pointers on how to hook this up?

Alright, I’m back! took a break to figure out a plan for the DC-DC converter and wait for parts. I ended up taking a day off from work to have a little “me time” and mess around in the garage with the GEMs.

I was reading back on some old threads and @inwo asked me how the cells where holding up sitting. Figured it’s probably a good time to fire up the BMS and see where everything’s at. Looks good to me but I honestly don’t remember what it was when it arrived… @inwo - good to you?

Next up, the long pole in the tent for me was figuring out how I wanted to secure the battery in the rear compartment. I called around to a few local welding shops and they either 1) didn’t have bandwidth to take on a small project or 2) didn’t do aluminum welding. I was pondering this delimma with my barber who happens to be a car guy and he suggested trying something other than metal that didn’t have to be welded. I decided to order up some HDPE, cut it up, and make a battery tray.

Figuring out initial measurements with an empty battery shell… same that @inwo put it in.

Dry fit in the gem

cut out 1x1 sections and built blocks around the battery fiberglass tray.

Drilled from the bottom with SS screws countersunk so they’d be hidden and not hit the frame

This gets me so it won’t slide back and forth, side to side. Now I just need to secure it just in case I hit a bump and it doesn’t jump out.

I secured the new ploy battery tray to the frame using 2 of the existing holes and drilling 2 more. Now I have to figure out how I’m going to get the battery in the GEM. Could involve beer and convincing some neighbors to come over ;). or an excuse to buy a cherry picker.

Now back to the wiring and the DC/DC converter. Since I had the Delta-Q DCI charger, I had 2 options. I could either 1) power all the 12v gear from the charger or 2) replace the DC/DC converter with one that would accept 72v. I decided to replace the DC/DC converter and leave the DCI as an option for future expansion - stereo, lightbar, holiday lights, etc, etc.

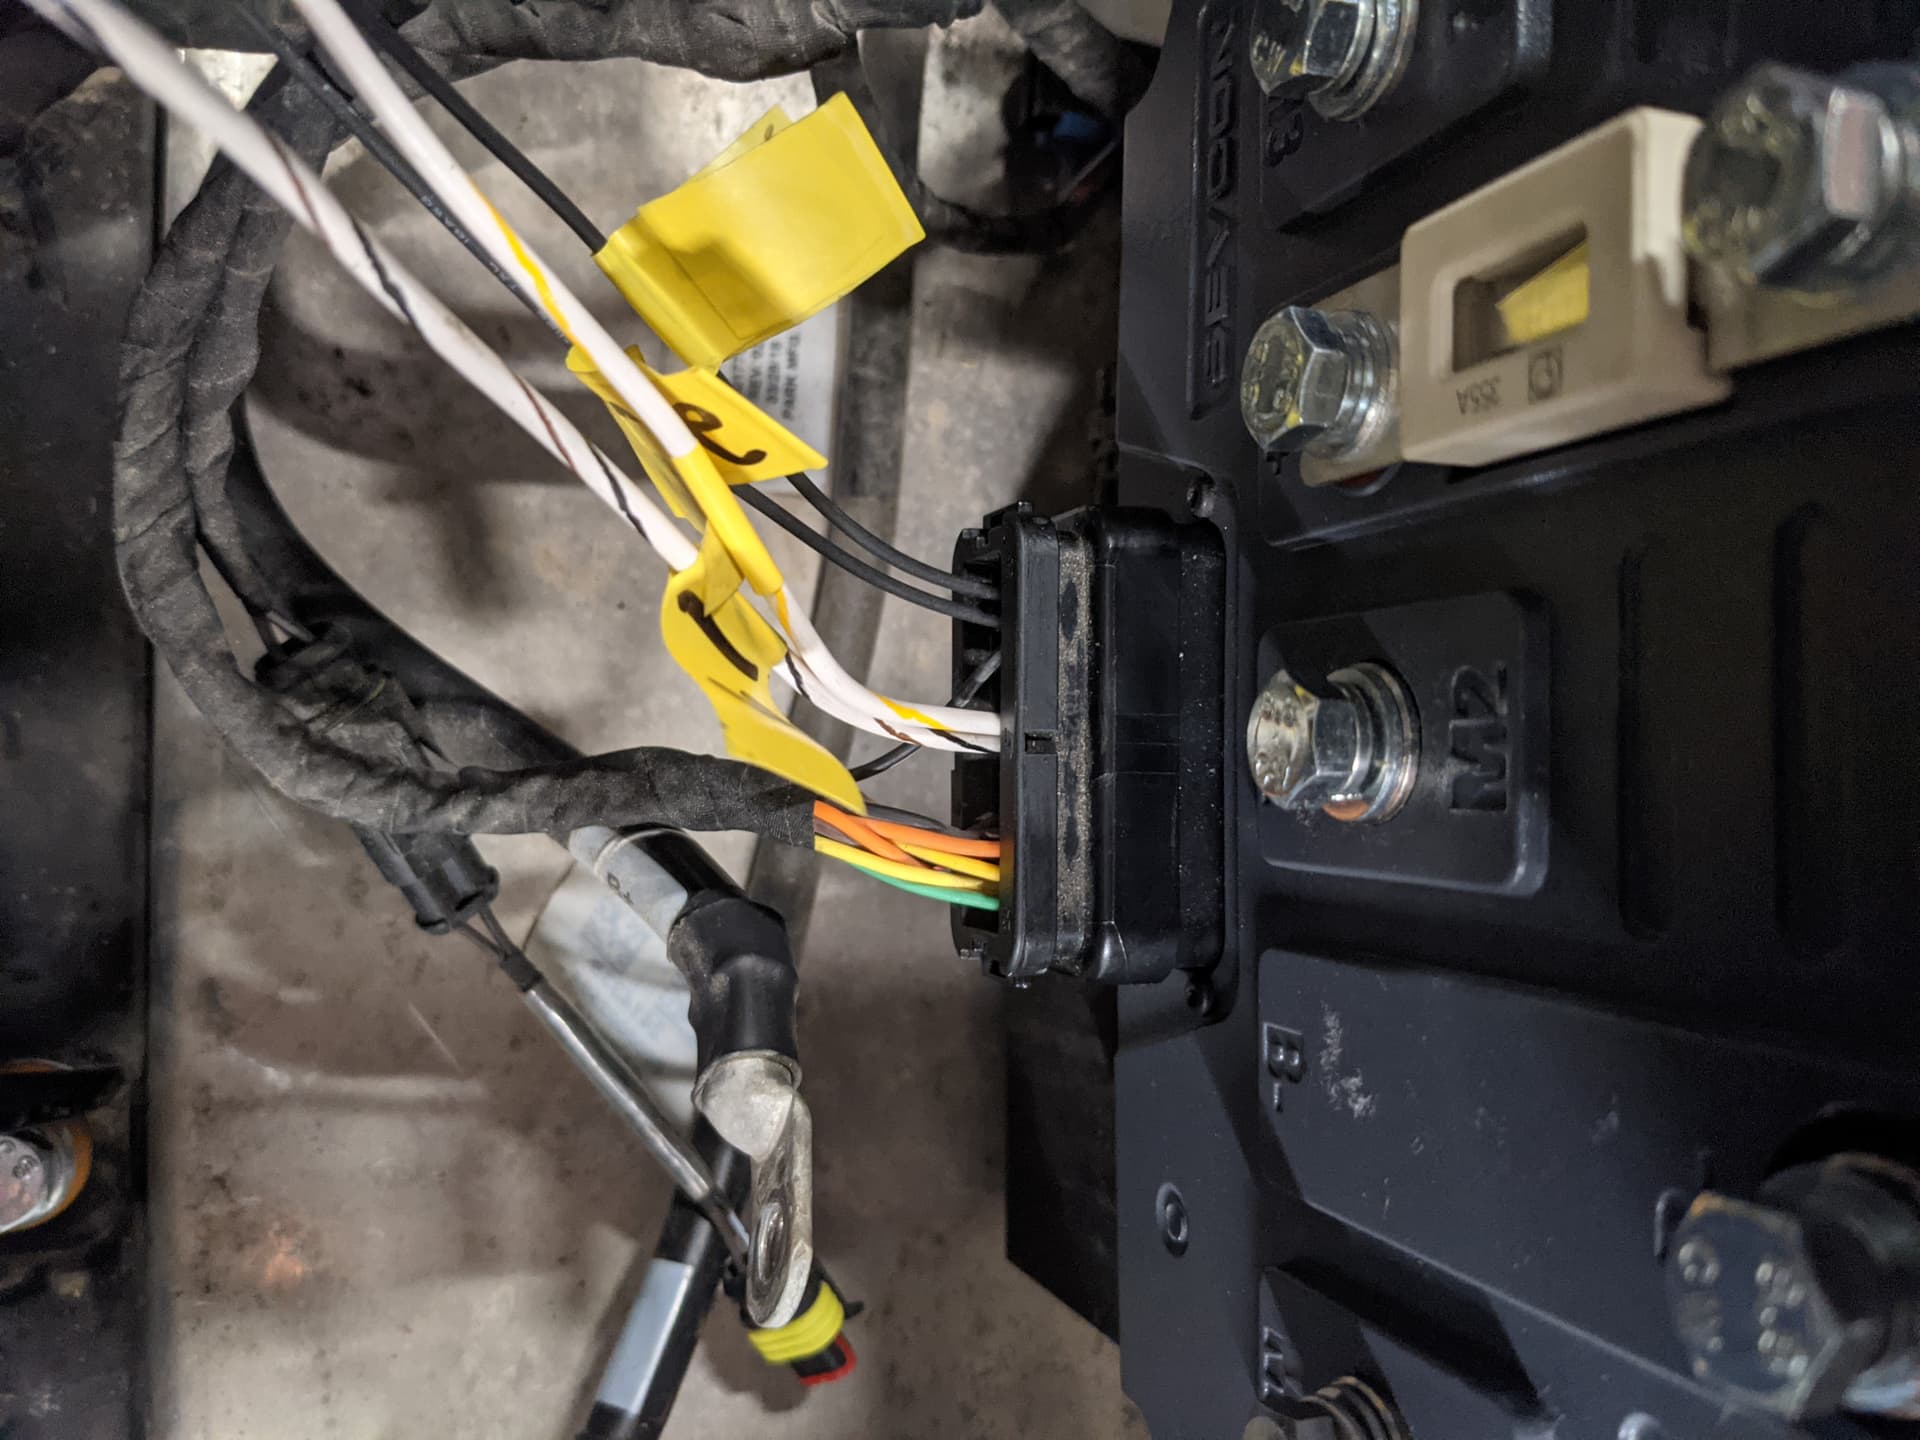
The 72v DC/DC converter has 5 pins vs. 4. the 5th is an enable wire which can be jumpered to pin 4. original 4 pin wiring (took a picture so i wouldn’t forget - i do this before changing anything in case I need to go back)

New Harness - pulled the pins from old and added them to new. Waiting on a t-tap to come from amazon to tie into pin 4

Here’s the 72v DC/DC converter -

back to where we left off, coil wires and just to confirm before I cut -

Actual fuse block. Cut the red and brown wires at 48 and 43. connect the harness going to the relay. polarity doesn’t matter.

Trying to go through a checklist in my head but i think all that’s left after the coil wires are -

  • install new delta-q 72v charger
  • reconnect main disconnect
  • connect 12v battery
  • connect big tesla battery.

Am I missing anything?

PS. thoughts and steps i did but forgot to document to make this complete

  1. when i had the controller out, wish i had replaced the DC/DC converter then. Would have been easier but was able to do it without removing the controller.
  2. I should have mentioned that i had to disconnect the passenger side strut in order to get the motor in. I tried to get it in without doing that but eventually had to jack the car up, loosen the strut, and pull the strut out of the frame to get the motor in. I was too distracted lugging the heavy motor around that I forgot to take pictures. When I do 2016 Gem # 2, I’ll document.

Hoping to drive this thing over Labor Day! Almost there!

2 Likes

@Erniea15 - you going drill a couple holes in the bottom of the tub to let water out (In case any get in there?)

@MikeKC good question. I was thinking about that as well. Will probably put a hole through the box and HDPE. I just need to look closer at where I can put it. This battery is VERY snug in the tray and I certainly don’t want to attempt to remove it. Pictured is an empty identical box I bought for fitting.

I’m not super concerned about water collection as the GEM almost never gets wet other than getting washed or hitting a puddle from sprinkler runoff. It rarely rains in San Diego (I’ll drive my regular car on those handful of days), lives in my garage, and my thinking was that even if a little water got in there, it would evaporate in our dry air within a day or two.

That said, I’m worried about road grime and a potential puddle splash on the BMS. I’m guessing the BMS isn’t terribly weather resistant. Wondering how this plexi worked out? 18kwh 225ah Tesla3 Gem battery sold - #6 by Inwo. Are there any concerns about ventilation and heat if I enclose the box?

I ended up ordering the CAN translator so I can monitor the controller -

Any tricks or pointers to getting it hooked up other than this thread?

Update since I originally posted - I just got an email from Thunderstruck - “Hello and thanks for ordering with us. There may be a small wait on your CAN Translator. It originally was designed for use only with our controllers that we sell, since we program the controller to work with it before shipping them out. However, we have a version that will not require programming that should be finished very soon. I’ll send you a tracking number as soon as it is ready.” @MikeKC does that make sense to you?

I am not aware of this new product or how it works. The controller that comes from Dave and I is programmed just like ThuderStruck would have programmed it. I got the programming from them.
I don’t how/if the new product works with our programming.

However, if this is going into your 2016 and you are using the stock ECU then the controller must be running at 250Mhz, the CanTransotor from ThunderStruck is set at 500Mhz, The Can Translator can be changed to 250Mhz but you would have to send it to me or have Thruderstruck do it before they ship it.

1 Like

Should I just respond that the controller is set to 500Mhz and should work with my configuration? I get worried they’re making assumptions around my controller setup based on who knows what.

Everything needs to be Setup at 250kbps in order to work with the GEM

If you buy their serial cable you can change the Can translator using SSH

Just to make sure we’re all on the same page, the controller is a Dave/Mike controller with what I believe is the “grant file”

Pretty sure that @MikeKC shipped it already setup at 250kbps if he knew it was going in a 2016+

1 Like

OK… i’ll ask them to set to 250kbps. worst case, we see what I get and sounds like it isn’t terribly difficult to change.

I shipped the controller at 500Mhz (almost positive) I don’t think this controller was intended for a 2016 at first? I don’t remember. In any case I am happy to change it to 250Mhz if needed.

1 Like

Is that not the one returned to you for updating?

1 Like

@Inwo
Sorry, you might be right - hell I don’t remember, way too many controllers :slight_smile:
I did update @Erniea15 to 250Mhz for this reason I believe.

2 Likes

@Erniea15 You’ll find out quickly if it’s set in 500kbps :rofl:

It won’t work.

1 Like

The controller was originally for my 2000. I converted that back to DC and sold it. Pulled the controller and sent it back to be re-programmed and repurposed for the 2016.

well, I still have to get the battery in the GEM and get it driving. Let’s see what shows up from Thunderstruck. Maybe “will not require programming” comment means the new version has some type of autosensing feature? guess we’ll find out!