For those of you brave enough to paint your GEM let us know how you did it and what you used and how it’s been holding up.
I have a friend that owns a body shop. He bought a Gem well it was a Trans 2 to be accurate. The only reason I say that is because all of his body work was Fiberglass NOT plastic like on most gems. I have been taking his advice on what products to use and what sandpaper grit to use.
My car was or is in bad condition The front hood and rear spat are de laminating like most gems. So the first task is to strip off the clear. Like others have reported back this is a PITA. I have been sanding where I can and using a SEM product called Rubber Bumper Stripper to strip the clear in the hard to reach aera’s. The Stuff suck’s (at least the process of doing it doe’s) and makes the plastic soft if you leave it on to long. The trick is to leave it on for just long enough to get 90% of the clear gone and then sand the rest of the stuff off.
I found that a heat gun set to around 650 and a rasor blade on a Xacto blade handle works pretty good.
Here is what you have to do. If you get the clear just the right temp. It will become rubber like and it allow you to get the blade under it and you can peel it off.
Caution if you over heet or apply constant heat to the clear it will re-harden the clear and cause it to re attach better then ever. If you over heat it it re-glues it self and then your only option is stripper or sanding it off
Now that I have the hood sanded Im ready to start fixing the cracks in my hood. These were spider cracks (very small). The first step was to reinforce
behind the cracks i did this by sanding the rear of the plastic and adding Fiberglass matt.
Then I filled the cracks with PVC cement (Plastic Glue). I let it dry for a few min’s and the scraped off the excess. This glue will seep into the cracks and glue the 2 pieces together. the glue will naturally settle lower and i will come over the top of this with plastic body filler
I was in the bed of my eS replacing my rear window cover for the winter and noticed a 3 inch crack on the roof of my car… thinking a dab of silicone would stop it from spreading… am I wrong to do this?
Im sure that will work. If you need a new roof for your truck let me know I have one. I’m in California so I don’t know if it would make sense by the time you shipped it
Fortunately the cracks im repairing the back side won’t been seen that way the crack can be supported and fixed from behind where no one see’s how nasty it looks. The fix on the front is mainly cosmetic. Im not counting on the fix in the front to stop any future cracking. That’s what the repair on the back is for
Example: All 4 of the 6 mounting points from my rear Spat had stress cracks around them. By adding fiberglass mat to the underside area and then fixing of filling the crack the stress cracks on the top side they should not come back
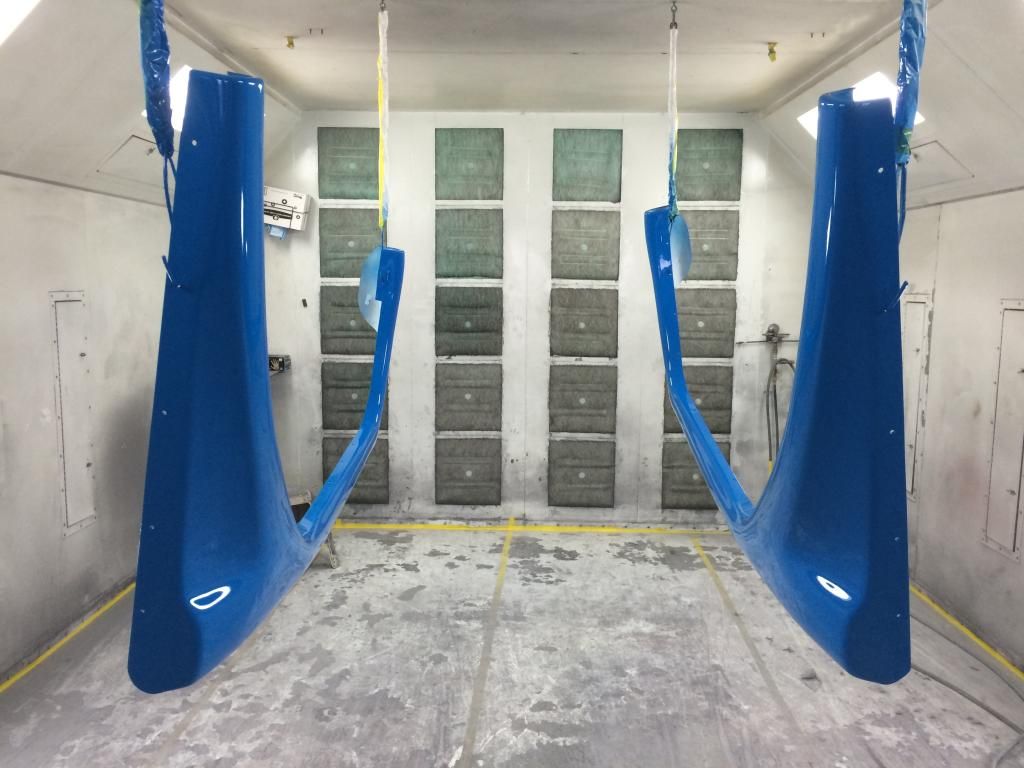
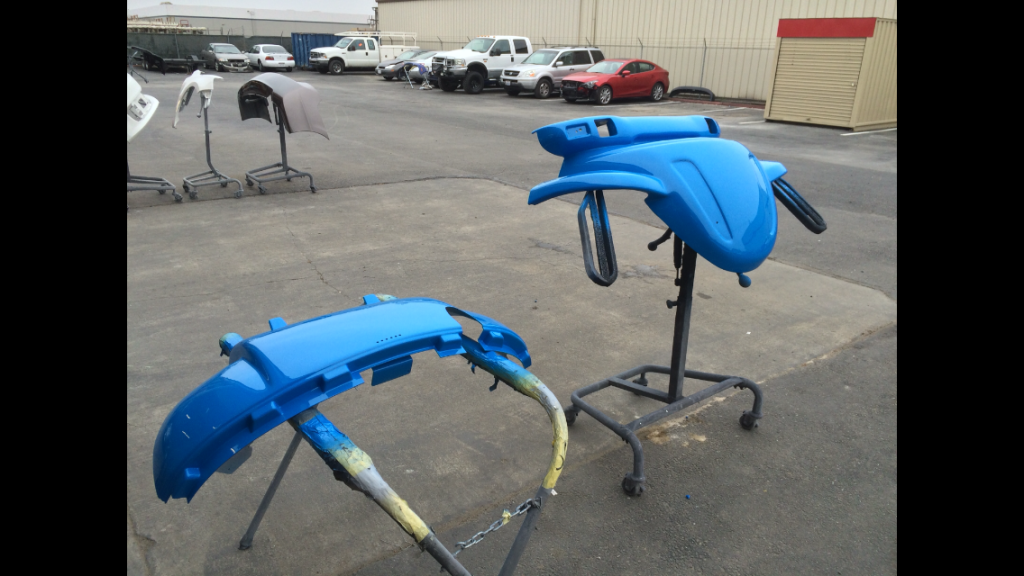
Ok I am starting to make some progress. Thank God for friends. Painting this GEM has turns out to be more of a challange then I planned for. Transporting these large pieces and having a clean safe place to paint them has been a huge challange. I decided to inlist my friends experience and have him do the priming and painting.
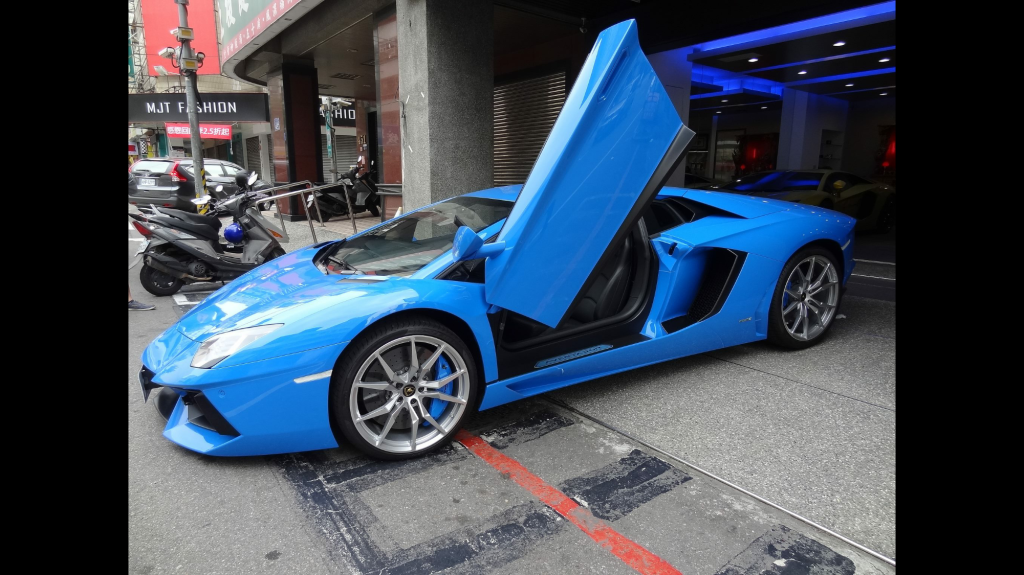
I’m doing the car Blue and Black. It’s a Ford color “grabber blue”