Order of swap/install will be something like this:
-
Power down the car. Flip the Main Power Disconnect Switgh OFF. Unplug charger.
-
Remove old cables. Start with the ends of the Pack. Identify and mark your cables B+ and B- as you are removing them off the batteries just so you don’t have to figure out which/which later. Remove all the other cables connecting the batteries together including the two going to the Fuse Block. But leave the Fuse Block mounted on the frame.
-
Remove all of the batteries. Do you really need instructions on how to do this? Ummm… Watch your back. Lift with your knees. If wet cells- use scrappy clothes. No smoking. Enlist friends to help. Bribe them with pizza.
-
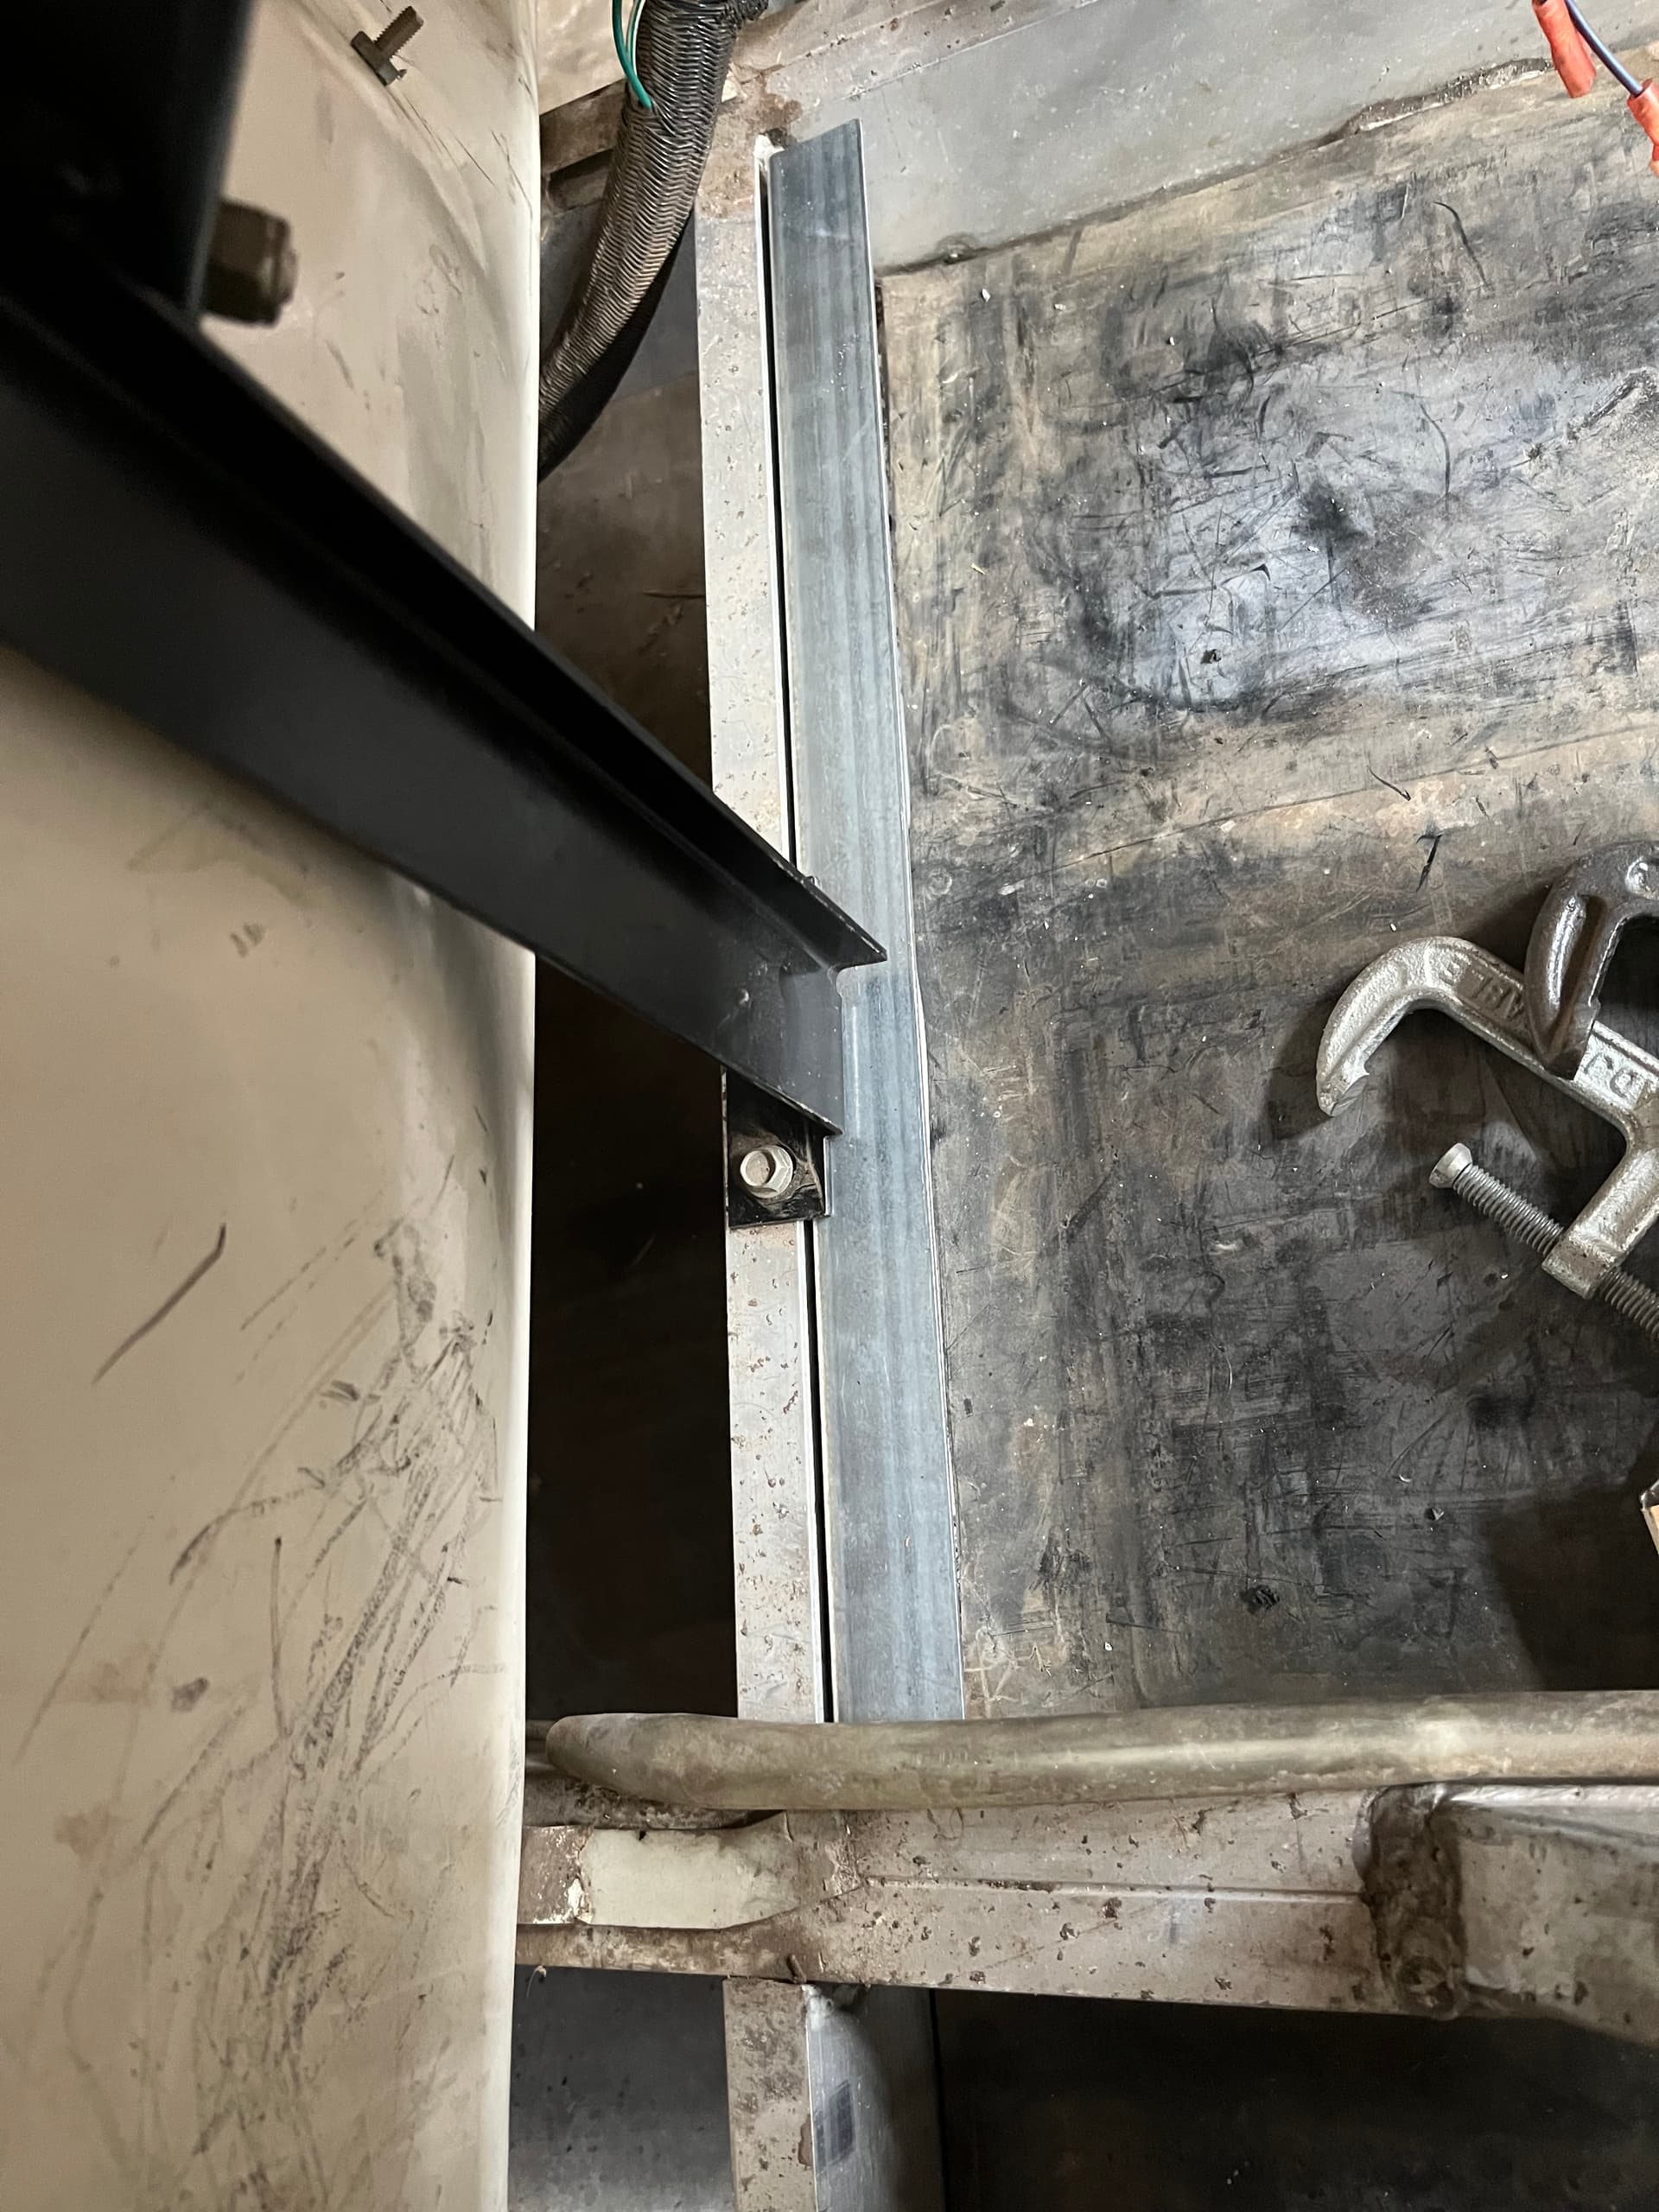
Clean - All of the years of road grime from the battery trays. Remove the rubber and plastic tray bottoms. I used a combination of wire brush, sandpaper, vacuum, air hose. OCD was about level 6. Depending on what you car had in it (wet cell?) there may be some level of acid damage to the aluminum. This would be a good time to clean all that out, neutralize any residual activity and maybe even paint the frame if real bad. Reason: When people chase you down and ask why your car is so much faster than theirs you will probably want to lift the seat and show off your cool pack. Or not. Just let them wonder.
-
Build deck (see tips above). It’s not super critical to do exactly like this. Use what materials you are comfortable working with. I saw a recent example of several strips of Uni-strut running fore/aft for the pack to slide in on and bolt to. Just make it secure.
-
Slide in pack - Don’t fasten it down yet. It is easier to do the next step if you have the battery slid back a bit.
-
Wire it up - By now you probably have installed the phone App and checked it out. Hopefully you did not turn on the FETs yet. Be aware/respectful of the two connect posts ON THE BATTERY are still live tho.
-
The B+ Batt Post is on the front of the battery on Driver side. Locate the big orange cable from the front of the car marked B+. Fasten it to the B+ post on the battery. Route the cable in a way it will not interfere with any other components of the car.
-
The BMS should already be sitting/mounted on top of the battery and the Blue BMS wires are fastened to the Neg of the pack. Black BMS wires will nut down to one side of the Fuse Block (conveniently left in position on the frame).
-
Locate the B- cable coming from the front of the car. Route the cable in a convenient path over to the Fuse block. (conveniently left in position on the frame).
Nut that down on the OTHER side of the Fuse Block from the BMS cable.
Note: the big fuse isn’t really needed since the BMS will trip/shut down if there is ever any problem. In this case it is just a convenient place to tie two cables together. You can do anything here.
-
Secure the pack - Now would be the time to do this before you forget. Slide it forward into position and secure it. I used a couple of big #14 Truss screws right through the foot flange of the battery. You can use whatever you want. Rachet straps can be used for temp install.
-
Test the power - From phone app You will first need to pair your phone to the BMS. It will ask for a pass. Use pass 1234 for pairing. Basic status will be shown. Across near the top are your FETS - Charge, Discharge, and Balance.
At the bottom of your App are three tabs. Status, Settings and Control .
Tap the Control page and it gives you access to the FETs. Tap on the Discharge to turn it on. Pass is 123456. Go back to the stat page and verify that the Discharge status is now ON. -
Power up the car - Flip the Main Disconnect Switch to ON. If you drop your PBrake lever at this point (hopefully you are not on a hill) the car should beep. Rotate the Key Switch to ON should light up the Dash. If you want to take the car for a quick test lap you can, BUT DON’T GO FAR!! This battery was shipped to you in a fairly depleted state (regulations). It will feel very peppy and full but it is not.
-
Test the charger - If your BMS Charge FETs have not been triggered ON yet, go back into Control tab and switch Charge to ON. Plug in your car to charge. Verify that you are charging via the app Stat page. You will see the V starting to rise as well as the individual Cell V and how many Amps running through the BMS.
-
Install Spoof - With the battery in it’s depleted state, the car will run for a short test out to the mailbox and back. After a full charge the Controller will throw a Code -16 (overvoltage error) and refuse to run. To fix this error you need to install a small component (aka- the spoof) inline with a wire up at the controller. Locate Pin1 on the big 23 pin harness. To make sure you are working with the right end, look for two orange wires next to each other. P1 is the first on the edge. If you look real close on the backside of the connector there is even a tiny “1” molded in the retainer next to the wire. Cut that wire about 3" up from the connector and strip a little off both ends of the wire you cut. Install the spoof between these two wires and test the car again. The code should be cleared and you are good to go. The spoof install kit may include a spring clip attachemt for super simple install. If you know how to solder you can do that. I personally like to use butt-splice crimps without the insulation and a piece of shrink tubing over the whole assembly to finish it off.

Did I miss anything? Pics will be added later.