SoCal 2000 4 Seater AC Conversion

After reading all the exciting posts about the A/C conversions folks have been doing and the reports of enhanced performance, I’ve decided to take the plunge myself! Over the past few weeks, I’ve been accumulating parts from @Inwo and @MikeKC and getting ready to dive in. Finally got a chance to get the car up on jack stands and start ripping things apart. Posting here in case anyone wants to follow along.

About my car and what I’m planning to change in this build

2000 4 seater
Original 9:1 gearbox which is leaking and needs to be rebuilt -> 12:1
R4Fun Blue motor -> 16’ Gem 5Kw AC motor
T2 Controller -> SevCon Gen4
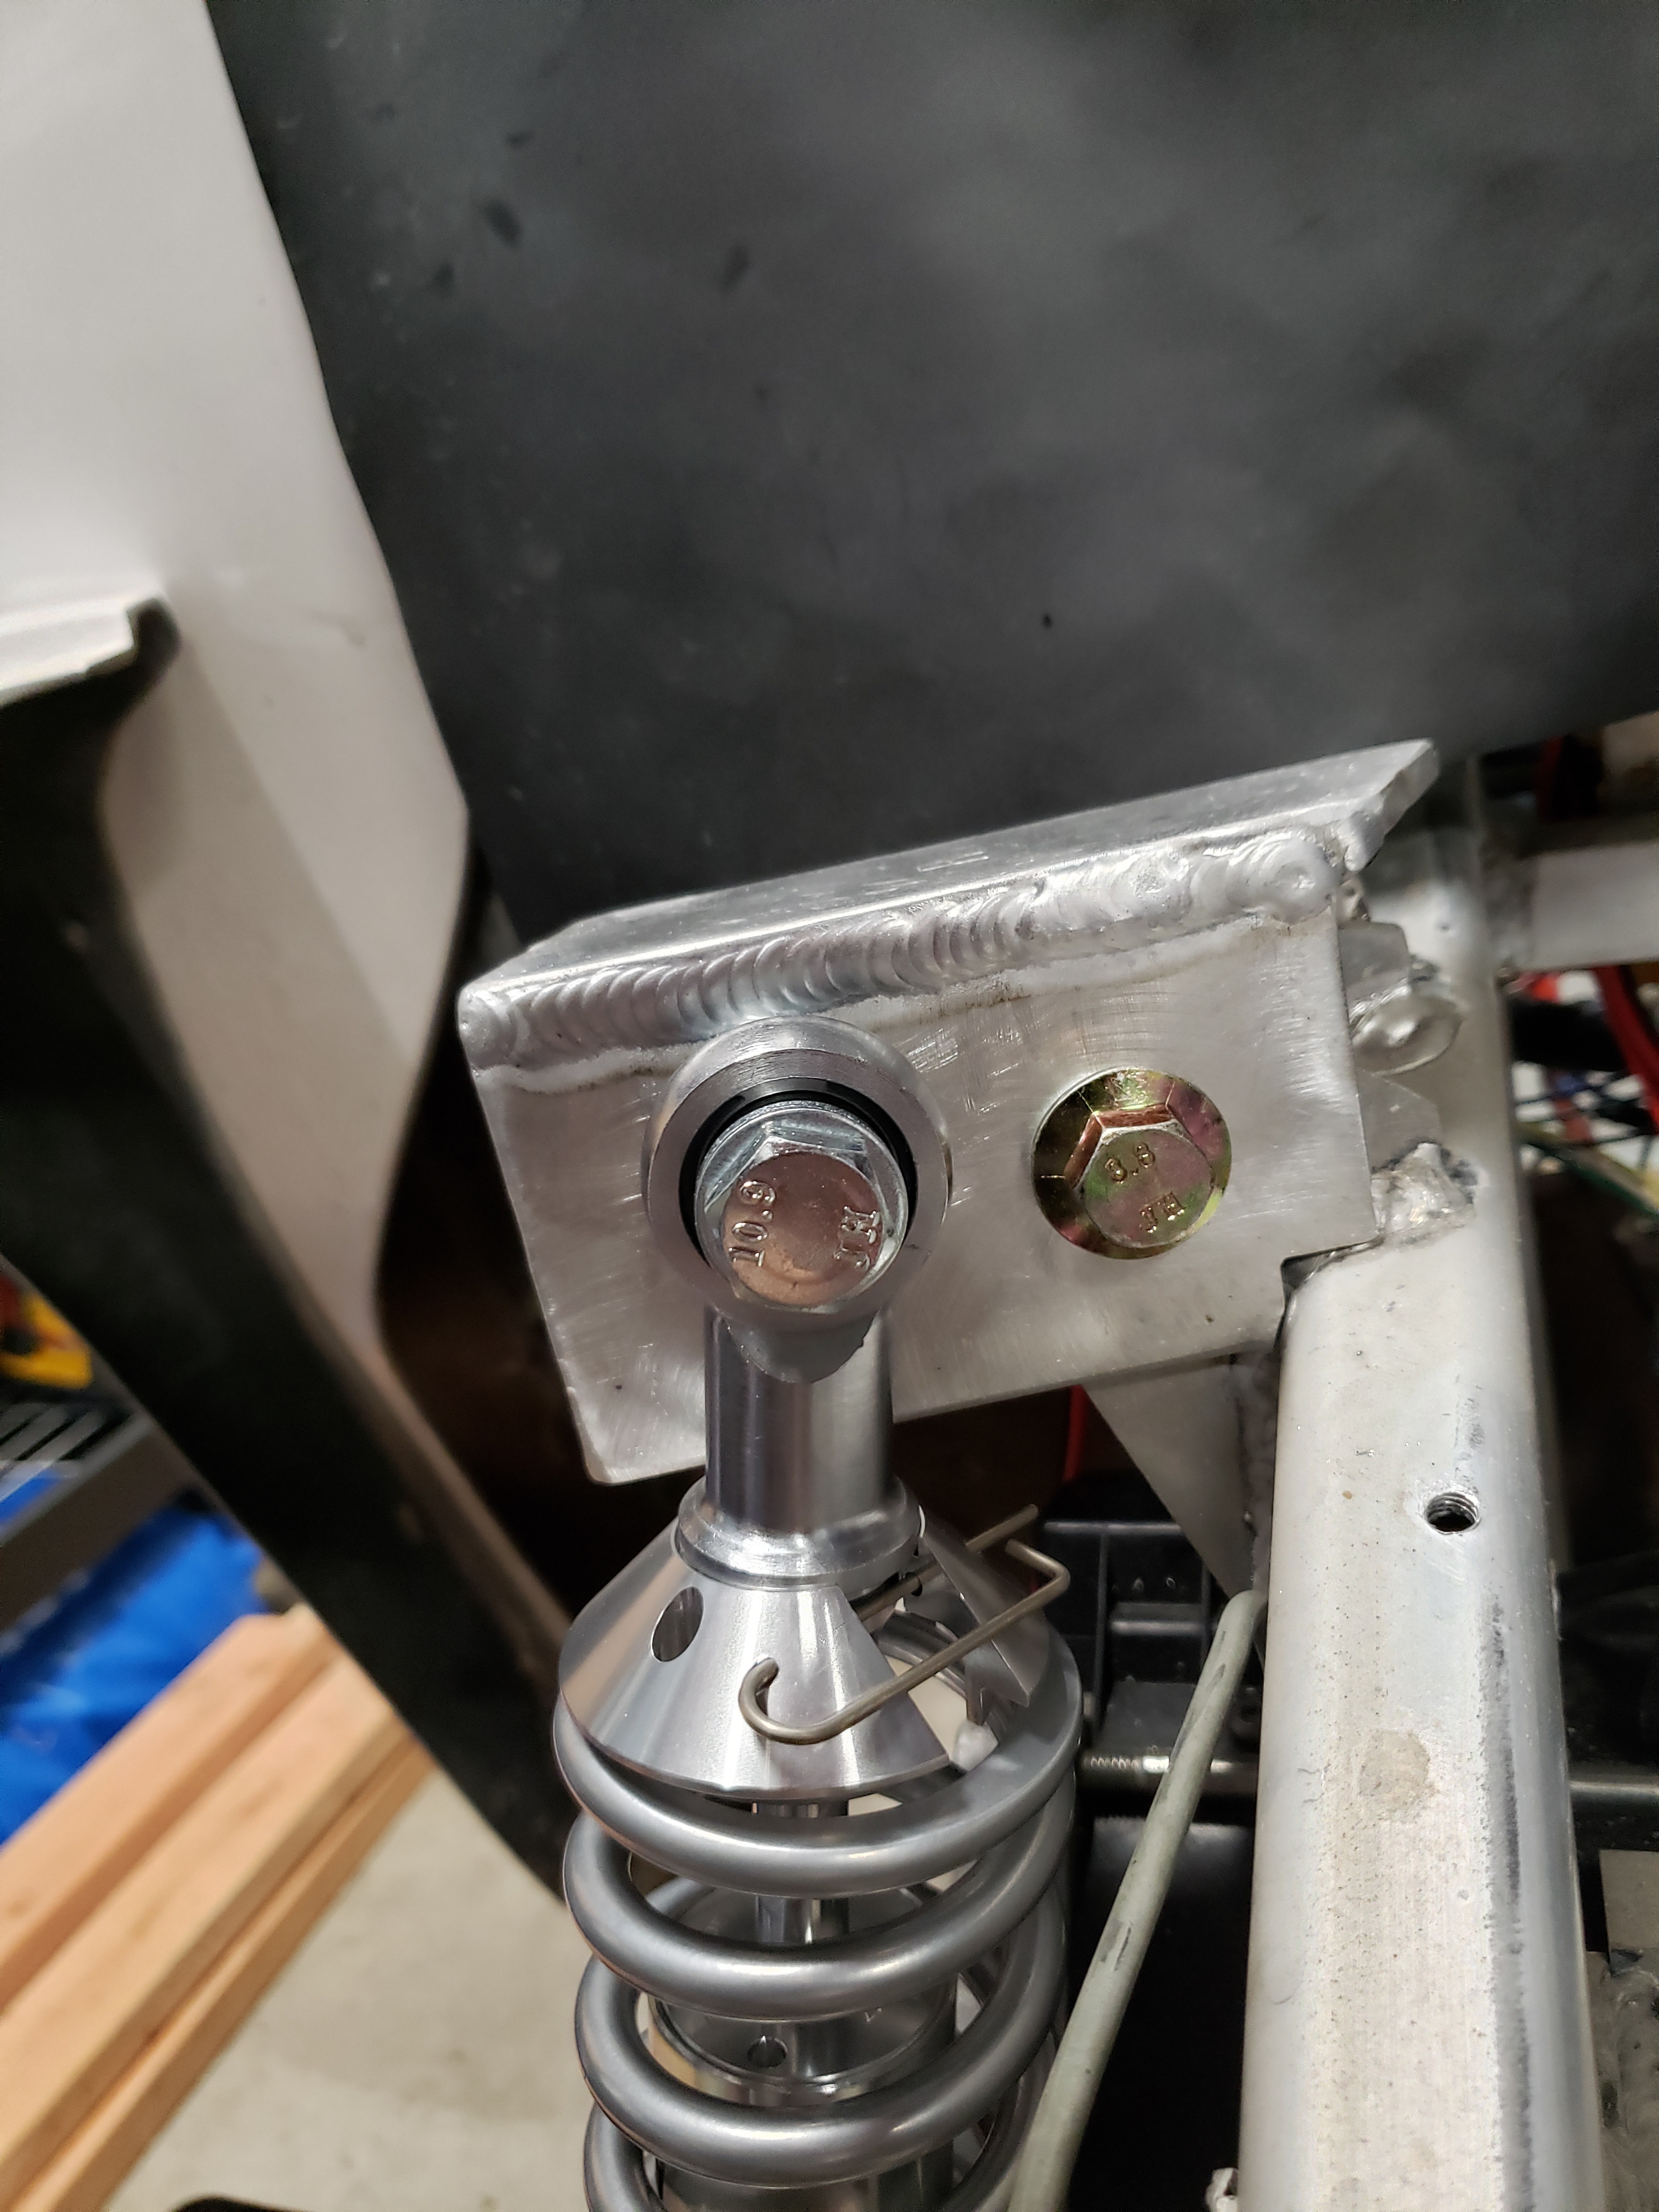
Original shocks -> QA1 per @Tyson_Davis shopping list A little fresh air(shocks) never hurt anybody
(4) 2kWh Chevy Volt batteries (may add 2 more packs upfront)
DeltaQ charger w/ lithium profile (stay the same)
Chargery BMS (stay the same)

Goals -
I have a huge steep and long hill I have to go up and over to get anywhere other than the grocery store with my GEM. I don’t need to break any speed records but would like to be able to maintain 35mph so I don’t get run over on 35 mph roads. My typical trips aren’t usually more than 10 miles round trip so range isn’t a huge concern… but who doesn’t want more range! Ride is crappy at best (not surprising with the earlier GEMs)… hoping the shock kit that worked for @Tyson_Davis works for me.

First false start before even starting. I bought this kick-ass motor from @Inwo

When it arrived, I started doing some rough measurements and quickly realized there was no way this was going to fit. Problem is that the early GEM have the gearbox dead center to the car, while the later GEMs, the gearbox was off-set closer to the driver’s side giving more space for a longer and bigger motor. Even if I messed around with wheel spacers and moving the suspension, it was going to hit the steering knuckle and just not work.

Back to the drawing board and brainstorming with @Inwo and @MikeKC, I figured we needed a smaller motor and @inwo had a 5Kw motor he was willing to part with. It’s about 1.5 inches longer than the R4F/D&D motor so I figured with some shock adjustments I could make it work.

Played the father’s day card to get some time tinkering in the garage and ripping everything apart. Was able to pull the old motor, gearbox, axles, shocks, and controller. Turns out the original gearbox is leaking oil, the axles need new boot clamps (I’m going to replace the boots while I’m at it anyway), and the blue motor probably needs to get re-worked because of the oil getting thrown around (I’m going to get it rebuilt by @Old_Houseboater anyway knowing that I’ll probably rebuild another GEM sometime soon).

check out these shocks

Got the 12:1 gear box re-installed and now I’m waiting for parts to re-grease the axles, replace the boots, and some spline grease/paste to mount the motor and reattach the axles.

Taking a break to tend to the ribs on the smoker and organize the garage. Will pick this up during the evening this week and post along the way!

1 Like

So it has begun… LOL
Looking forward to the progress !!!

1 Like

@Inwo I think your 5kw motor that @MikeKC sent me along with with the Sevcon controler is going to fit. Switched to the 12:1 gear box today. Wild card is the suspension. I should know this week when I get the CV boots, can rebuild the axels, and can start putting it back together.

Not sure that fatter motor would fit with the battery tray up front. I’ll send pics

I’m going to install / mount the motor tonight. where did we land on the motor bumper for the AC motor? necessary / unnecessary?

I’m also going to use Honda HN 08798-9010 MOLY PASTE (M77) on the splines before re-installing.

no bumper needed. IMO - I have not used one yet

No bumper here either.

Made a little more progress tonight. Skipped the bumper and installed the motor. Lock tight 242 (blue) on the bolts through the differential to the motor. Honda paste on the spline.

Next up axles

Slower moving than I hoped… silly work getting in the way. Chipping away at this at night… I was able to break the inner joint but couldnt figure out the outer. That was good enough to get off the old boots, got most of the old grease out, new boots on, greased, and clamped. Got the axels back on.

Now to figure out the shocks. I bought these extenders from Nev accessories. Think the motor is still going to hit on the passenger side. I’ll probably have to use longer bolts and install the shocks outside of the shock mounts.

That is what most have done - not pretty but it works. :slight_smile:

Nice progress! Reminds me I still need to get to replacing the boots on my steering rack.

Got the QA1 shocks put together (thanks again @Tyson_Davis) and mocked them up on the shock mounts and extenders. Local hardware store didn’t have enough washers so I’ll have to run down to home depot tomorrow to see if I can get a box of them.

If I can get the shocks on, should be able to put on the wheels and drop it off the stands. Then mount the sevcon and wire it up. Fingers crossed for a test run this weekend.

Looking good! Love the shocks.

@Tyson_Davis - I’ve got a couple of silly questions I wanted to run by you for the shocks and how you installed.

I got the shocks positioned and rough mounted with the only M12 washers I could find at Home Depot. The problem I’m seeing is that the shocks can rotate pretty significantly because the washers only cover the “eye”. not sure what the technical term is but i have pictures.

I think I need a larger washer that’s > 26mm but smaller than 34mm for at least against the shock.

Problem I have is that I can only find 24mm or 37mm. I’m thinking I can either go with the 37mm and cut the bottom so it’s flat and flush with the bottom. Or I just shop around for the right diameter and drill the center hole the size I need? @Tyson_Davis in your pictures, looks like you found the right sized washers and might have some pointers for me.

What material do you guys use for hardware? I’m a boat guy and tent to go to stainless as my go-to… but again, am having trouble finding stainless washers. Do you guys use Zinc or galvanized? I mean, I’m in SoCal so we don’t get all that much rain. the most moister it’s going to see is when it’s getting washed. Is stainless overkill?

Finally - do I need a spanner wrench to adjust the shocks? or do I just jack it off the ground and go by hand.

I can;t see the other end of the shock so I can’t tell if you need a spanner wrench. My QA1 on my slingshot need one.
You have have a nut on the bottom at is slotted all the way around, spanner wrench.

I might have been lucky because I Used stainess front tracker supply that a next to my offfice. I have not problems with how they fit.

I jacked my cart up so hight and the stepped on the wheels to make sure they were alll the way down then I Turned the shocked by hand till they where right or so the tires where more than leaves. I went more than level and then drove off my driveway curb and back on to make sure the height Sat’s the same.

I’ve been replacing most of the hardware with stainless as I go.

A lot of the nuts and bolts were rusted from the GEM being kept near the beach. Any hardware I don’t replace with stainless gets cleaned in Evapo-Rust then treated with Rust Prevention Magic (RPM).

I don’t think you need to be concerned about the shocks rotating. The heim joints should maintain the alignment and keep things from binding if there is any rotation through the control arm’s range of motion.

Hard to tell how much clearance you have between the shock extension bracket and the shock body from the photos but you may want to trim that bracket back a bit if they are really close.

@MikeKC Here’s a picture of the bottom of the shock. I ordered up a spanner wrench (why not, gives me an excuse to get new tools ;). I’ll try @Tyson_Davis method for now of doing it by hand since the wrench won’t show up until Monday and I tried a few local shops that didn’t have one.

@RS_E6 I wasn’t even really thinking about binding (probably should have now that you mention it… but good to know I don’t need to worry about it)… I was thinking about noise. The shocks spin easily and freely and I was worried it would sound like change in someone’s pocket as I drove down the road.

Sounds like stainless should be the goal for the hardware. My hangup is I’m looking for stainless when I’m not sure of exact fit so I’m going around to all these hardware stores and they don’t have enough of this, or are out of that, etc, etc. and wasting too much time running around. For now, I’m just going to look for the right size hardware/parts (regardless of material - galvanized, stainless, zinc) at the hardware store 2 blocks from me so I can get this off the stands, wire up the controller, and test it out. Then once I know exactly what I need, I’ll find the hardware of all hardware stores or take to the Internet to find what I need and swap everything to stainless.

Here’s a pic of the extension bracket and shock body. Think that’s enough clearance?

Want to talk about tight fits and clearance? Check out the driver’s side with the brake master cylinder

Ok… enough of boring hardware discussions and on to more fun things.

@MikeKC @Inwo I have an @inwo spoof installed. Remove? Leave it? or does it matter?

@Erniea15 - remove the spoof, no longer needed

I’d say run it and see what noises you get. Some heim joints can be noisy but you could get some noises from binding too so you’ll just need to see what happens. There shouldn’t be much if any rotation occurring with that assembly so I wouldn’t think the shocks would rotate much under load. I’m often chasing noises on my GEM. I’ve eliminated a lot of them but I need to get new bushings on my shocks as they rattle a bit during load transitions.

You might have enough room there between the bracket and shock body but you could take the spring off the shock and articulate the control arm to see if that hat contacts the bracket.

I ended up ordering one of these to measure threads and have been ordering most of the stainless from Grainger or boltsandnuts.com when I’m not in a rush. Amazon can be good too sometimes.