GEM 2005 ES Rear Brake lights staying lit, no rear turn blinkers

I’ve got a new to me 2005 GEM ES that seems to have some wiring issues going on with it’s rear lights.

• Brake lights and turn signals are not working on any of the 4x rear lights.

• When I turn on the headlights, all 4x rear lights (minus the one with a bad bulb) light up solid. Is that what it should look like with the brakes pressed?

• It appears that I have a bulb out on the lower rear R light. I should be able to replace that myself.

• The turn signals and headlights do work on the front.

Issues that are unrelated but potentially connected so I’ll share them here just in case:

• The brakes have some other issues I’ll be posting about in a new topic. In short, I was told I might need a new master controller for the brakes from the seller. Brakes kind of work but are very gradual to respond. No weird noises or shudders, just a weak brake.

• The emergency parking brake is the same- very weak and will not actually hold the car in place. Thus the wheel chuck.

• Emergency parking brake also doesn’t activate the display light. Cart can be driven while parking brake is engaged without any warnings.

I think you mean master cylinder. Start by flushing the brake fluid, its probably 20 years old.

So the parking brake is on cables. Look at the adjuster where it goes from 1 cable to 2. If its fully taken up, then its likely you need to back it out and pull the rear drums and adjust the shoes properly. A friend / the person who i sold my 2010 to called them foundation brakes and iirc the rears dont dont have self adjusters in them so people would just tighten the cables instead of resetting the shoe positions.

It does sound like the wiring is bassackwards. I don’t recall though if the seat back lights were wired for high & low brightness. Iirc, on my 02 truck they were but only for brakes. Not turn signals. I think i split the wiring for turn signals. Then put led bulbs in there NA1157 i believe. They were too bright. Almost blinded me when driving. The 10 truck had a single 3rd brake light on top of the cab.

I don’t know if the -05 is like an 02, but my 02 has a switch that is activated by the foot brake arm. If I remember right, it is pressed in when the pedal is out and then releases when the pedal is pressed. It is a Normally closed switch, which means that when not pressed in, it conducts and turns on the lights. If your brakes have a weak pedal, perhaps the Master Cylinder (not the one from Felix the Cat) is not pushing the pedal all the way out like it should. One way to help figure it out would be to have someone pull the pedal out while you look at the lights.

Perhaps follow what Jar Jar Java recommended. Flush and refill and bleed them.

Now i remember, maybe. Iirc, the 02 seat backs were wired as low brightness running lights. I rewired them for brake and turn. With the led 1157s the entire longbed glowed red when i was on the brakes.

I was thinking about switching them to green but who remembers Repo Man besides me…

Ymmv. Different year, different state requirements.

Thoughts on rear lighting
I would start by checking for the proper signals coming out of the PSDM.
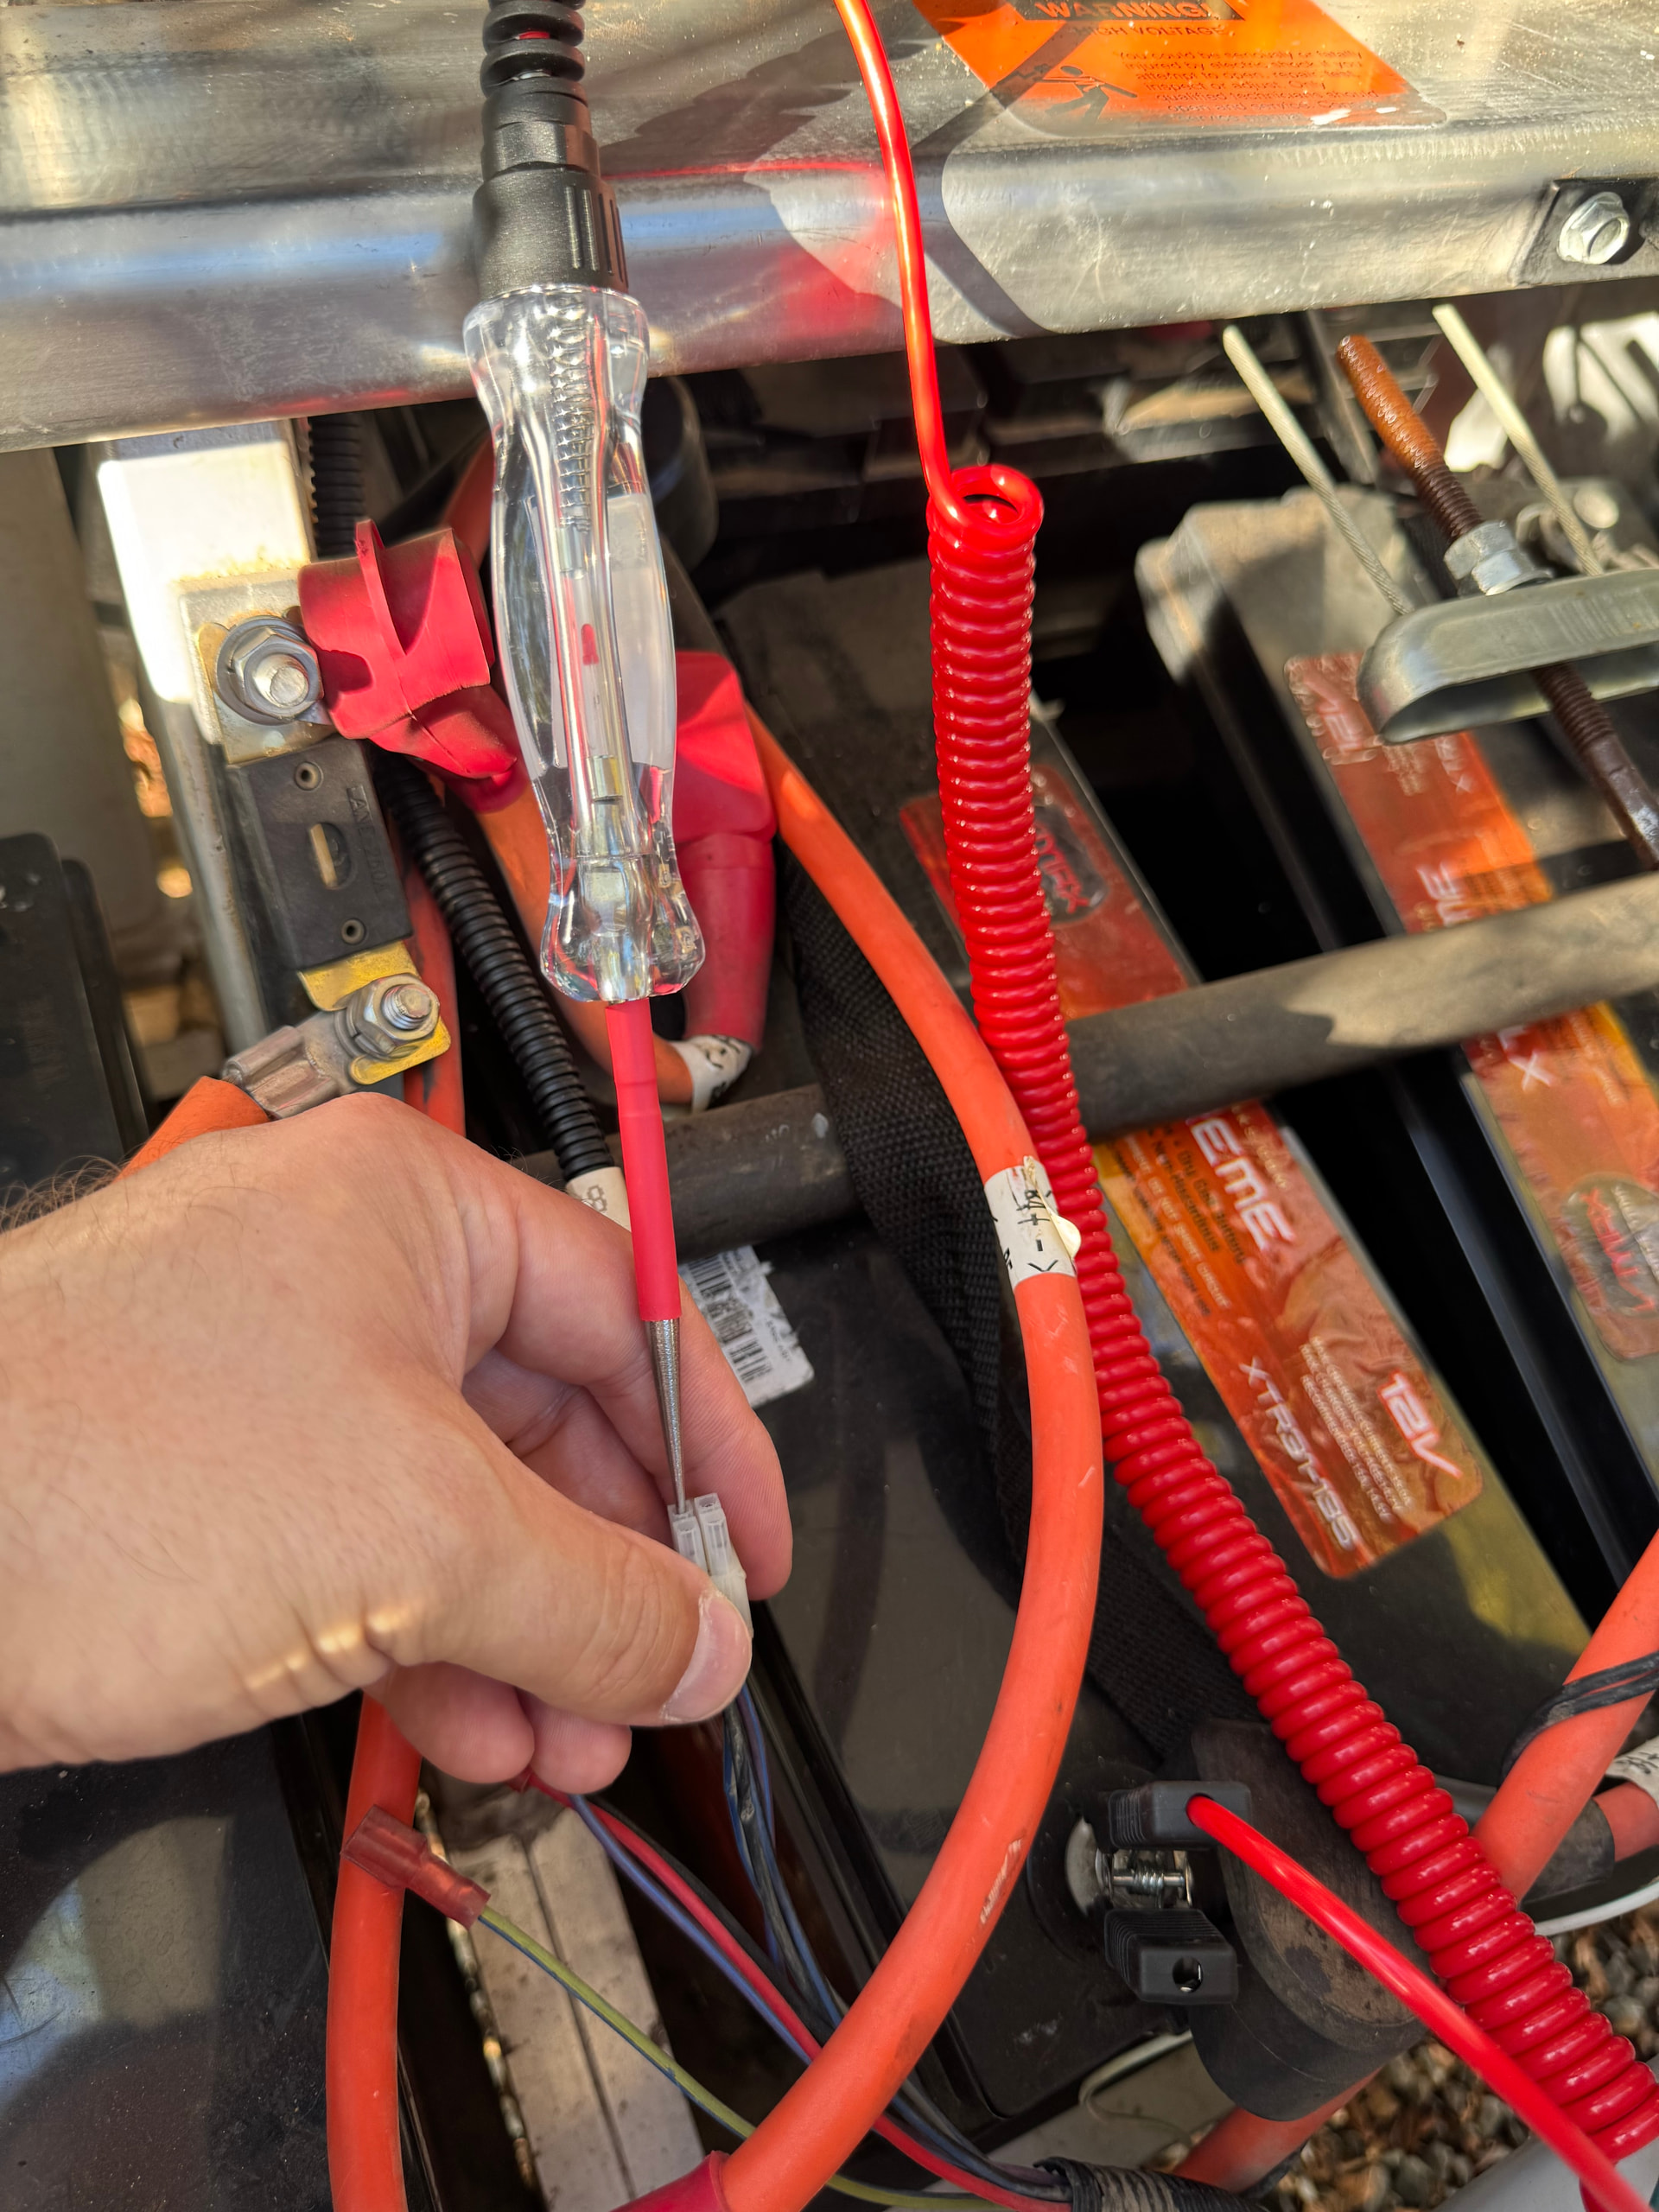
Under the rear seat, locate the 2x2 molex plug that peels out of the main rear harness and changes to the rear Tail Light Harness.

A digital meter has a tough time showing pulsed signals (like a flasher), so use a test light to verify the flashing turn signals at the plug.

Your target wires are Bk/DkBl and Gy/DkBl (ref ChassGnd).
Vt/Db is going to be your RunLight wire.
Brake lights are using the same filament as the Turn.

If you have signals working at the plug, then you can move towards the back.
I have seen some strange back feed happen if there is no proper ground. This produces some really confusing symptoms.

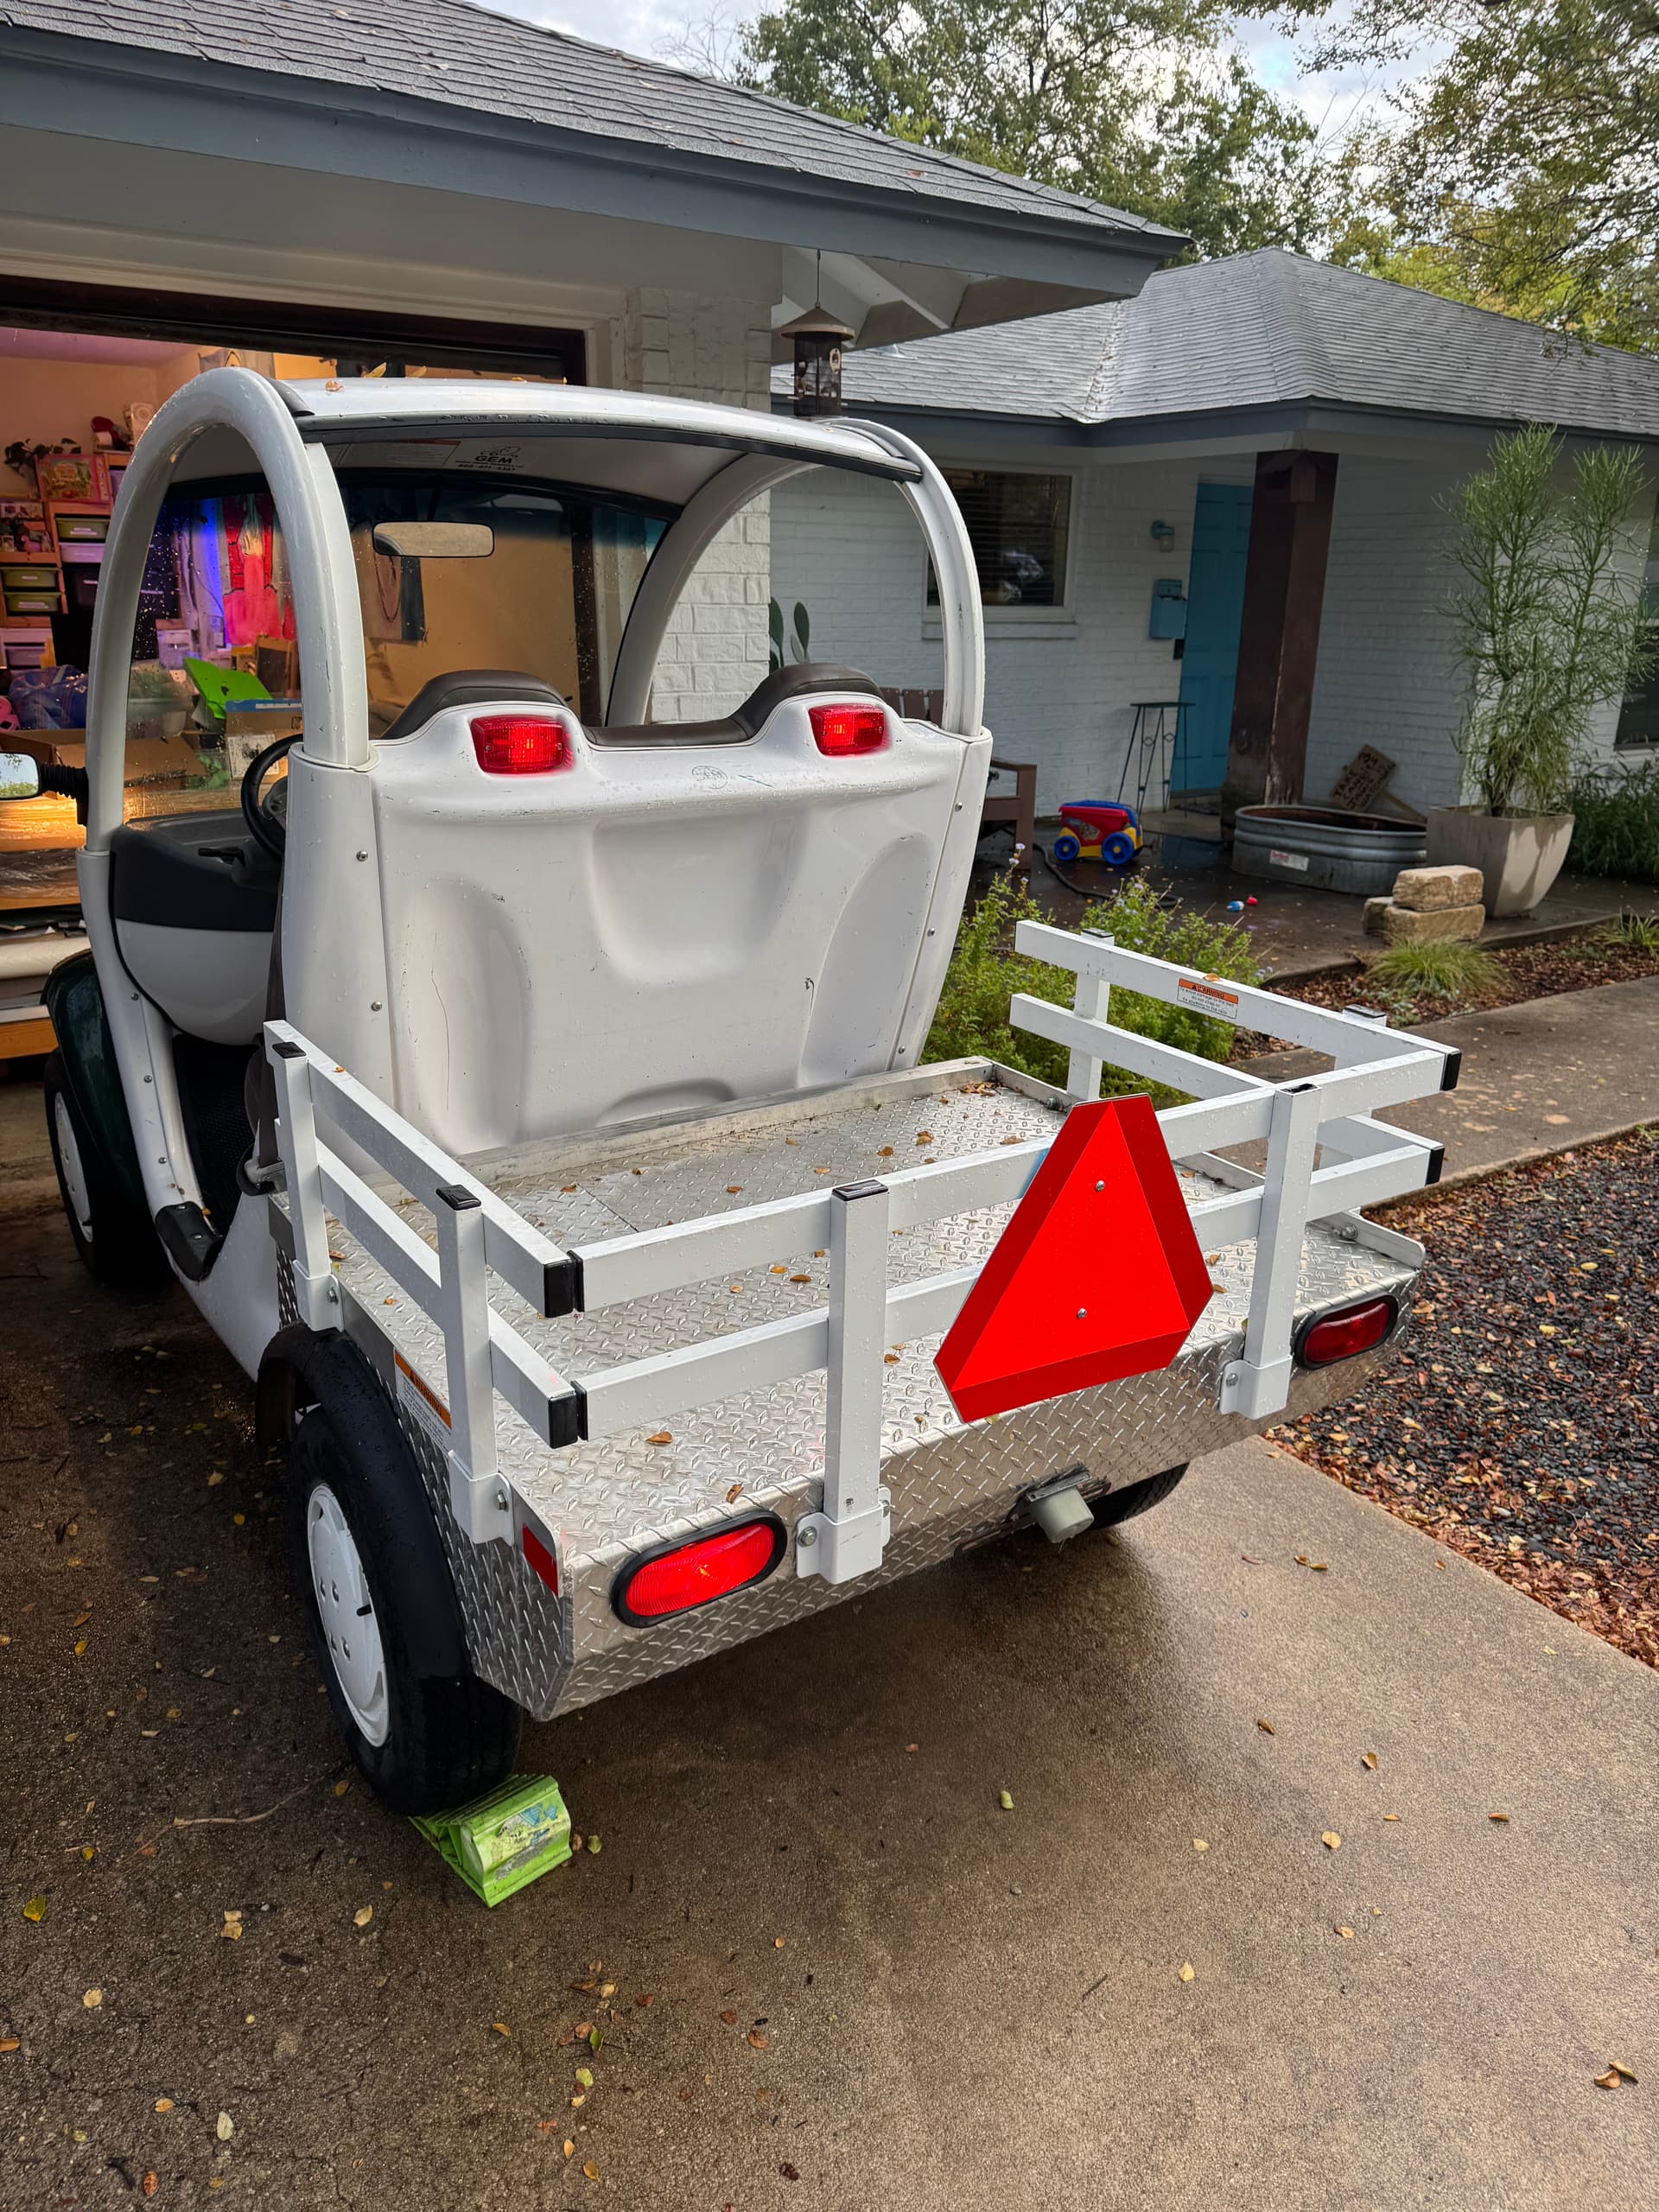
Your pic showing 4 tail lights at the back of your car means that you may have a version of the New York Lighting/wiring. The upper Head rest lights were wired as Running Lights only (as in the following diagram)
(good catch JarJar). If that were my car, my OCD would make me run the extra wires up to the upper lights and make them work with the bed lights.

Weak Brakes
When you press brake pedal, how far down does it go?
Is the pedal firm? or kinda spongy?

Handbrake

Emergency parking brake also doesn’t activate the display light. Cart can be driven while parking brake is engaged without any warnings.

Key to this is that your car is a 2005. It is the first year of the Gen2 cars and one of the odd quirks of this year. The wiring guy didn’t quite have his act together and did not have the wiring installed to interrupt car function when hand brake is applied. It makes it real easy to drive around all day and smoke the rear brakes.

This may also be the reason why the park brake does not work so well. As JarJar suggested, if you have more adjustment in the cables, give that a try first. Otherwise, pull the drums off for an inspection to see what is left.

True- there is a switch at the brake handle, but it’s function only sounds off the beep when KeyOFF and BrakeNotSet (keeping you from walking away and your car from ending up in the lake).

Another part of the root issue is that the T3 controller did not have software programming that was concerned about the HandBrake pin13.

I suppose a creative wiring hack could add a few wires and a relay to fix this major oversight.

@Pythan @JarJarJava (shout out to the Binks!) @AssyRequired thanks to all for the assists here; as soon as I can I’ll dive in under the hood and see what I can discover based on your feedback.

Regarding those back trailer bed lights - how do I get in there and replace the bulb? I don’t see any screws on the light units so I was going to try prying the 2 halves apart but don’t want to damage them… once I get that off, I’m getting. new bulbs. It seems like y’all recommend switching to LED?

Weak Brakes
When you press brake pedal, how far down does it go?
Is the pedal firm? or kinda spongy?

It’s more spongy, has a bit of a push back. It will go all the way down I believe. The brakes will stop the cart going 25 mph to 0 in probably 20-30 feet when I push hard.

Thanks again - more soon!

those back trailer bed lights - how do I get in there and replace the bulb?

You don’t. They come from the boat trailer world and designed to be submersible. You need to replace the whole thing.

This might be an excuse to convert them both to LED, but then your flasher (being resistance based) may not detect the bulb and forcing you to upgrade that too.

Did the 05 have a thermal can for the blinkers? My 02 did. My 10 it was all electronic and part of the psdm. Never seen an 05 board so I’m not sure.

If it is a silver can, you can probably go to any auto parts store and get an electronic flasher that will replace the thermal can. Like $12.

If you replace the rears, check if you may have an extra wire already run for back up lights. Just buy led ones with built in backup lights and when you change the plug, add it and a jumper.

@AssyRequired noticed it on the blueprints one day and told me about it, so after veryfing it, i added backup lights to the 10 when i replaced the rear ovals. I think it was violet or maybe violet & gray wire. Again, it may not be in the 05 yet.

Btw, the partasam brand lights on anazon are shyt. They fail constantly. One set a board went out so only half of one light worked, another set leaked so it filled with rain water. OEM is Grote. They are 4x the price though.

Cr@p! You are totally correct. I am working multiple windows and got them confused.

Regarding the trailer bed lights - can I get this unit - or the $40 LED one - and reuse the rubber gasket I currently have?

Or should I just replace them both here?

The old rubber gasket is 20 years old and usually has all the flexibility of plywood at this point…

Wise words @JarJarJava - ended up going with these lights and this electronic flasher. I’ll give y’all an update on everything else as soon as I get under the hood.

BTW - miss your Repo Man callout above, that’s an all timer favorite for me! One of the best punk rock movies ever made.

You dont need the flasher per @AssyRequired

The flasher can was last used in 2004 apparently

Progress update!

Hey everyone - spent the week tinkering and got together with my more auto-savvy friend to take a look at the brakes.

Rear bed lights: I installed new LED lights for both of the rear truck bed lights and as a result now have working brake lights and running lights!

Turn Signals: Oddly enough, before I swapped those lights out the front turn signals had been working and the back were not. The morning afterwards, the front turn signals also stopped functioning. Very strange. @AssyRequired I followed your tips and tested those cords at the 2x2 molex and couldn’t get any signal at all… even for the running lights. Am I doing something wrong in my approach here? Additionally - there are 4x loose cables running alongside those turn signal cables that I wanted to point out - are they ok to be free floating?

Above: 2x2 molex with additional free wires.

Above: Testing all 4x molex entries gave me no light. I tested the light on a positive terminal and know that it works so I’m not sure what I could be doing wrong?

Emergency Brake: The parking brake adjuster did have about 2” left of thread to adjust so we tightened it as much as we could and still aren’t getting much, if any, resistance. Seems like its something else going on at the wheels? Additional question - am I able to disconnect one or both of those green wires that connect to the emergency brake handle end in order to get rid of the annoying beep warning it gives when you don’t have the brake activated?

Brakes: Had some progress here and some more questions! We were able to successfully bleed and drain off some of the old, dirty, brake fluid from the rear drum brakes and doing so gave me back some stopping power! It’s still not perfect but stopping much better, with a more spongy push back, than it was before. My friend suggested I get new shoes for the brakes and we install those as the next step.

The issue we ran into is that we couldn’t locate any valves on the front brakes for bleeding. Is there a weird location, or a different method, for bleeding the front disk brakes?

Thanks as always for everyone’s wisdom and time!

The rear shoes may not be making good contact with the drums. That could explain why taking up that much cable didn’t do much for the parking brake and also one of the reasons for the poor stopping power. The rears don’t have self adjusters, but when you have the drum off there is a way to adjust the pads outward - look up info on foundation brake manual adjustments and look at the components in there, the pivot point or spacer has a tiny bit of adjustment room. It doesn’t take much.

I’m not sure I’ve ever seen specs on the shoe braking material thickness. Maybe call NEV Accessories and see if they have the specs. They would be my first call to find replacement wear parts too.

You have to remove the front wheel / rim to get to the front bleeders. I’ve never worked on an 05, so I’m not sure exactly where those calipers have them. BTW, IIRC the calipers are made from unobtanium so be gentle.

Shoot me your email and I’ll send you the service manual if you don’t have it already.

1 Like

What are you using for reference on your test light? (in the pic it looks like you are clamped onto a battery?)

This car has two electrical systems.

  • Drive system - The 12v batteries are all connected in series and considered a single pack. Commonly referred to as +72v, but almost never at that number, so we refer to that as B+.

  • Accessory system - Used for powering all the 12v accessories such as the lights, wipers, horn, etc.

These systems are isolated from each other. This means they have nothing in common. When testing circuits you need to use the proper reference (where your Neg test point is connected) otherwise you will get very confusing readings.

When checking for B+, your test lead should be on a B- reference.

  • on the front of the PSDM.
  • Neg post on the controller
  • Neg post on the LAST battery in the chain.

When checking 12v. Use chassGnd.

=====

Oddly enough, before I swapped those lights out the front turn signals had been working and the back were not. The morning afterwards, the front turn signals also stopped functioning.

Verify the back lights are still working today. If front are still not working, unplug the rear light harness to see if something is interfering with the front.

Check the front 2x3 connector for V. Ref ChassGnd. Also check the ground wire in that plug.

Check fuses F1 and F6.

1 Like

@AssyRequired this is very enlightening - I was definitely using a battery negative terminal to read the molex power.

Check the front 2x3 connector for V. Ref ChassGnd. Also check the ground wire in that plug.

I’m not sure where or what that is - assuming GND is ground but where is the 2x3 connector? Is that the same as the PSDM?

Much like the rear harness, the front has a connector near the shock/spring that connect the hood wiring to the car (so you can remove the hood).

This connector might be a 2x2 molex on your car. Later cars have a 2x3.

Check it to see if 12v is making it out to that point. (Steady 12v when running lights are on, flashing when a signal is selected).

Also check your test light again. You may have blown it out by using a battery for ref, and probing the tail light wires. (one possibility of using the incorrect reference point)

Ok this is beginning to make sense…

…and I just realized I should be using the black ground wired within the molex as my ground when testing… right? Sometimes it’s the simplest things!

Will investigate further soon - thanks for the continued guidance!

Yes, because that is what the lights at the end are probably using.

If you still don’t see anything, switch your reference from that wire to ChassGnd. This checks the ground wire.