My brother was making a battery cable for a lithium battery welder and didn’t have a battery lug crimper. So he used one half of a pipe flaring tool to hold the lug and then used the cone shaped flaring clamp to crush the lug and wires. A center punch helped keep the flaring clamp cone on center.
He didn’t bother destroying one by cutting in half to verify the crushing but he’s really anal about everything so he would have yanked on it to verify it crushed and held the wire. If you cheat and use a smaller gauge wire than is for the lug then you could have problems.
I see the hammer crimpers are more of a rectangular imprint for extra surface area compression. I would imagine the flaring tool end could be ground to an oval or rectangle to get that elongated compression spot.
I have a hammer crimp myself and this video seems to show it’s a good way to go… My brother didn’t have a hammer crimp but had the pipe flange tool. So if anything it would def be good enough for temporary loads like starter motors, etc.
What crimper(s) are you guys using on the 2 7awg wires found on BMS attached to the SDI batteries?
I went to a local cart shop and his crimper only does much larger cables and does a hexagon(6 sided) crush. I noticed the existing crimps us a pin crush while also crushing the sides and this seems better for putting 2 wires in one lug.
THAT is really cool but sh;t, I can’t be trying to replicate it for a one-off setup. hmm, I guess I will have to try one of the dozens of hexagon crimpers on Amazon once I figure out how to sum up AWG cables. ie figuring out what cable size does 2 7AWG equate to.
Quick search on amazon and harbor freight didn’t turn anything up but a closer look and I found these:
Gotta look at the specs to see how long the handles are because I’m sure some cheap chinese half lead/half copper lugs could be bent in some hand crimps but I don’t want fire in the 2002 no matter how much jrjava wants me to burn my 2002. These cimpers say they can go to 2AWG and 7AWG + 7AWG = 4AWG from what I’ve found.
This model should do the trick since it says it can handle 2AWG. Going to look for some open barrel lugs with 6.4mm hole and 8.6mm hole diameters. My Leaf battery pack bolt fits a 6.4mm hole and the GEM battery lugs are 5/16" so lug holes 8.6mm. CNC, Laser cutter and 3D printers all talk mm so I measure in mm these days.
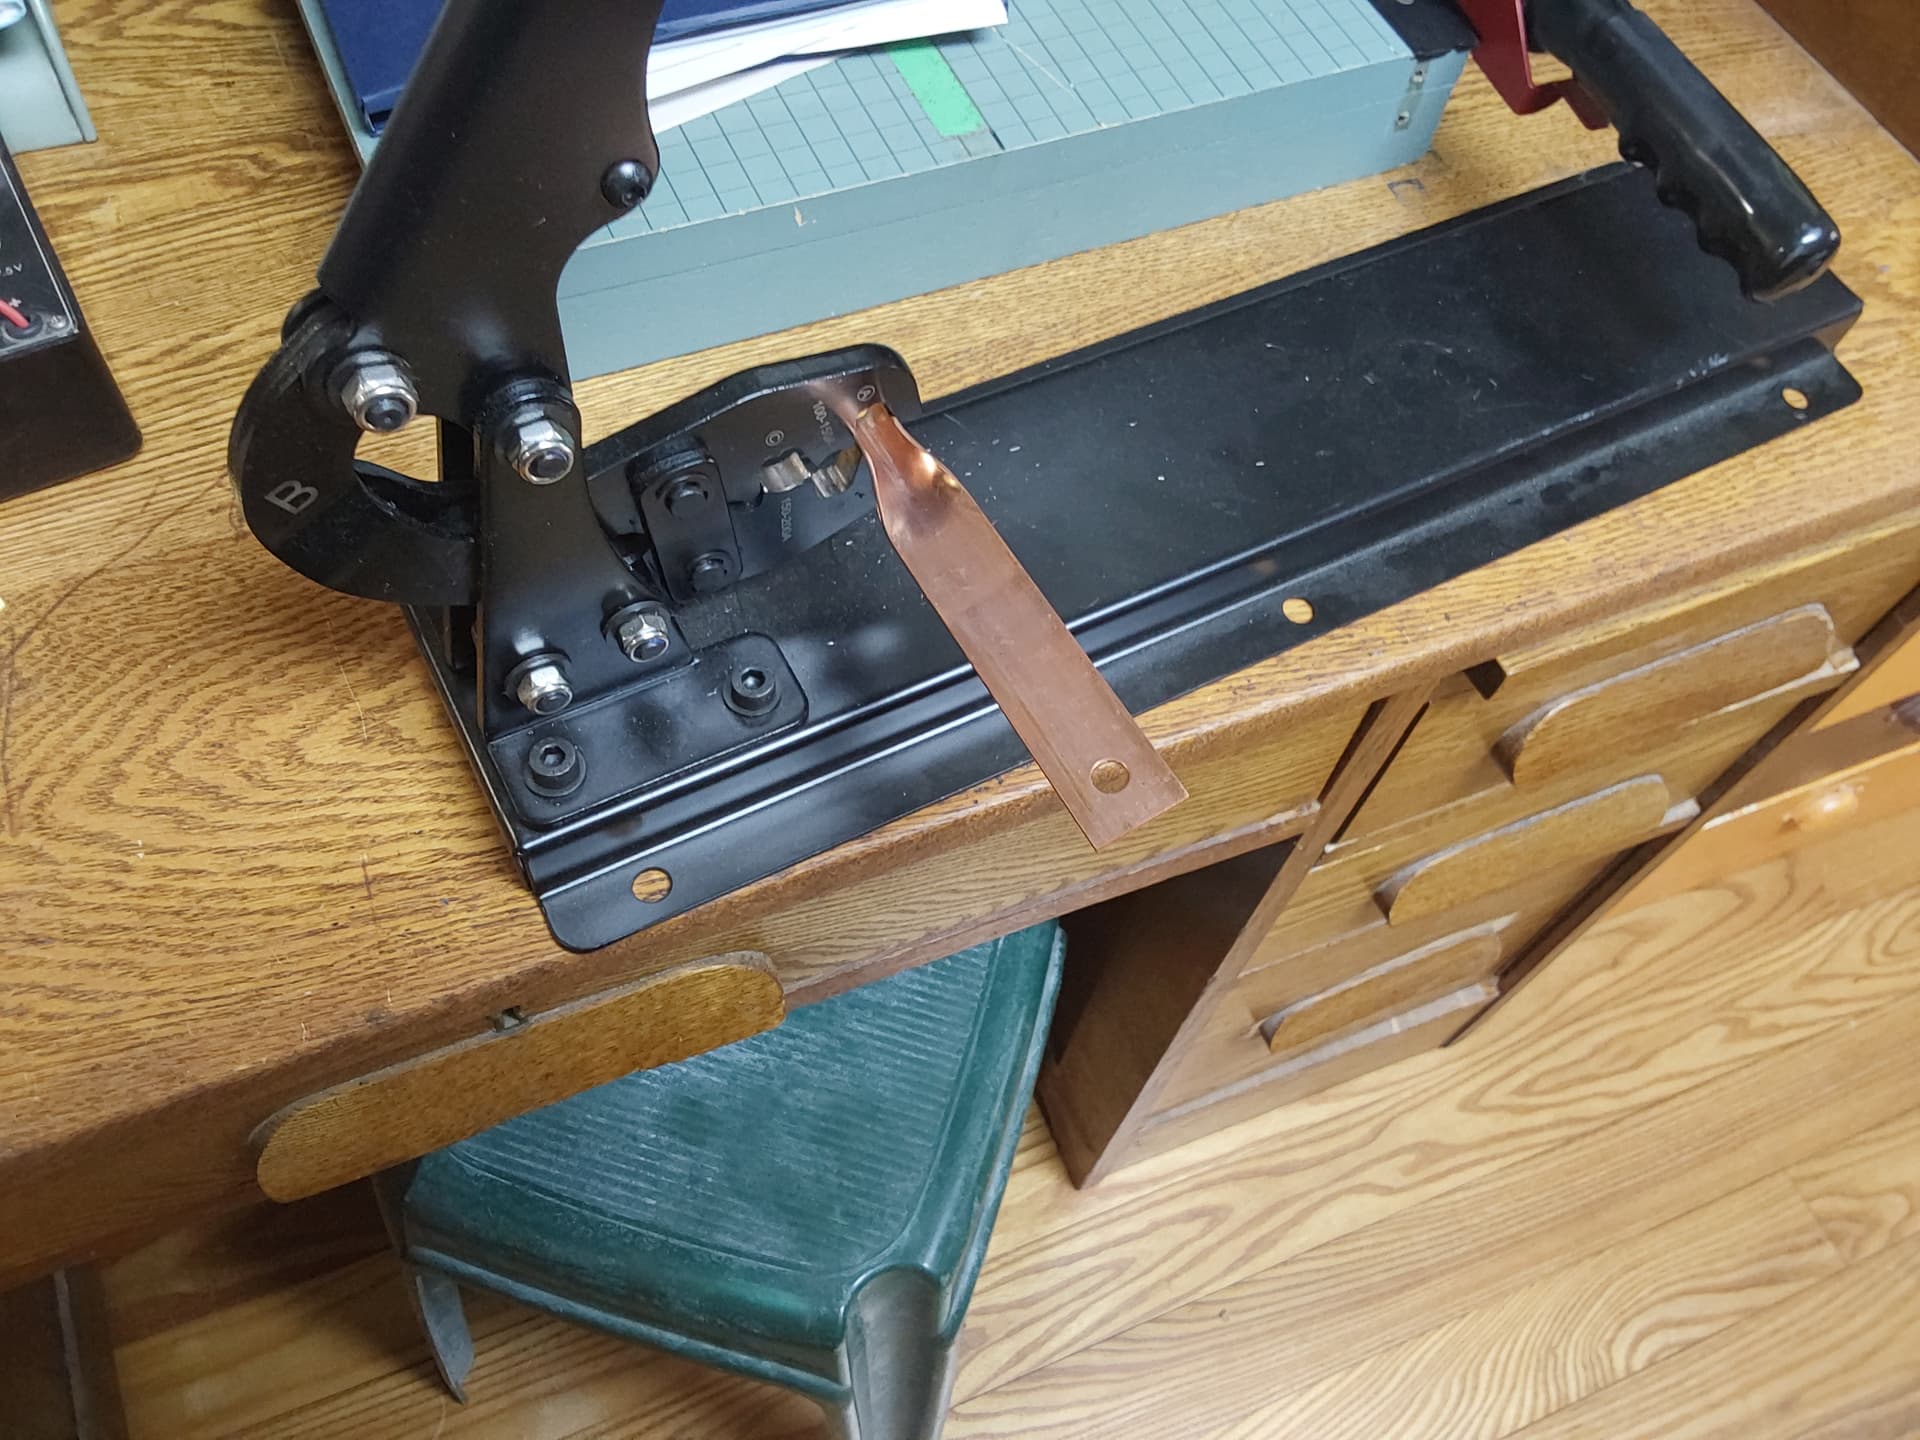
And now that I see more closely what the open barrel crimping action is, I recognize that your bench version has a funky inverted handle thing for higher leverage. Nice that you can make your own bus bars with lugs, etc.
gheesh, not finding open barrel terminals with 200A ratings on Amazon. The 2 7AWG equate to 4AWG and all the open barrel terminals I’ve seen so far top out at 100A and don’t give AWG rating numbers.
Going to go with 100A lugs at ~1.5mm thick copper and see how that goes.
oh man, I got another cheap chinese assortment and wanted to get the uxcell since it said “red copper” instead of “high quality”, “top quality”, etc but the link I’d found from uxcell was 1 lug for $8. The uxcell unit spec’ed the thickness(1.5mm) too. Will see what shows up on Friday.
I had lots of fun crimping 6 ring lugs onto cables and then crimpng little pin sockets when I made the sense harnesses for the 5 Leaf battery monitoring modules I currently have. Doing just the 30 ring terminals onto the BMS harness will be easy and fun. LOL Gotta remind myself not to cut the wires to length because I will want to keep a clean harness. Gotta keep all cable lengths the same. repeat.
oh crap, good point. Got a bunch of standard blue plastic covered ones and those crimp across… Will return those and look for some open barrel and get a smaller open barrel crimper.
The bullet connectors are good. I used to have a couple of motorcycles with most all the connectors bullet connectors and they last forever when they are sealed at the wire side. Thanks for reminding me how bad the plastic covered terminals are.
I had probably seen those as I’ve since looked at probably a dozen of them and lots of time trying to find out the wire sizes they fit. The BMS looks like 22AWG. I have a Klein crimper for doing Cat5 and Coax but since I’ve not done any of that in over a decade I will have to find them to see if I have jaws for crimping open barrel small size wires. Otherwise I’ll buy some new jaws.
About 6 months ago I had a conversation about this exact subject, ie crimpers which squeeze across the plastic and only pinch the wires in one place if you’re luck, and the other way which I now know is called Open Barrel and “B” type crimping. It really takes a bit of understanding to get this right and on stuff like GEMs which really bounce around alot, a solid crimp is definitely better. The crimps you did on the SDI/BMS look really snug. And I’m remembering now how I pulled off the hard plastic cover on the Leaf monitoring wire terminals and used pliers and cross cuts to get a length-wise crimp. The right terminals and the right tool would have made it lots easier. The monitor boards mount right on each battery modules so wires were only a few inches long and they’ve held up for what, maybe 4 or 5 years.