Build thread!

Hello Everyone! I am excited to begin my build thread:)

There is some stuff now, however the car is at the lake house so it may seem like this is dragging for ever :juggle:

However here is a list of what is done and INP to the car as of now:
7.5 RFF with new brushes DONE
Replaced input shaft and serviced transmission DONE
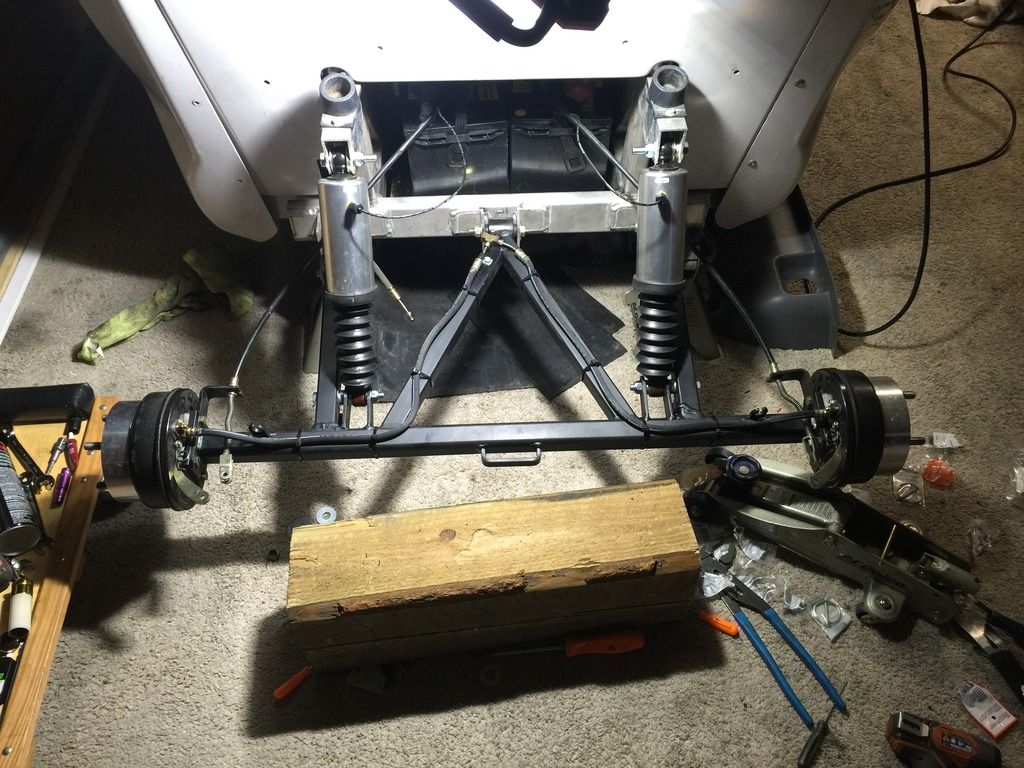
Replaced the entirely broken rear frame (waiting for welding on and reinforcement)
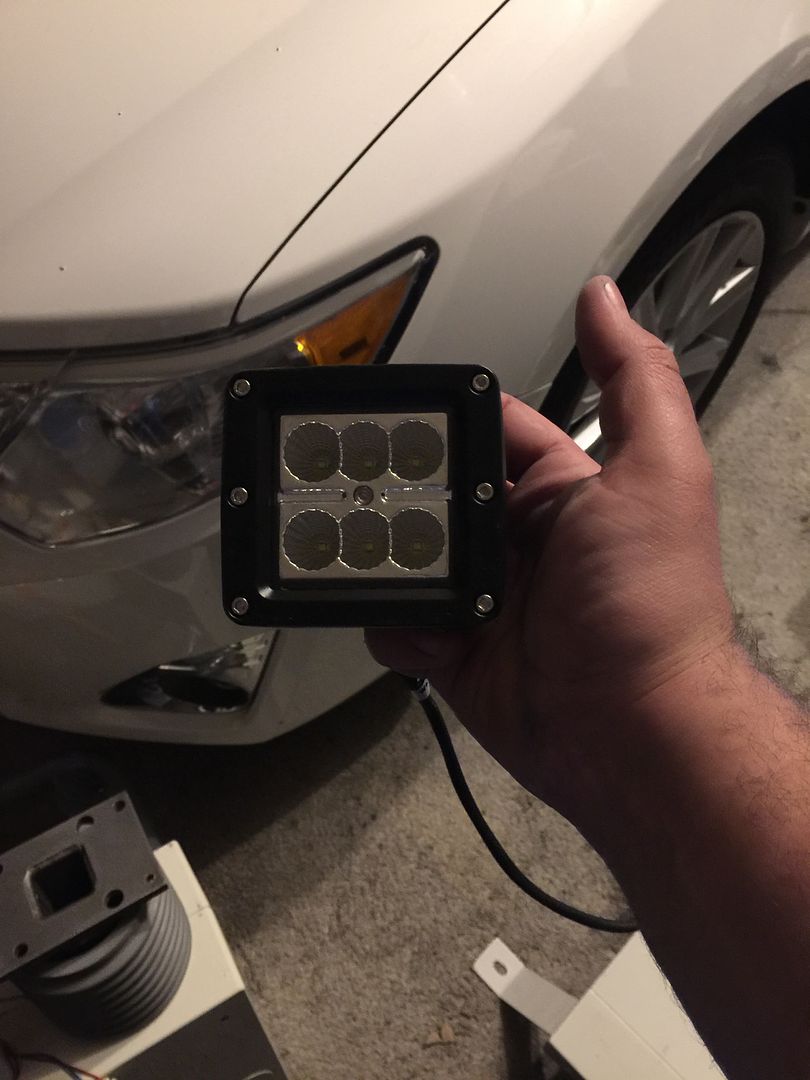
LED all over (in progress waiting for electronic relay) DONEish
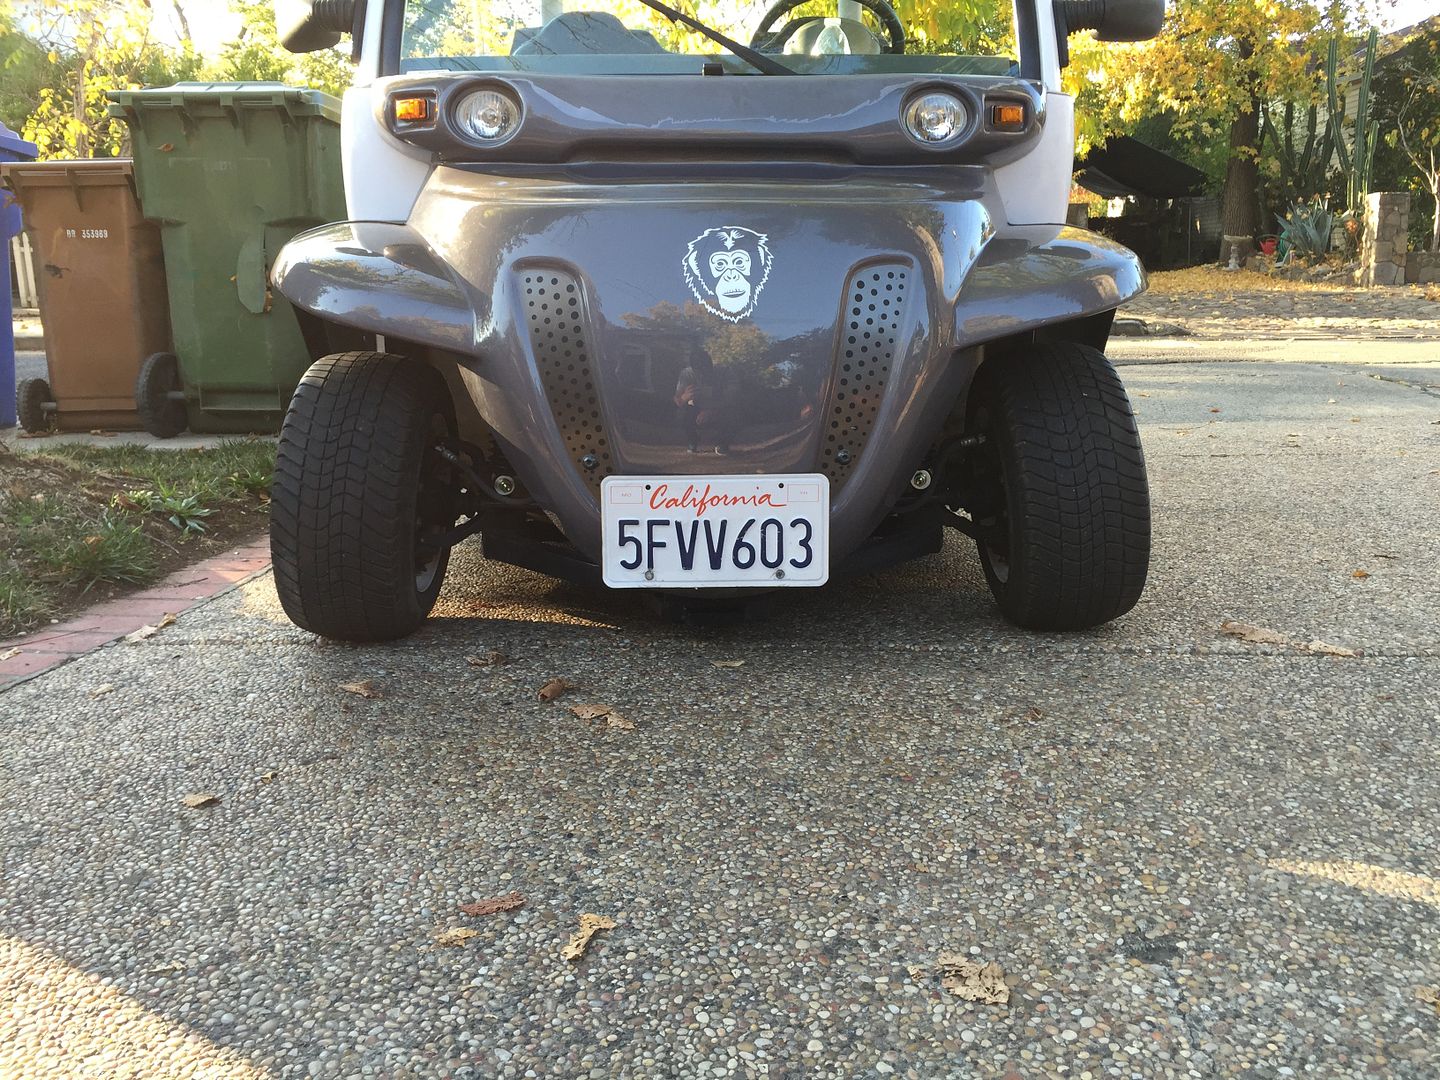
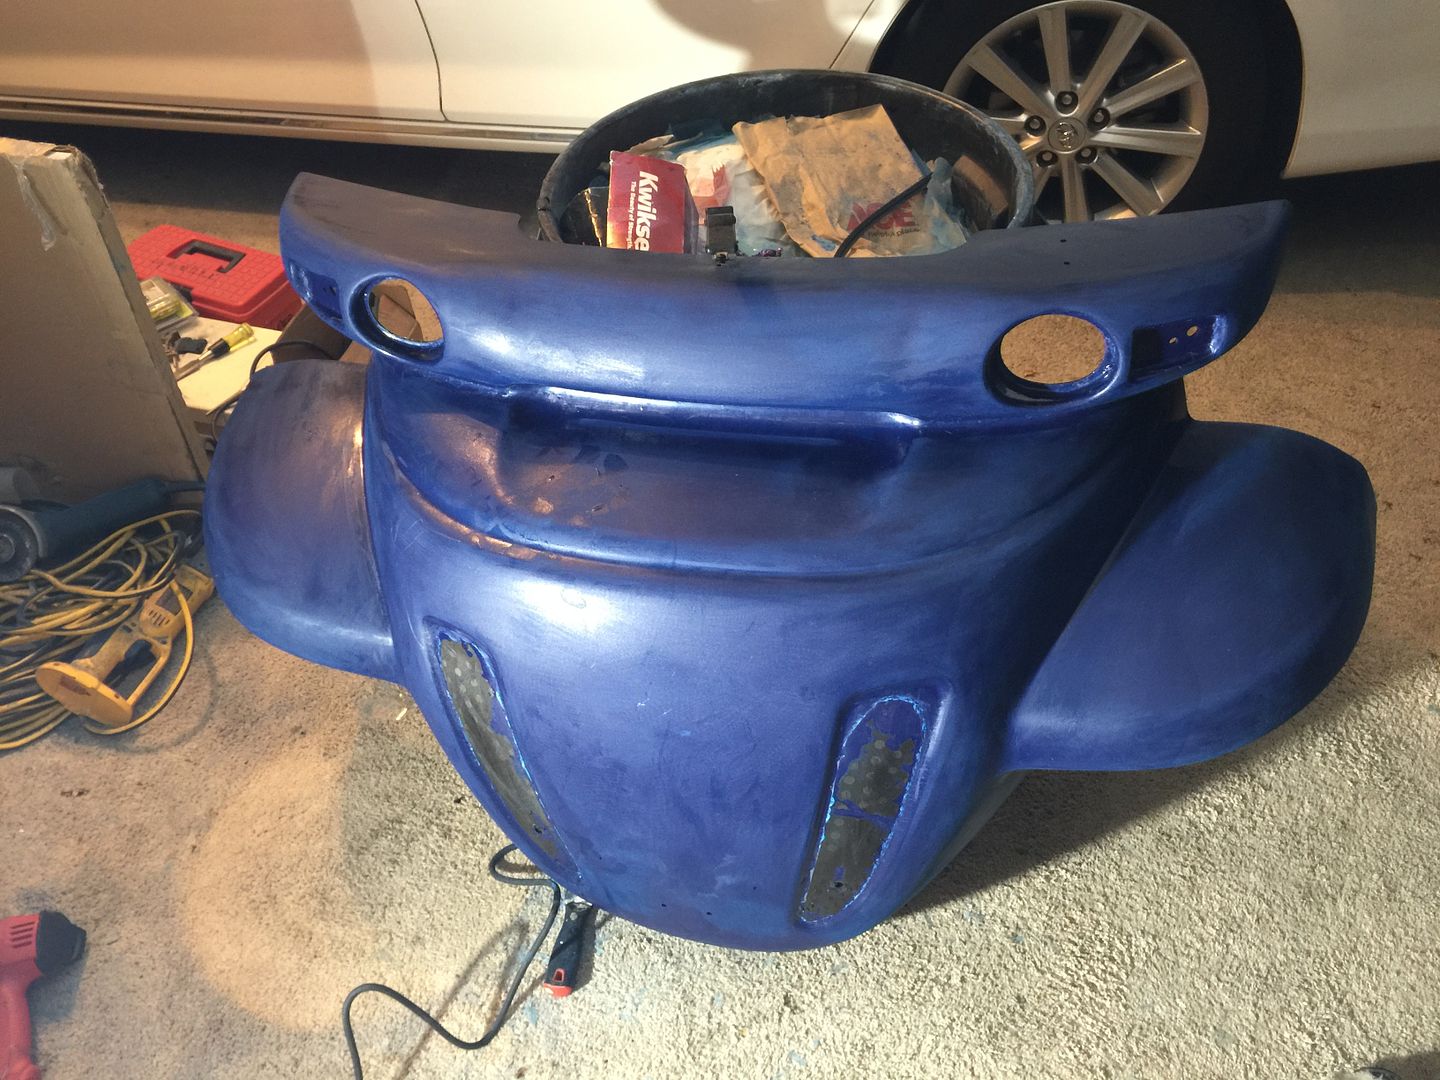
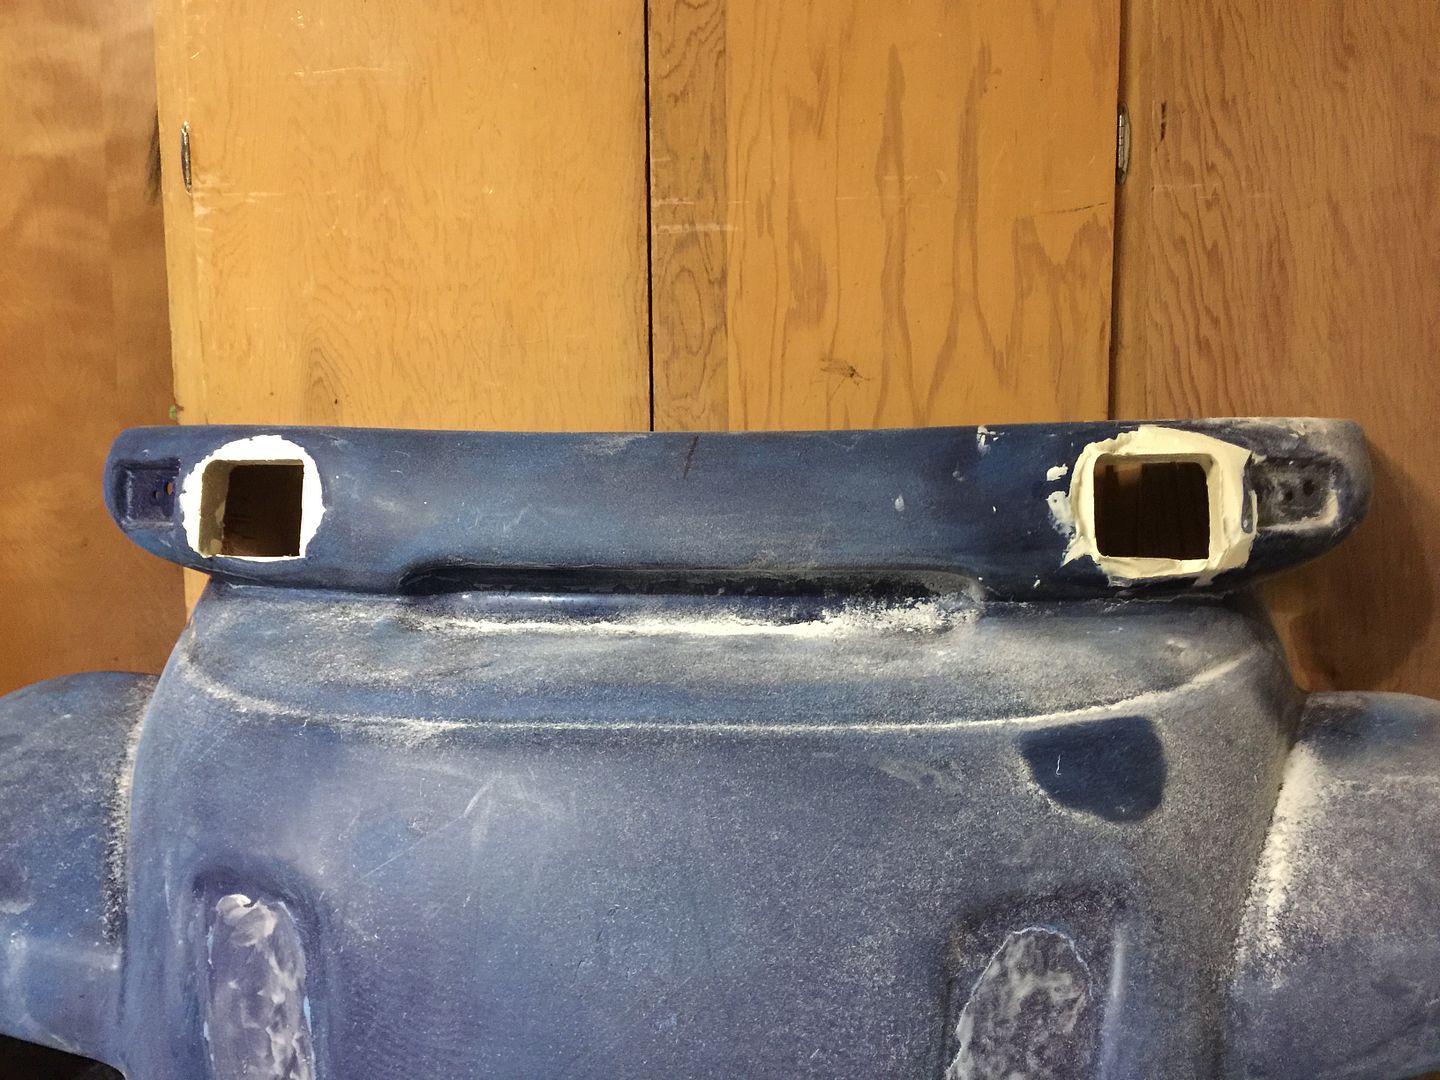
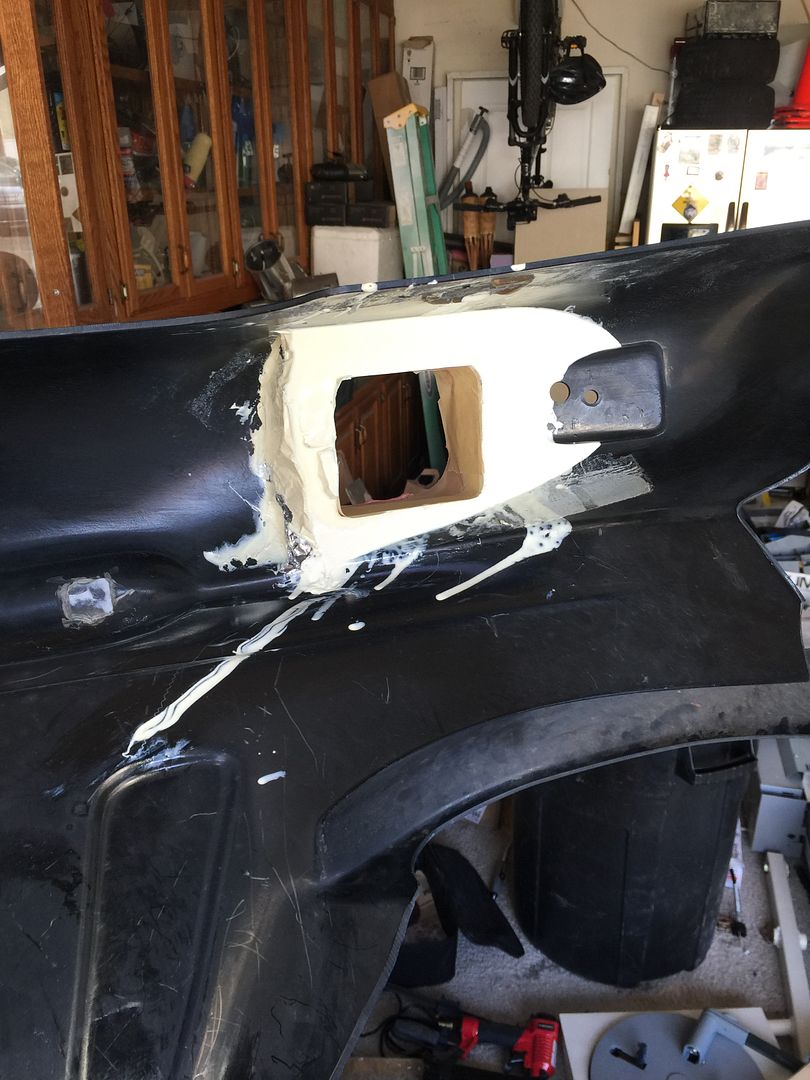
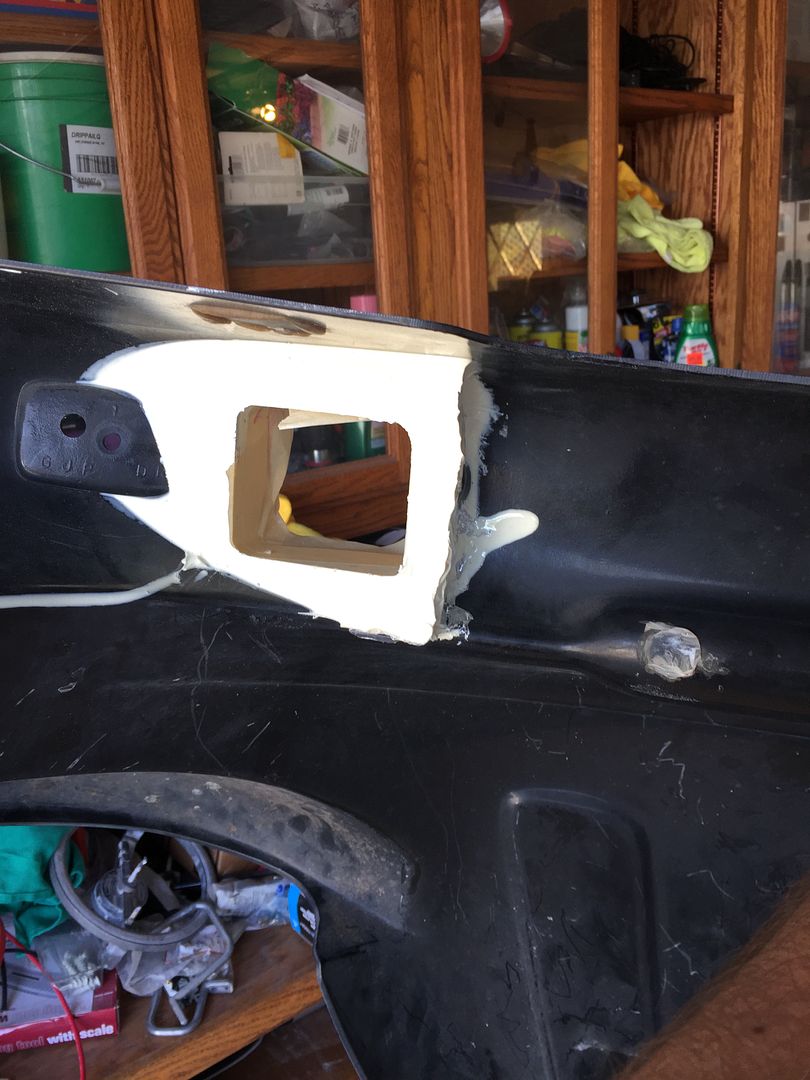
Square headlight conversion in progress (credit to GWest for the inspiration) INP
Progressive 416 air suspension at 50lbs in the rear DONE
Progressive 416 in the front INP
FOR TESTING ONLY (interstate batteries)
Dekka Gels getting shocked
HIGHLY considering the LI conversion that King has
Possible soft doors
14" or 15" wheels, debating the pros and cons (also waiting for paint)
Reprogramed T2 controller DONE
Interior black alcantra upholstery
LED roof bar
Luggage rack
Custom paint
MAYBE Battsuix if I do not do lithium
Steering wheel
EZ Steer (cant find this anywhere)
NEV accessories Disk break (waiting for wheels)
Rhino-liner all black frame pieces
Marine radio with 4/6 speakers and 10" marine sub
Reverse light/s
New sunroof
Auto rewind charge cord
Small AUX battery for the radio
Cracked pan repair…

POSSIBLES:
off board 240 charger
Some sort of solar charging rig…
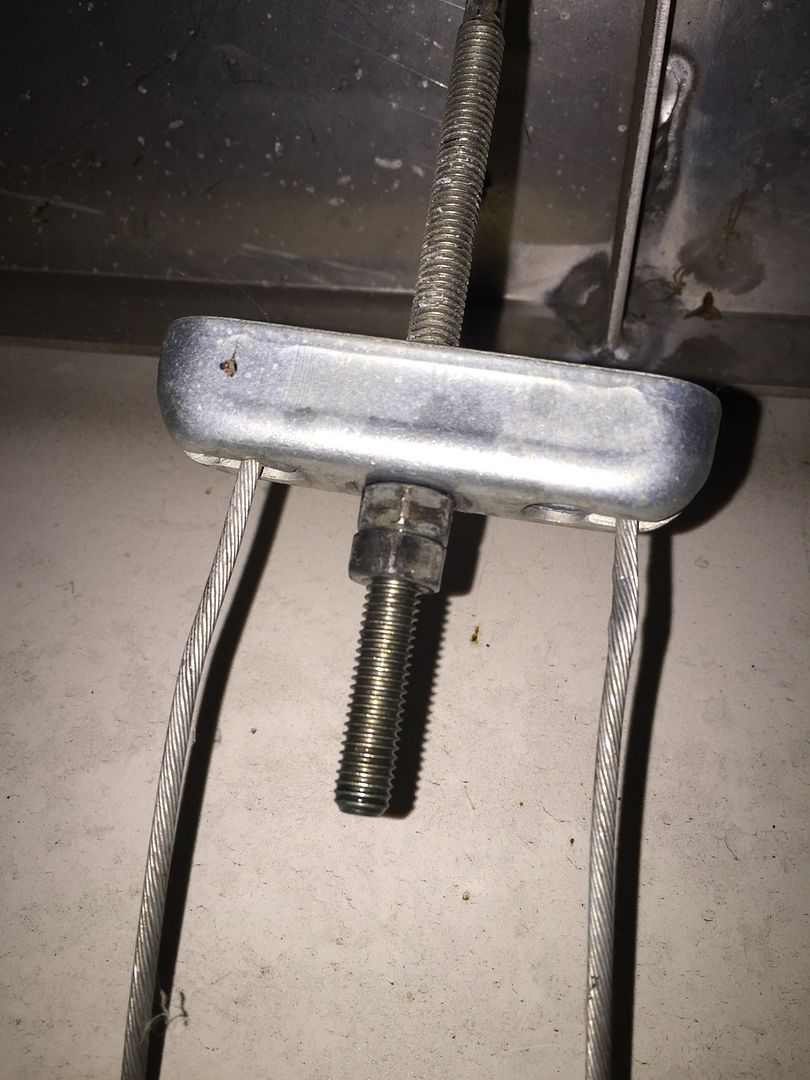
CRAZY IDEA, race car style built in jack… never need a jack again
Remote control parking… :smiley:
I have a tight parking spot…
GSM text when the charge is complete, then using a raspberryPI on board kill a relay that the charger plugs into killing the charger connection.

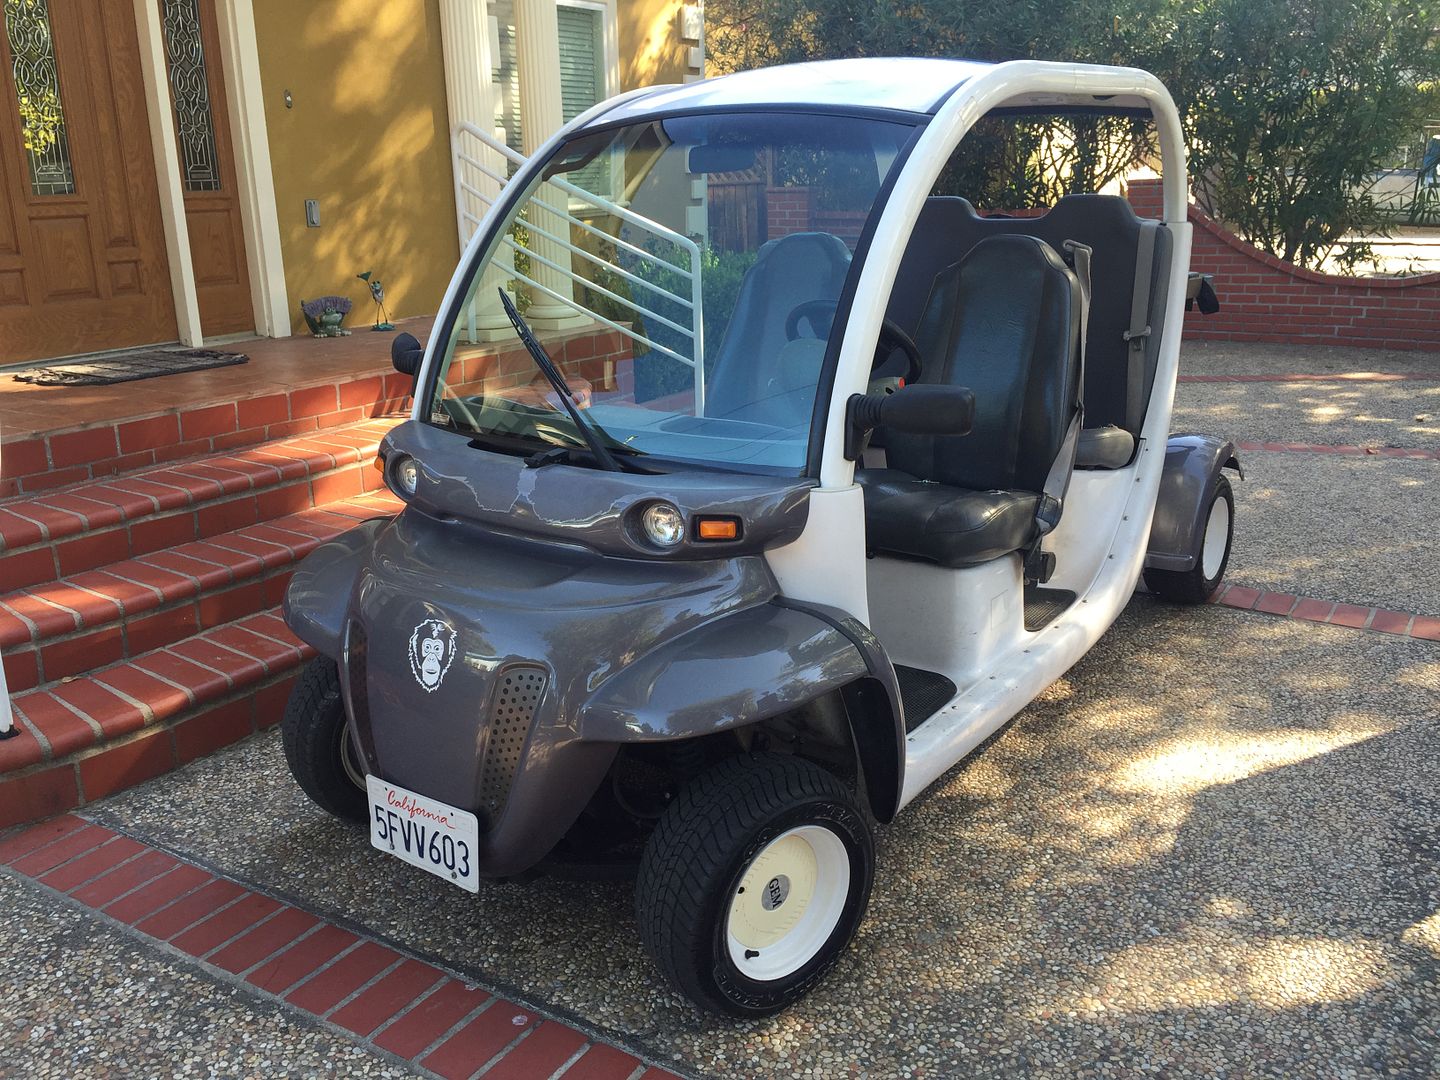
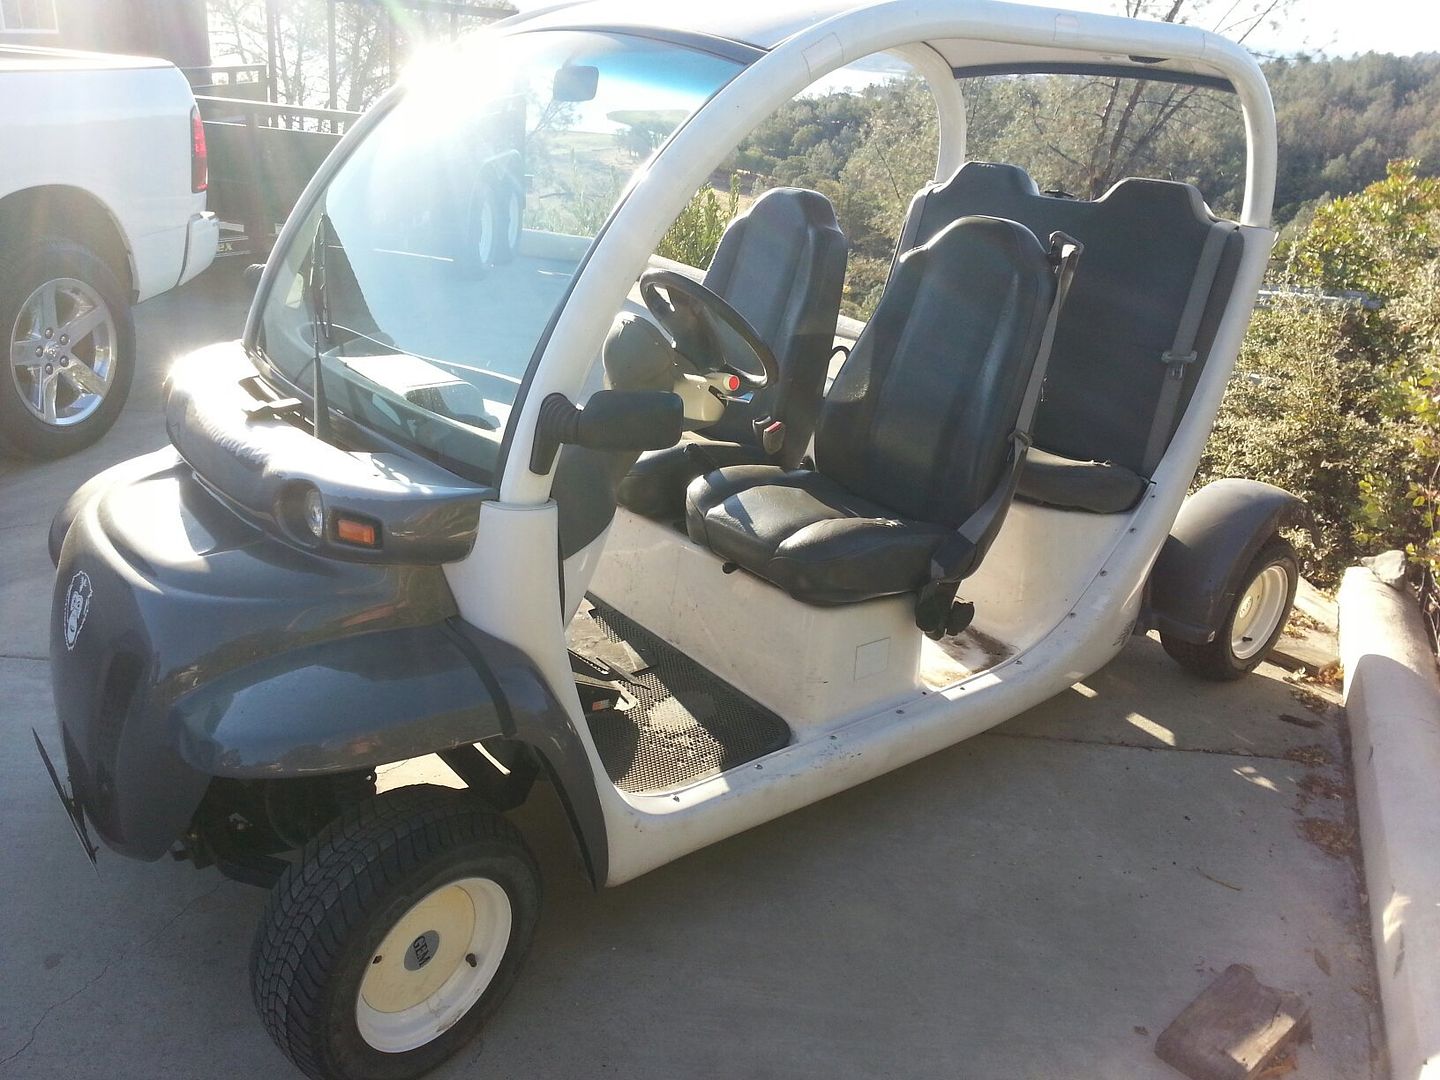
ORIGINAL GEM the POS that was sold to me with QUOTE (needs only new batteries)

Pan that I will use to fix my broken one… (SHOUT OUT TO GWEST!)

DERP! Suspension (when your new air shocks FAIL)

Square lights INP, I honestly wish Chrysler never painted these cars… such a pain in the ass to sand and work on…

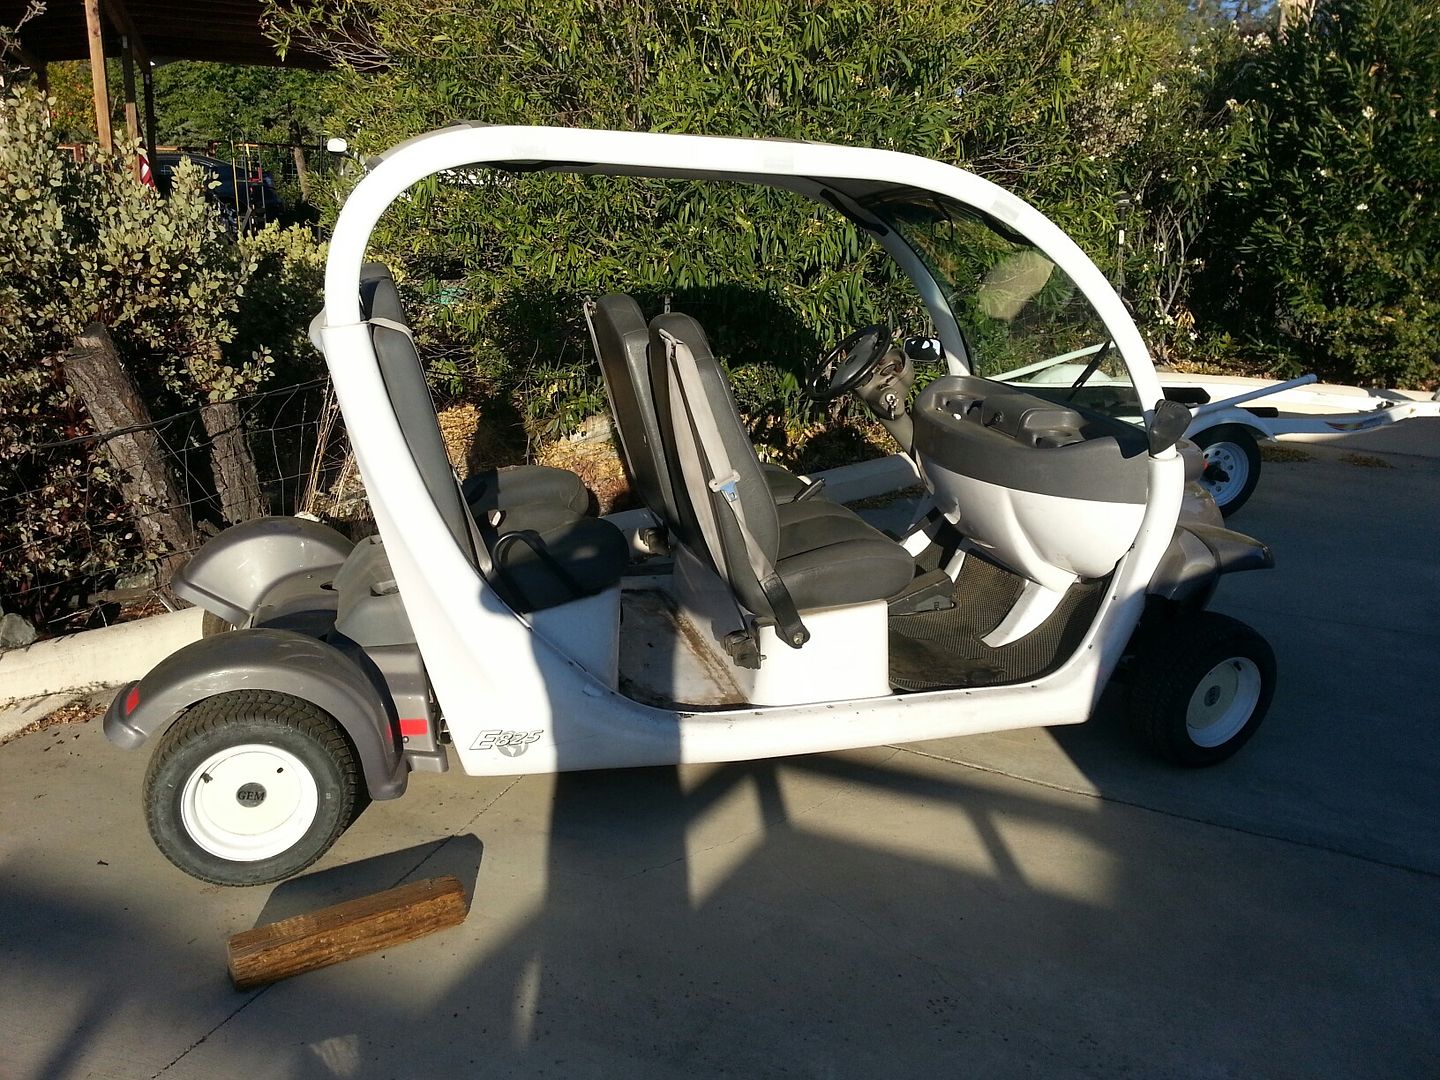
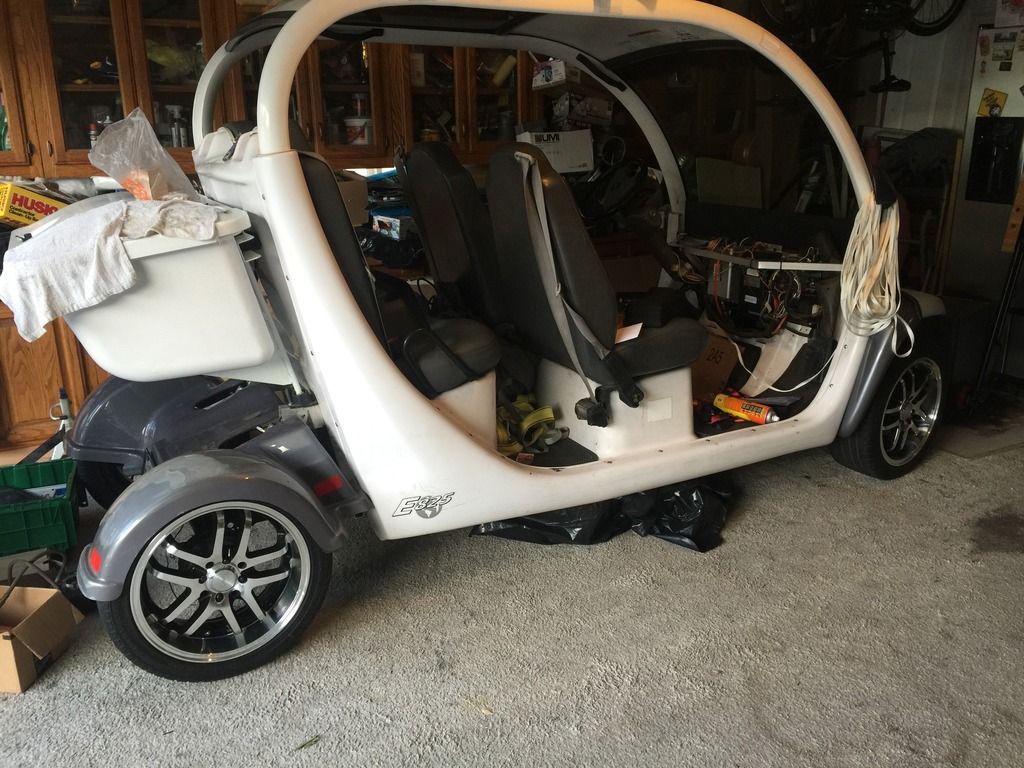
Current condition, trust me this is night and day between what I got and what is in the pic
Right on Vlad. Keep posting pics as you make progress. OH makes and sells the Ez steer. I give them 2 thumbs up. I have installed them on 2 Gems and they work great.
The steering on my 02 is between then on my 08 thanks to the Ez steer

Hello everyone! Here is a pre weekend build update. This past week or so I have only been able to focus on the frame and the headlights. (mostly the headlights, my shop was working on the frame)

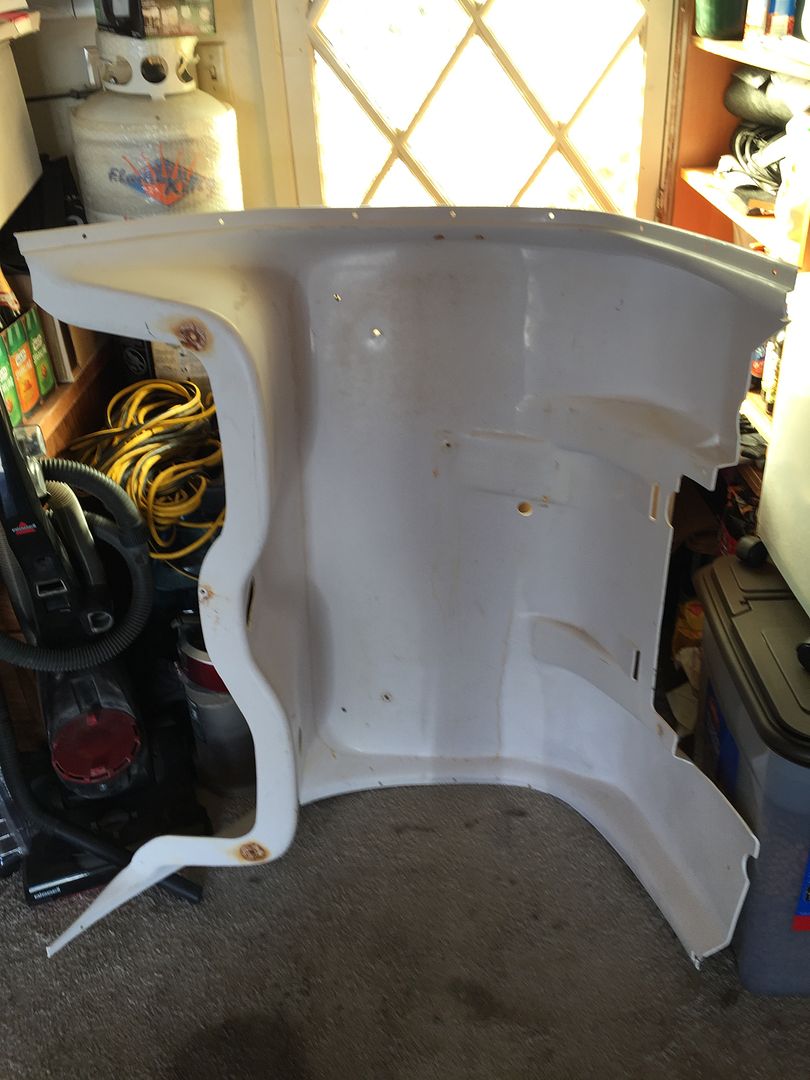
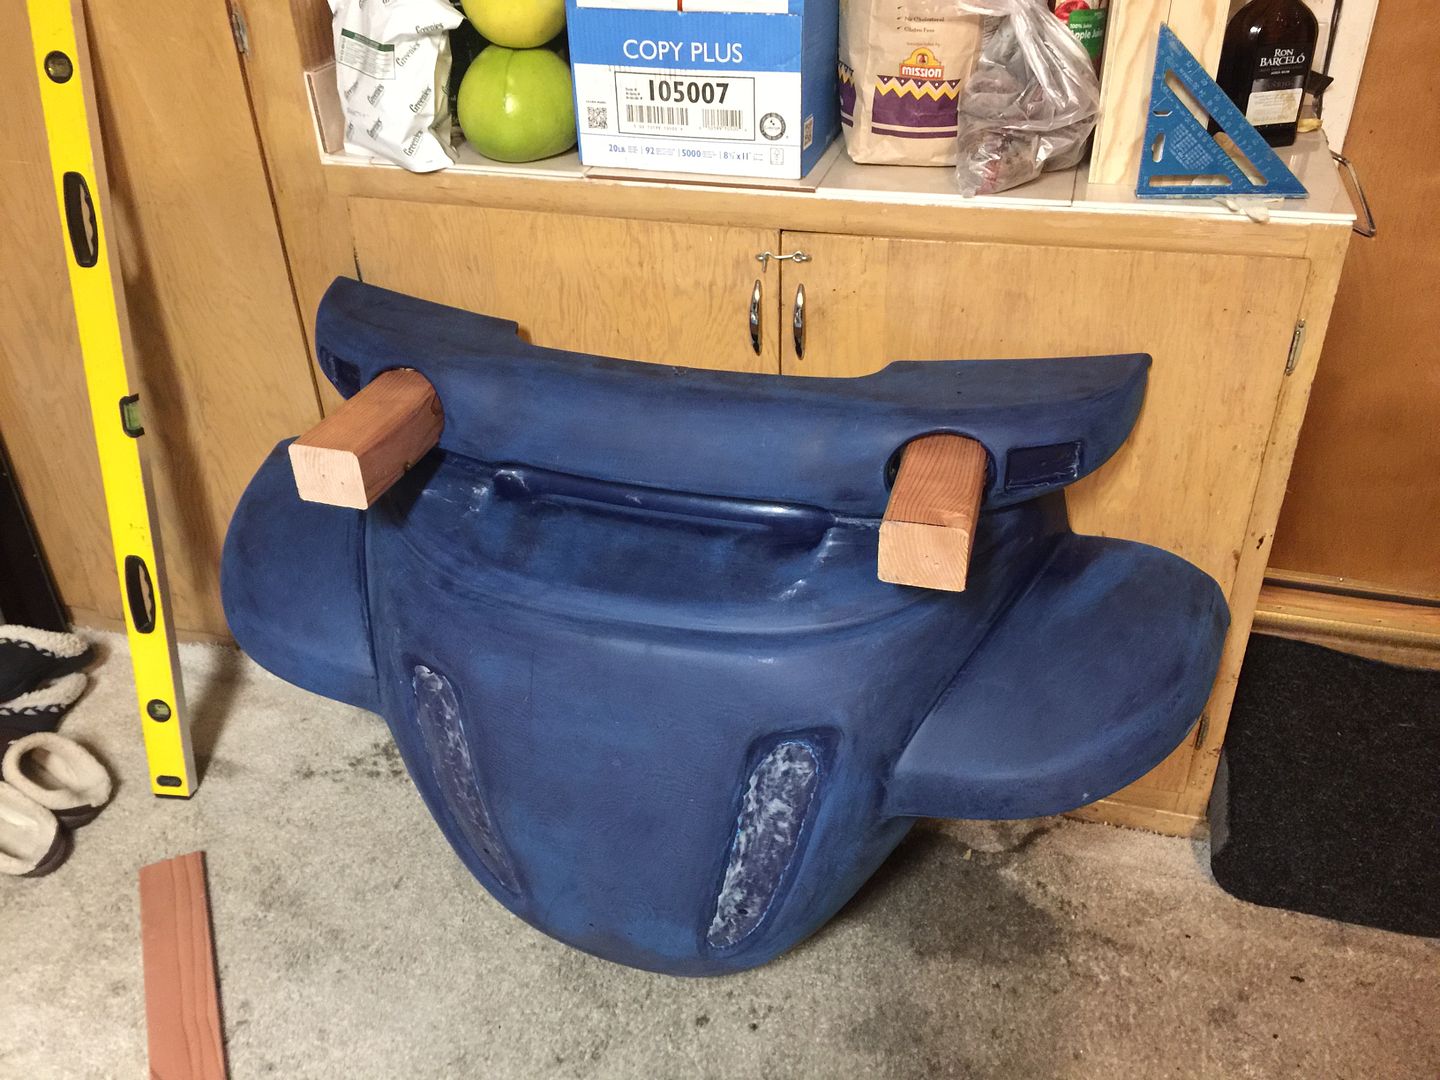
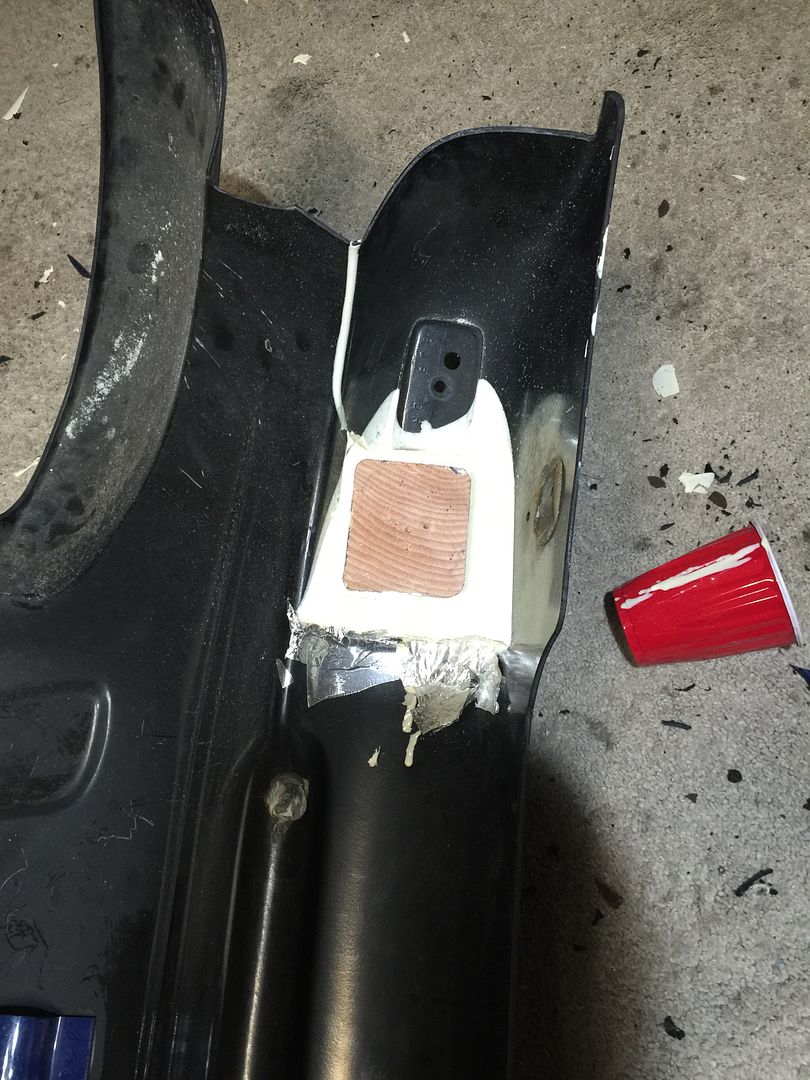
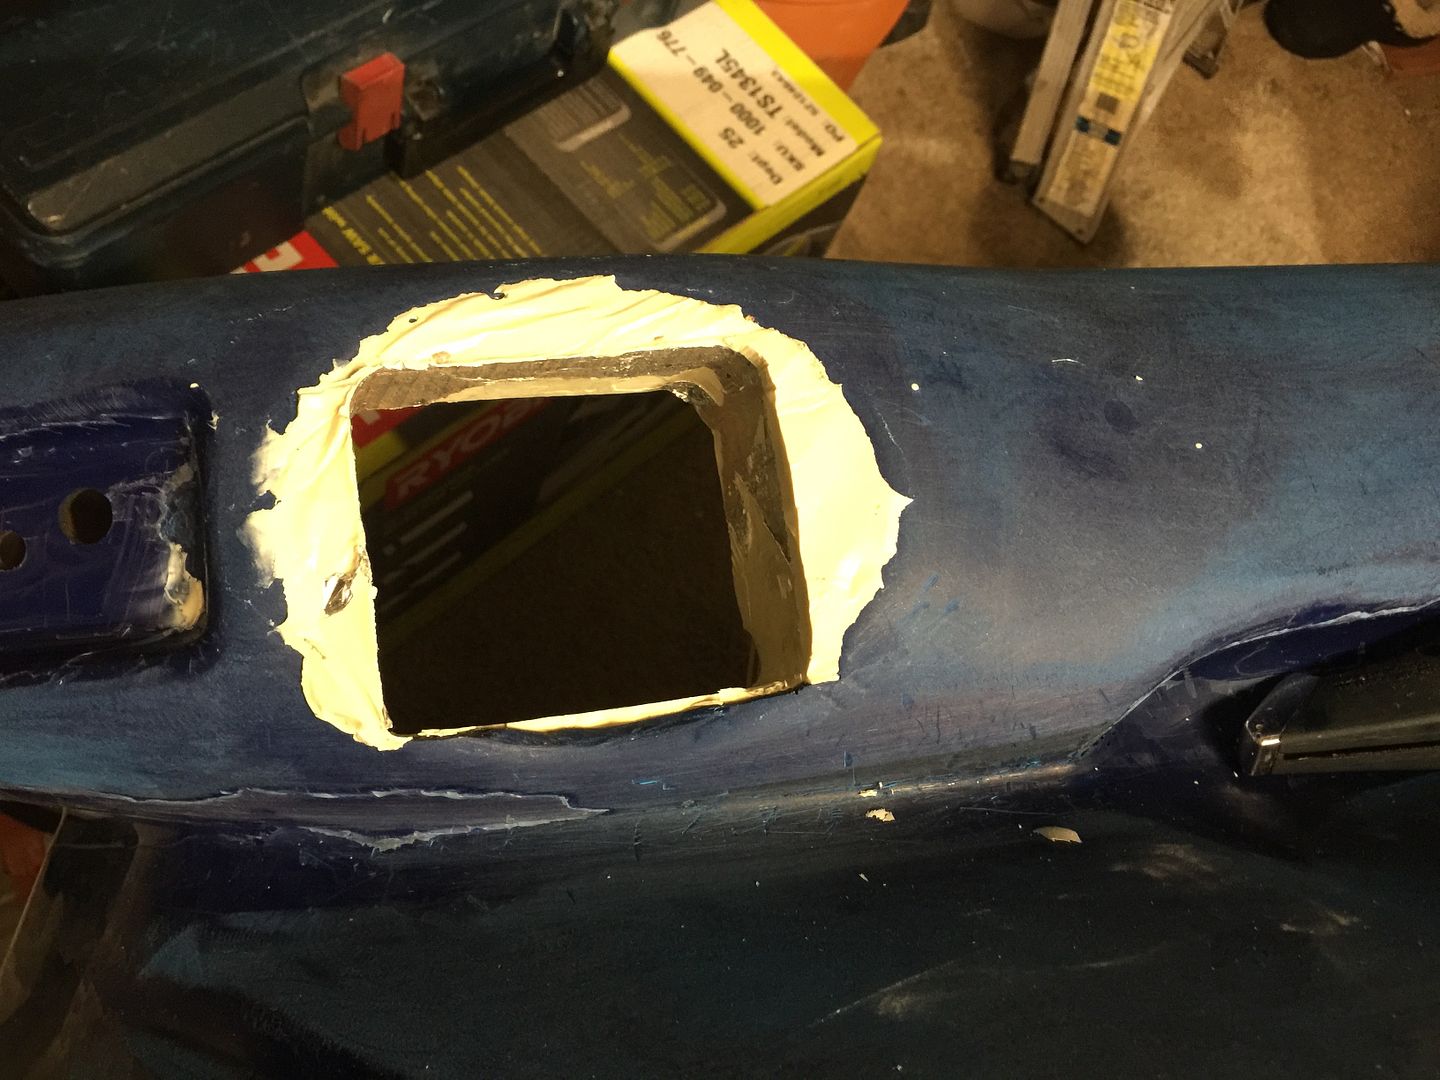
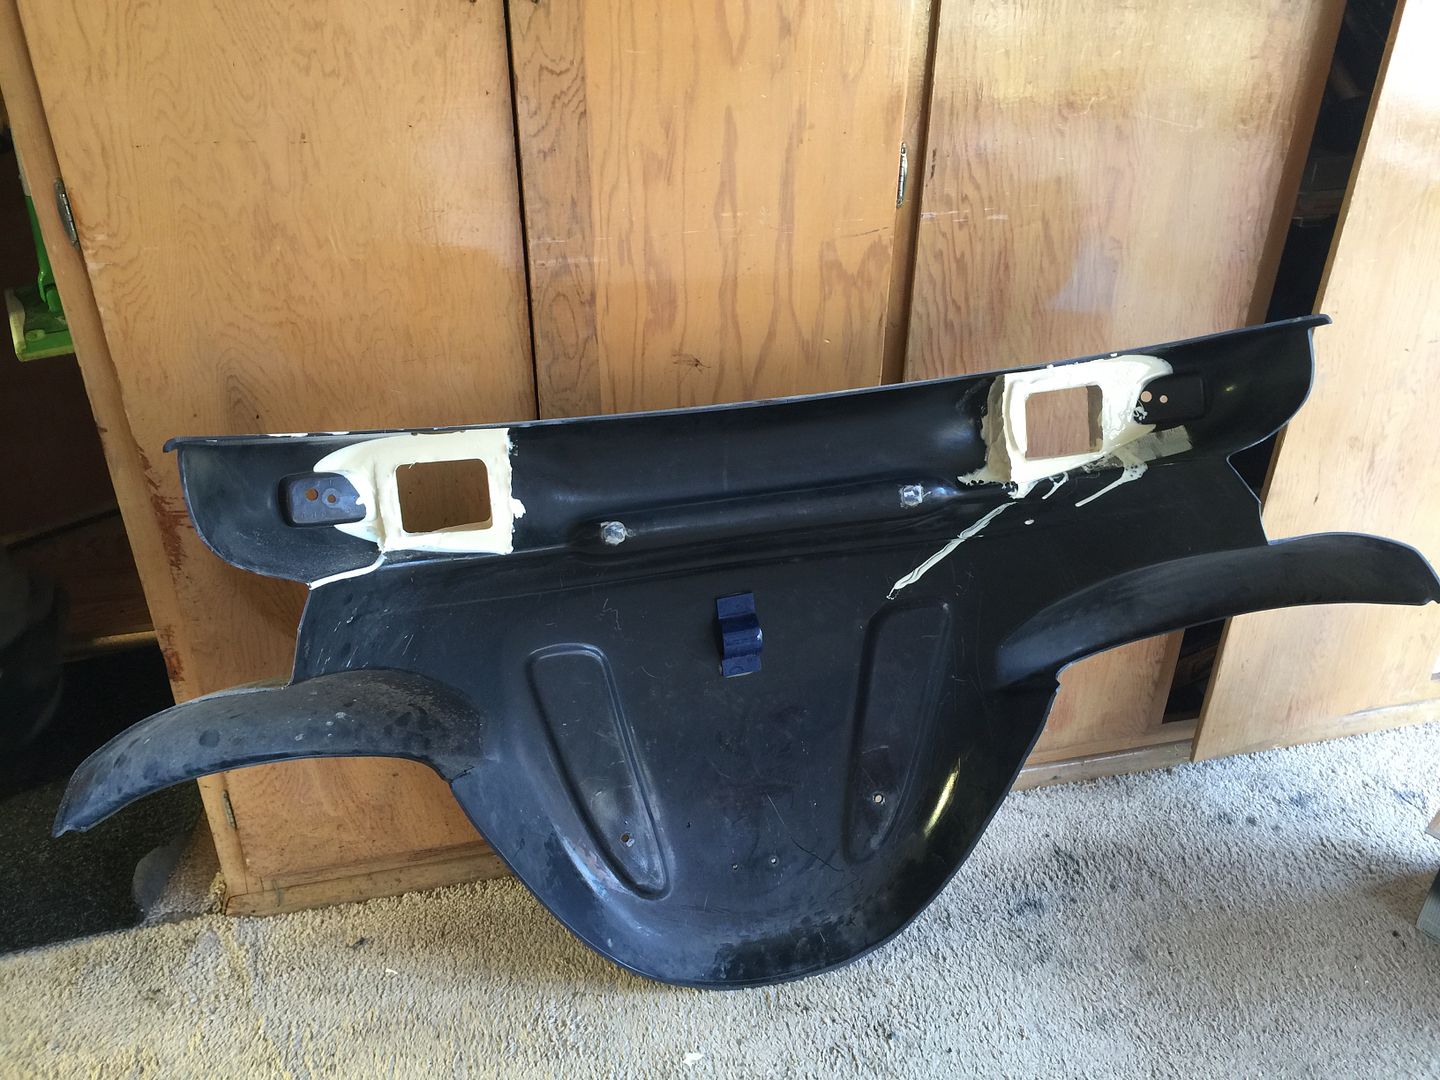
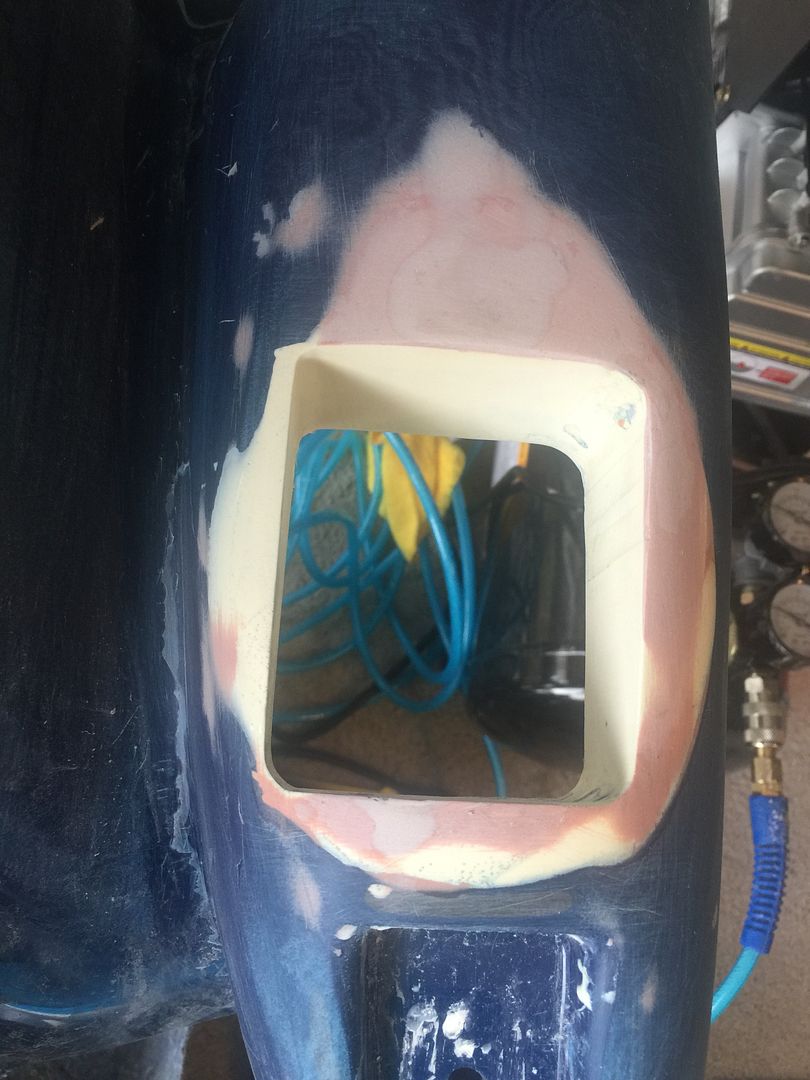
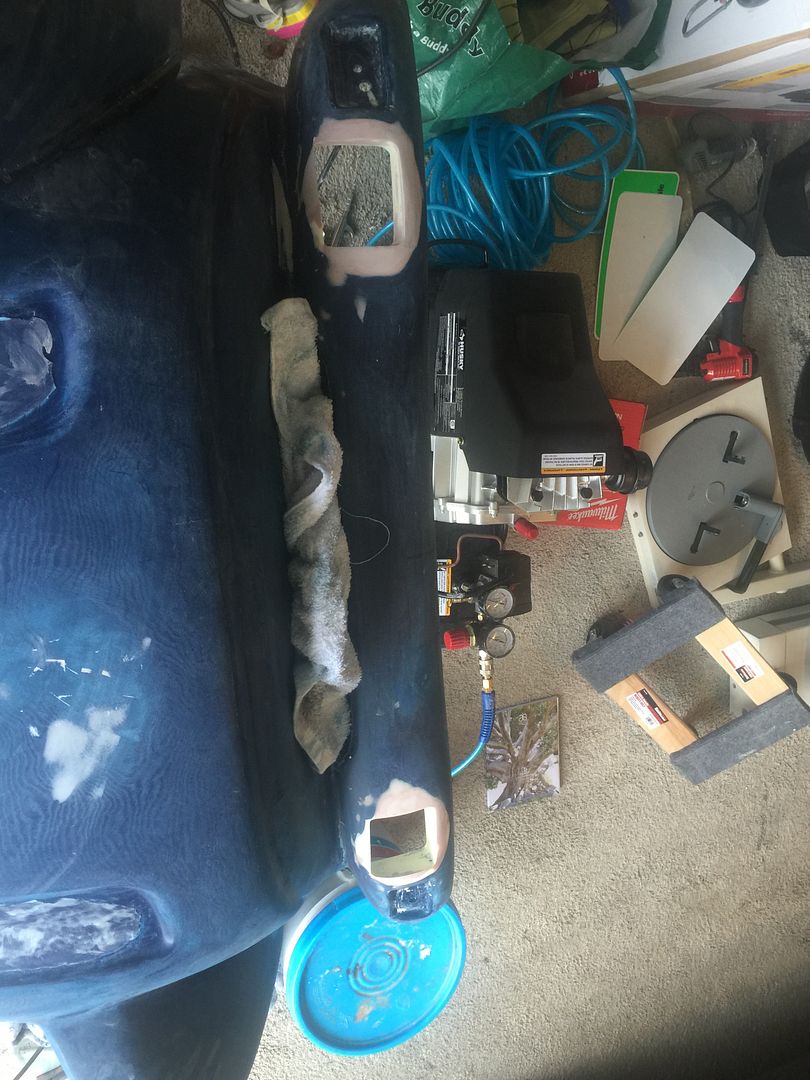
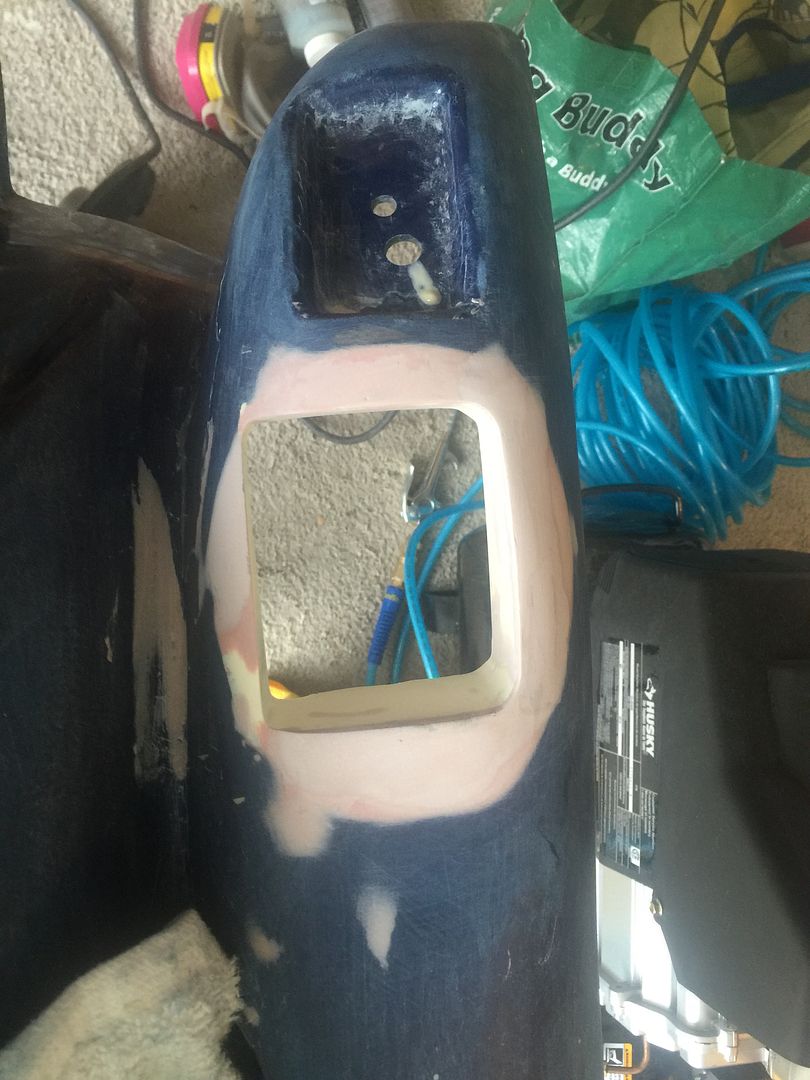
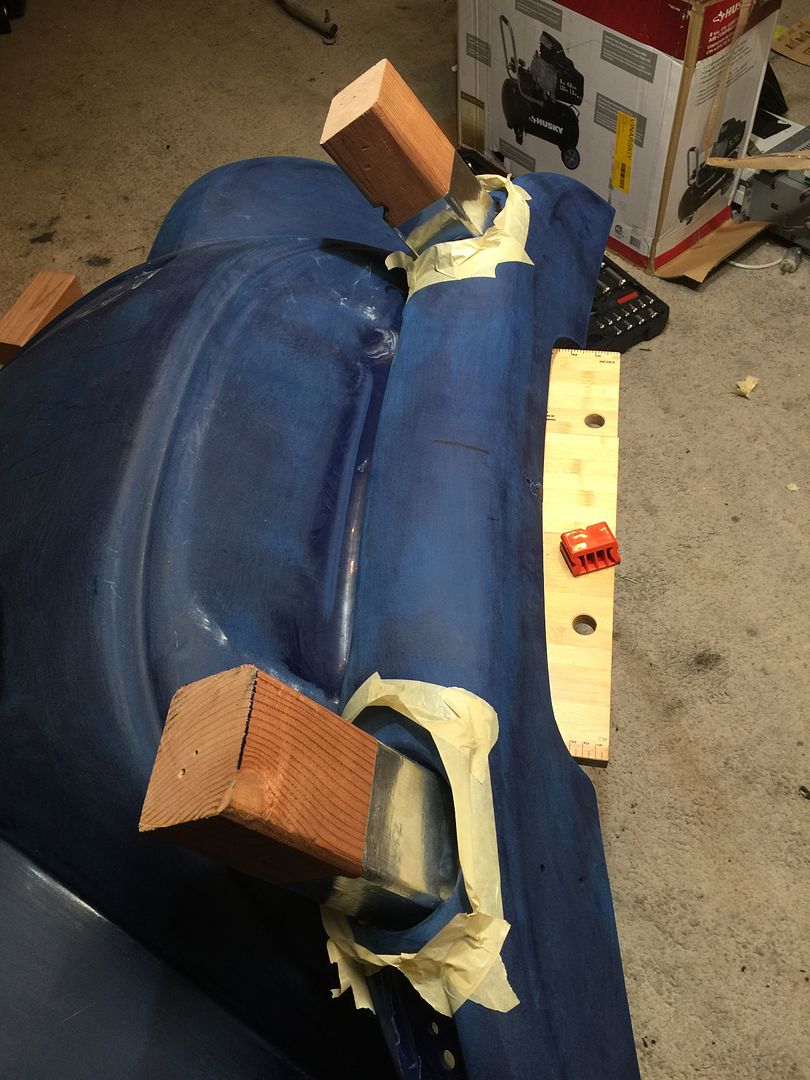
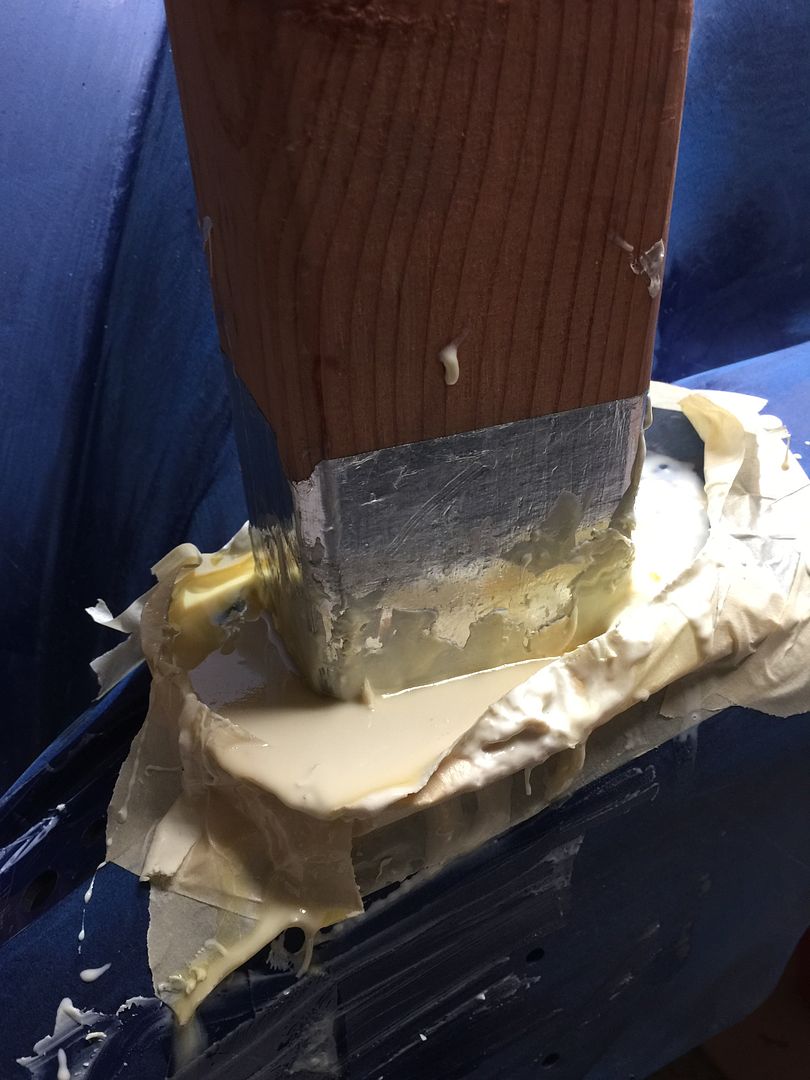
So for the people who are very interested in the converting their headlights, its an incredibly long and frustrating process of plastic build up. The 2 part polly base is easy to wok with however it flows like water and will leak out of even the smallest holes you miss to tape. Initially I used 3 prices of wood to make all the cuts in the plastic, this helped to insure I had identical levels in light holes however proved to only ruin the pour process as I left a bit of open holes for it to leak out. Half way through this frustrating process I decided to make a big pool on the back side, fill that all the way up with polly and then mold the front side of the panel. This was the easier way to get it done and should have been what I did in the first place.
after creating the pool I was able to tape that off and fill the front of the lights.
I would say this is a level 2-3 DIY and should be done with two people as holding the awkward VW looking hood is hard for one person.
One thing to note on the polly, it will heat up and start to be ticker after you mix both parts to together. This is when you need start pouring it, otherwise you will be stuck holding your piece up until it hardens all the way.
The back of the bottle says that its ready in about 15 -30 seconds and fully cured only after 36 hours. I found a few things while doing this
A. It take about 1-2 mins for it to start hardening.
B. The polly blend will be ready to sand in about 30 mins. It starts as a liquid and continues to have a rubbery texture. After that it becomes shiny and smooth. Its ready to sand.
C. This thing sand likes butter you can mold it in to any shape, I used about an 40 grit to get all the excess off, once I got to about 2-3 millimeters above the surface, I transitioned to 120grit and used that to mold the entire shape.

A small to thick amount of bondo helped to keep the shapes top notch.

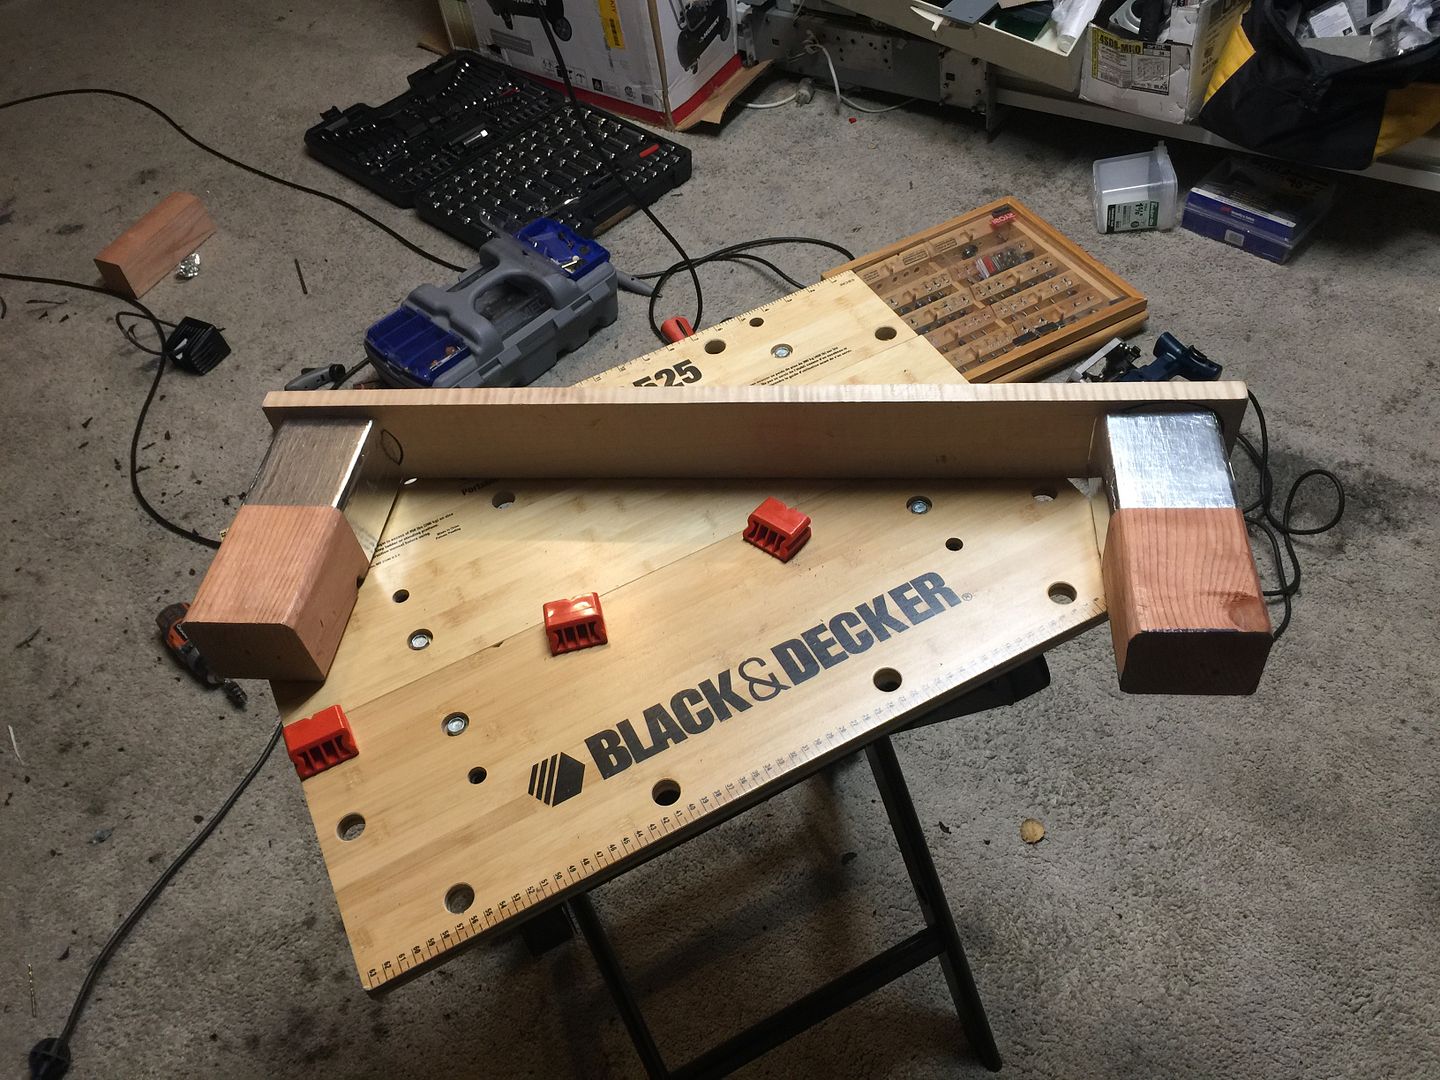
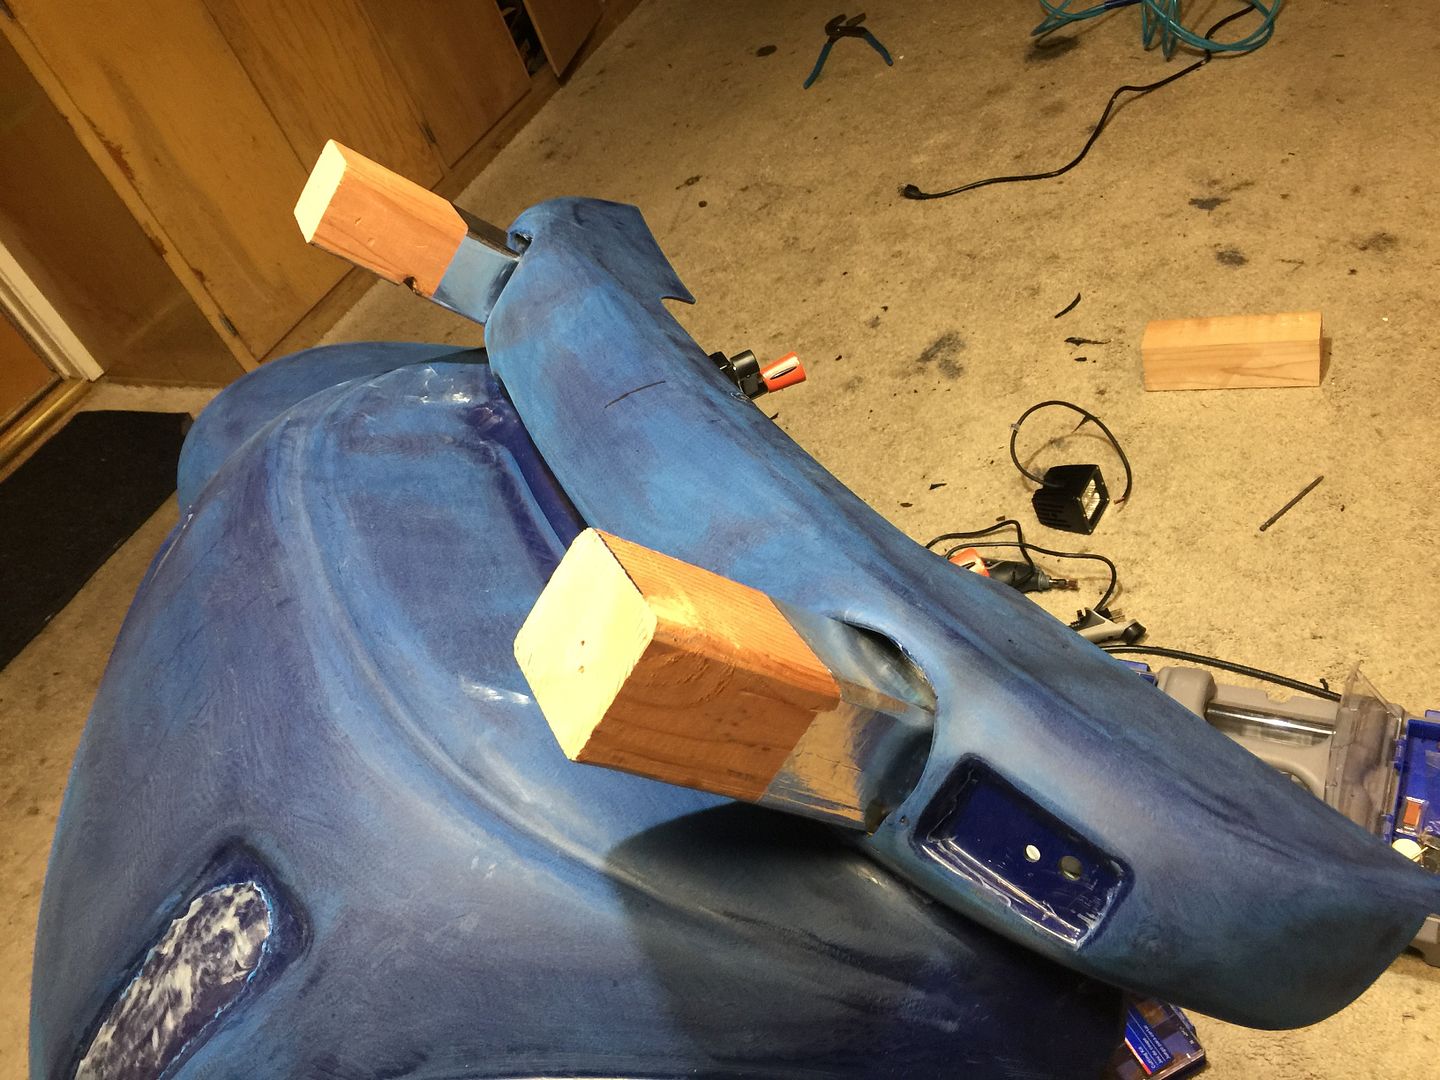
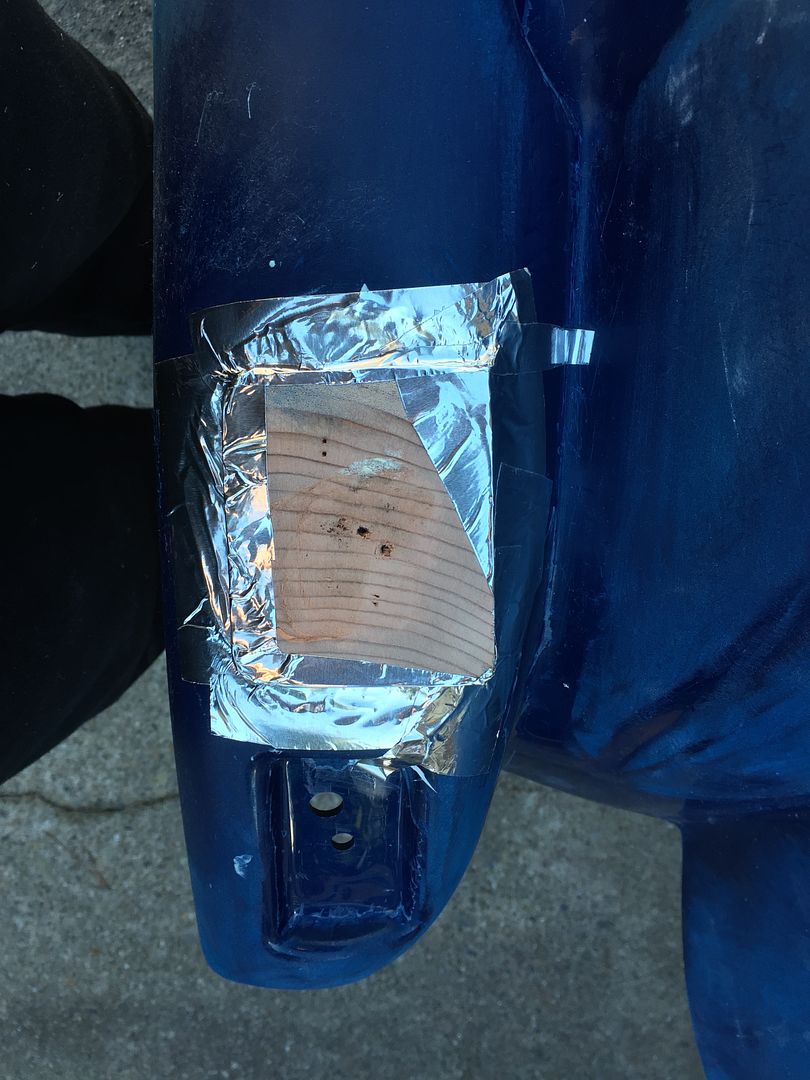
This is the apparatus I built to hold the shape and form for both sides. I used the foil tape to prevent the plastic from sticking to the wood. It worked about 70% efficiency, because it still required a hammer to knock them out.

This is what it looked like with the headlights cut and fit to size

This is the way I attempted to fill the space :confused: this is NOT the way you should do it. It leaks all over the place…
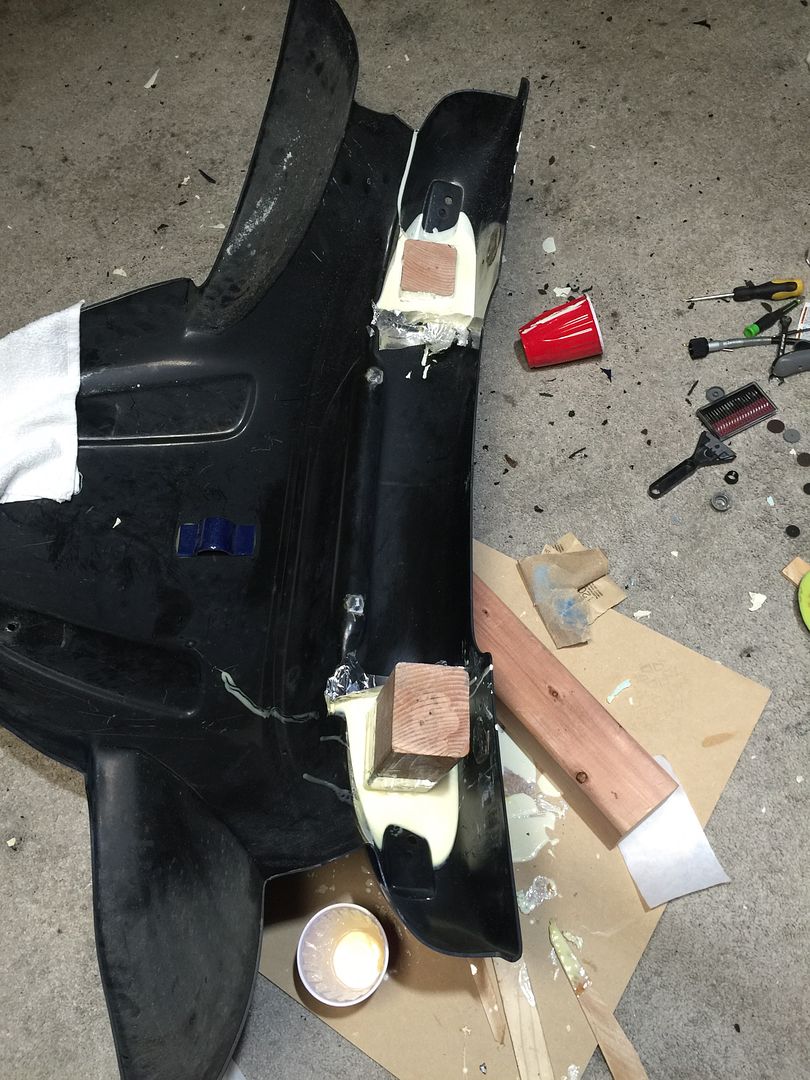
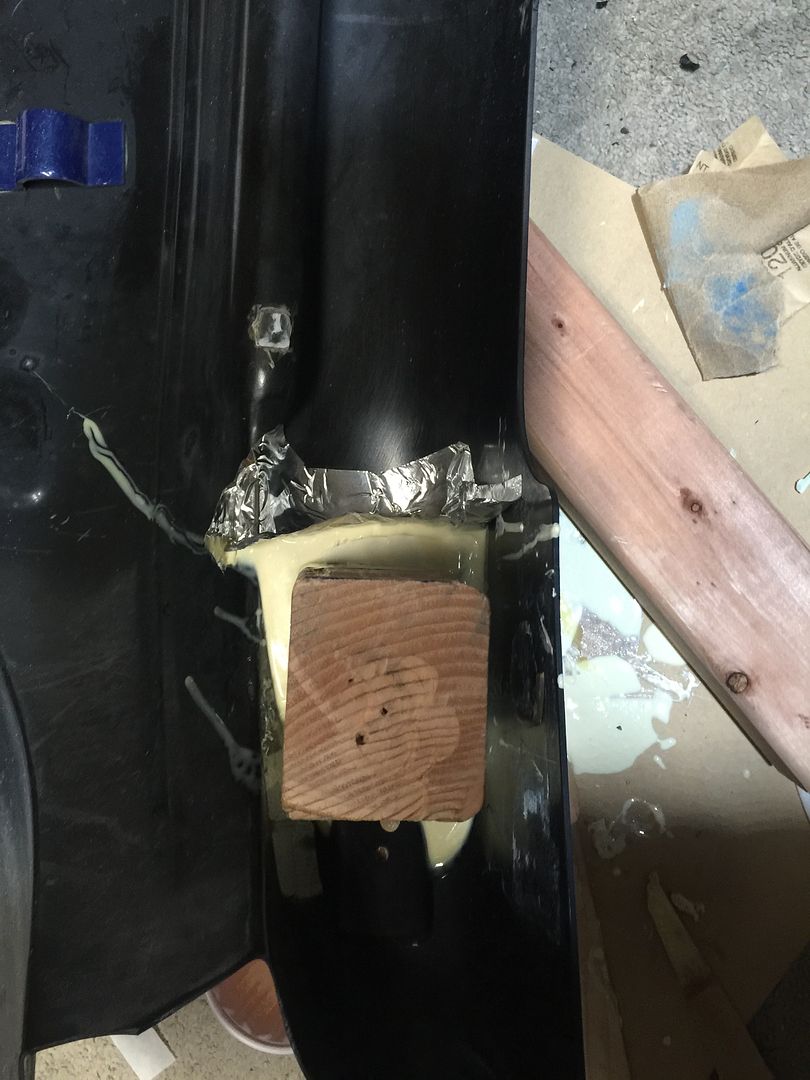
This would be the way I suggest someone else to do the form fill:

While you are knocking out the block:

After the raw form fill with the polly:

Applying the first layer of bondo:

After playing with the bondo for a while the almost 100% finished product waiting for primer:

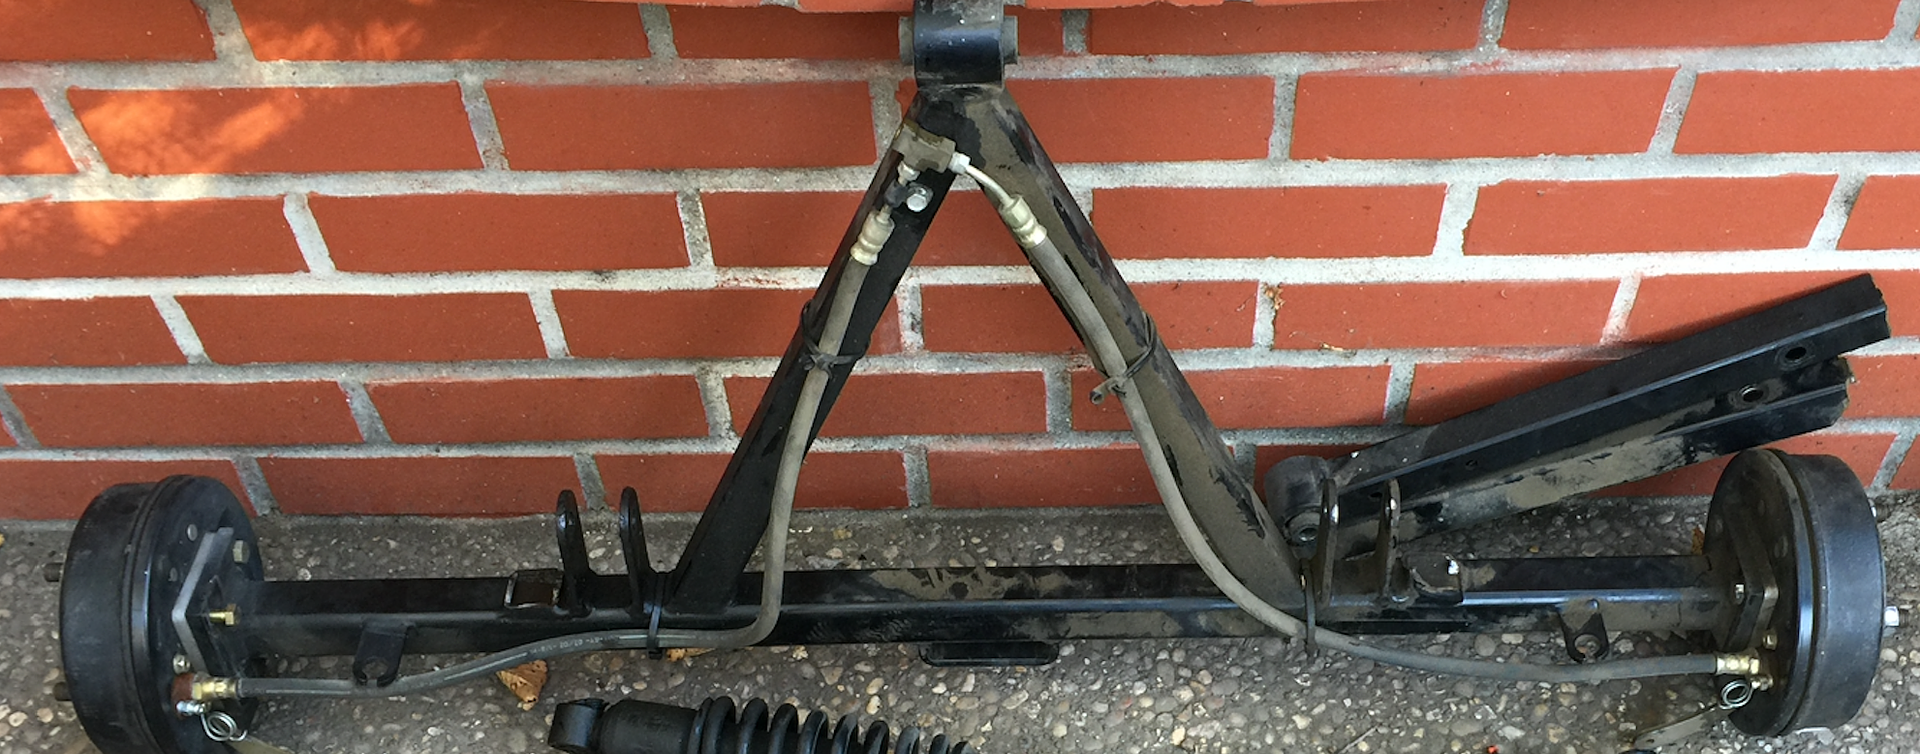
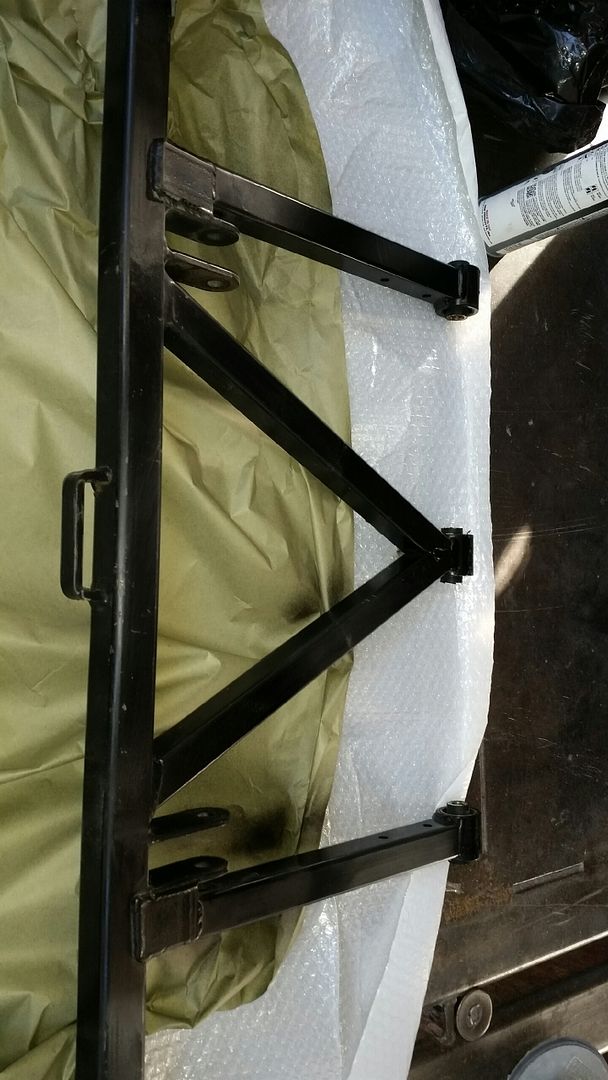
After playing with all that bondo we got back to the frame, this was the easy part. Simply put from stress fractures my frames arms just broke off… (i purchased it this way). This was an easy fix we too the frame to the shop, welded the arms and installed reinforcement steel plates. From is now going to be sanded to bare metal and painted black.

Here is the before:
Notice the arms are completely broken off…

REPAIRED:

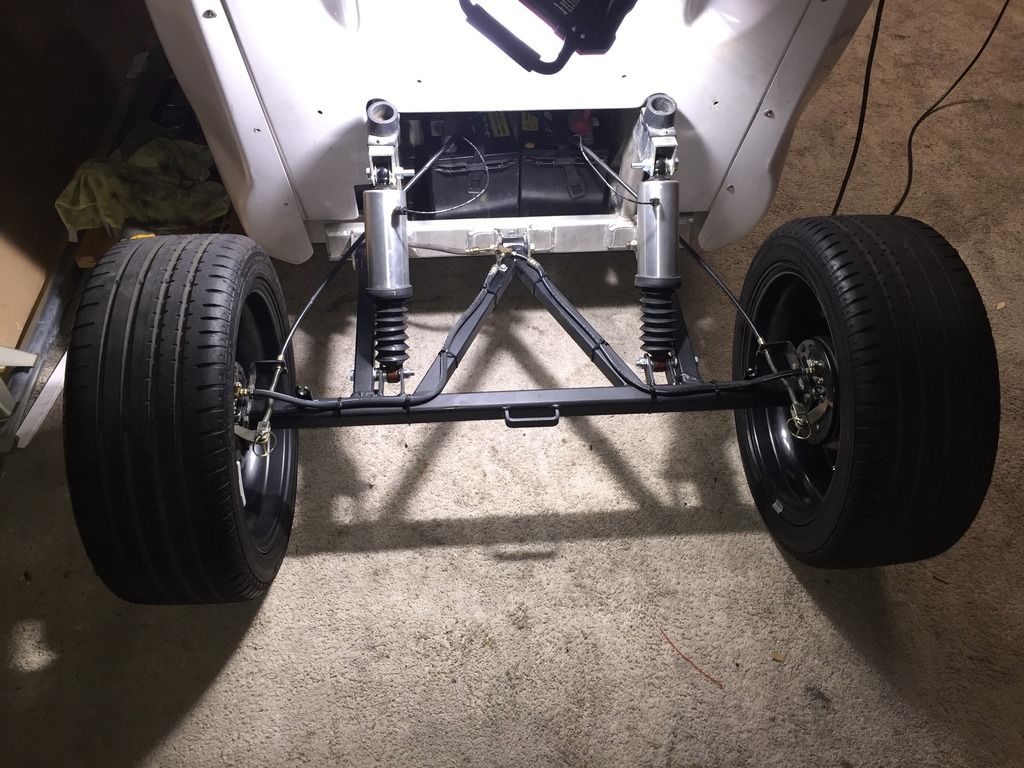
This weekend I will be fidgeting with the front suspension pieces to see what can be done about those shocks. After this is done a couple simple things : relay for turn signals, new primed hood with LED lights, dekka batts, re-crimping some wires then on a tow truck she goes. Heading home to SF for paint work and body work :slight_smile: More exciting things to come!
PS:
One of the other things I will be working this weekend is comparing the Costco interstate batteries to the Dekka Gells.

BTW! looking for a wheel sponsor, I had a wheel sponsor on my BMW a few years ago wondering if there is someone out there willing to sponsor some 15’s for a gem… :slight_smile:

Hello Everyone!

It has been a while from the last post because the holidays occupied most of my time.
Few updates so far!

The car is now in the Bay Area and in my home garage where I can spend some more time working on it.

So far I have completely rebuilt the rear frame, we welded in steal reinforcements under the shock mounts to prevent future cracking. The Slave cylinders in the rear drums where covered in rust, so I replaced those for a spare set I had in my house.
The rear frame has been painted and it is ready to be installed back into the car.

REGARDING THE LED ISSUE (RESOLVED)

I completed a full LED upgrade on my car. This included the following:

Headlights Robot Check

Front blinkers https://www.superbrightleds.com/moreinfo/marker-clearance/rectangular-led-truck-trailer-light-2in-led-marker-clearance-light-with-3-leds/583/

Tail lights Robot Check

Plate light Robot Check

I had an issue where initially they would not blink, I fixed this issue by installing an electronic relay instead of the factory one.

The next issue I had was more interesting, the LED taillights functioned perfectly while the headlights where off. Once I turned the headlights on the lights stopped functioning entirely. Well the fix for that was to switch the ground wire from black to white. I believe that reversed the polarity in the lights and now they function in both instances.

Still however, I am looking for the schematic for the brake lights, as I do not have a right brake light but all the other functions for it work. This means I have a wiring issue under the dash.

Let’s see some Pics of your progress

I would also be interested to see some new pictures.

you have done some great work on that gem . your headlights rock ! keep it up .

I have 2 EZ Steer assemblies ready to ship.

Rodney

I can highly recommend the Ez steer for your project. I have installed 2 of them 1 on my Blue car and one on the family car and they both have worked out great

Hey guys sorry for the delay! With regular work till 4:30 and gem work till 12:30 barely had tome to post some progress pics.

Check it out!

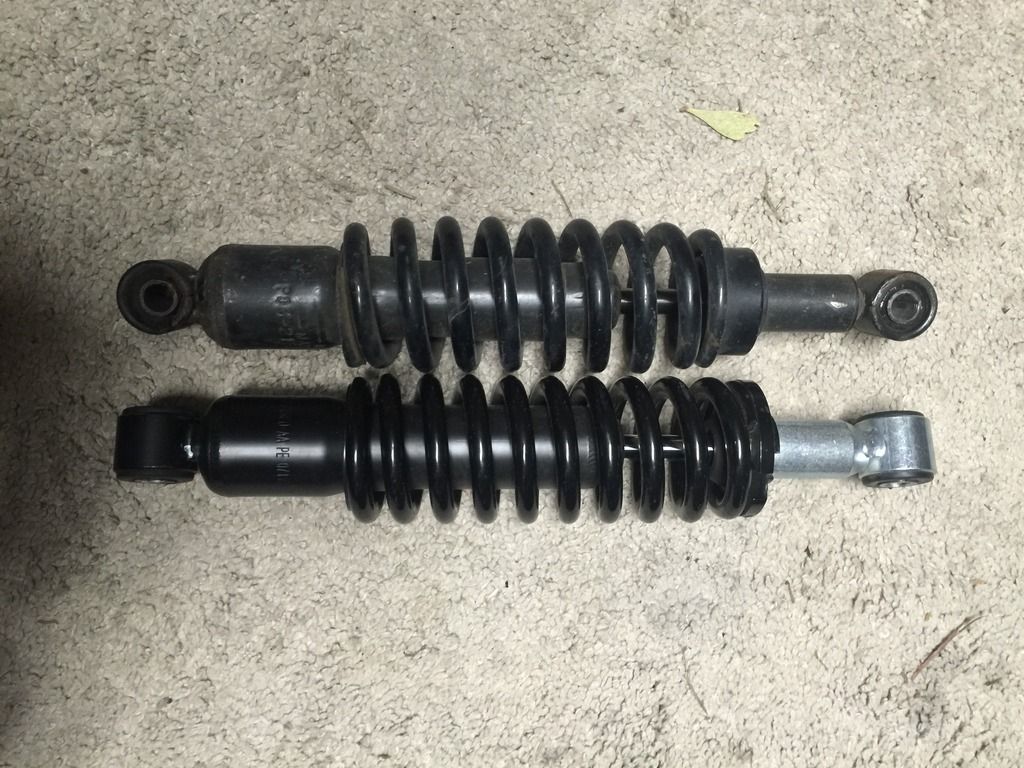
Old shocks VS the new shocks:

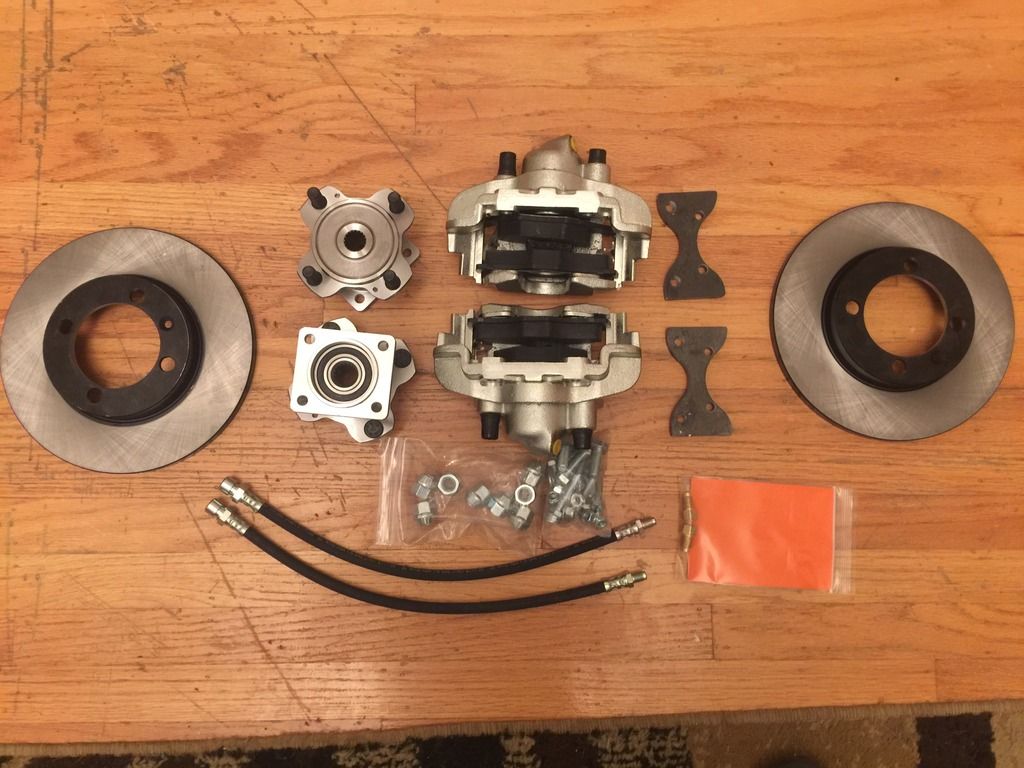
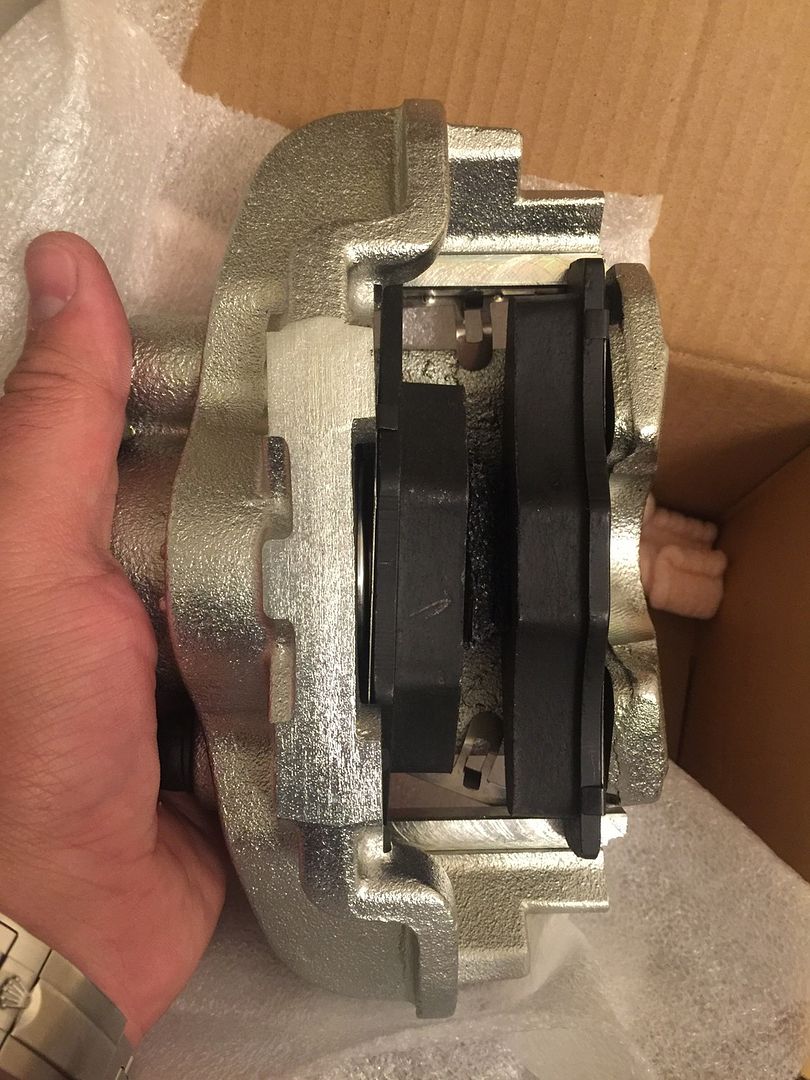
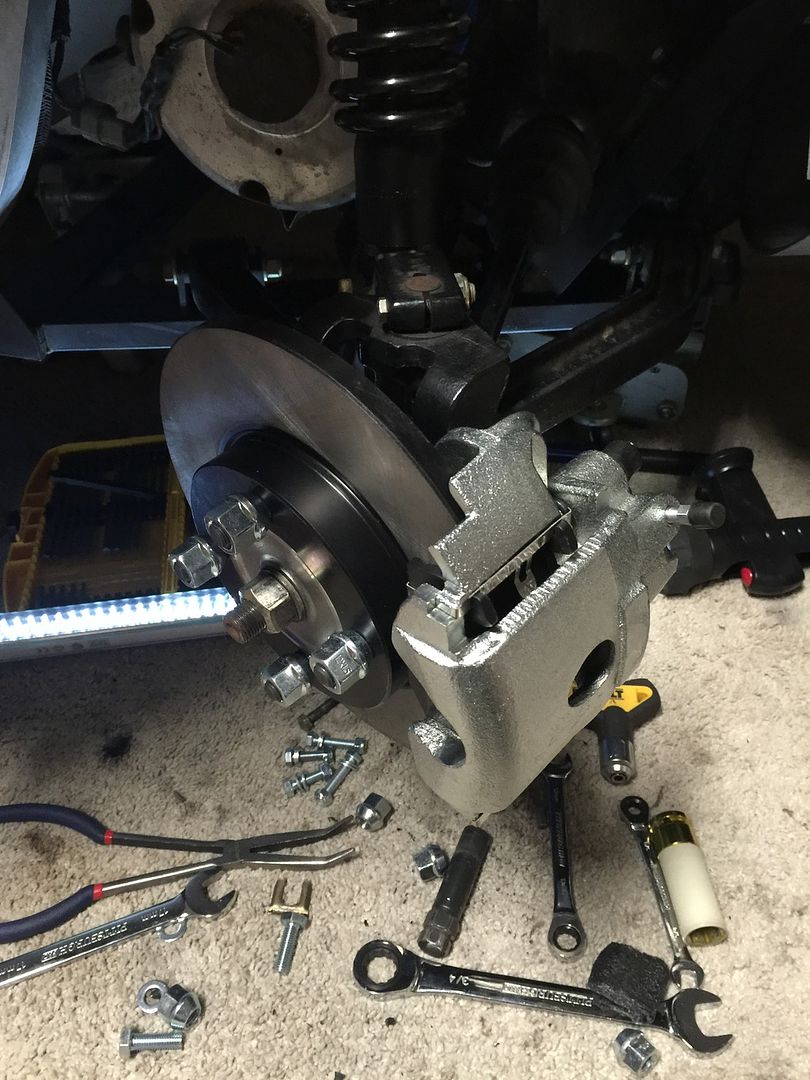
Got the kit from NEV to upgrade the front brake to disk brake conversion, surprisingly it only took about 30 mins a wheel to install:

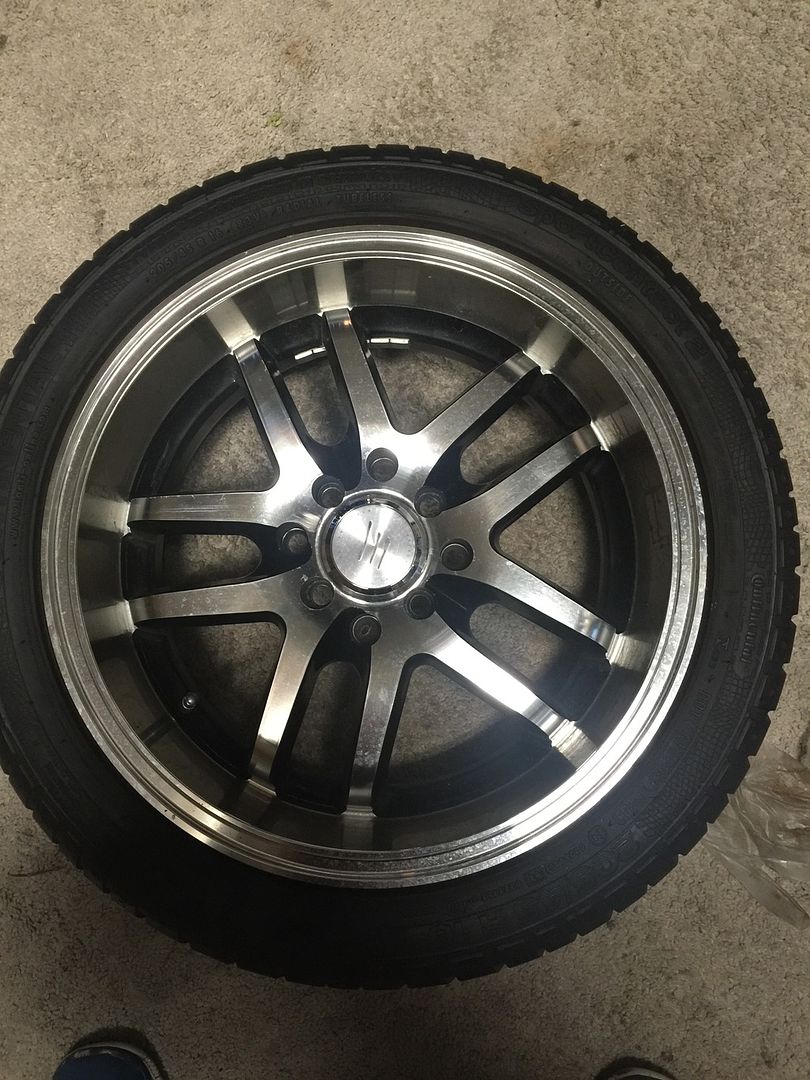
Got some new 16" wheels for the car and they look great! I am thinking about powder coating them after the paint job in order to better match the new color:

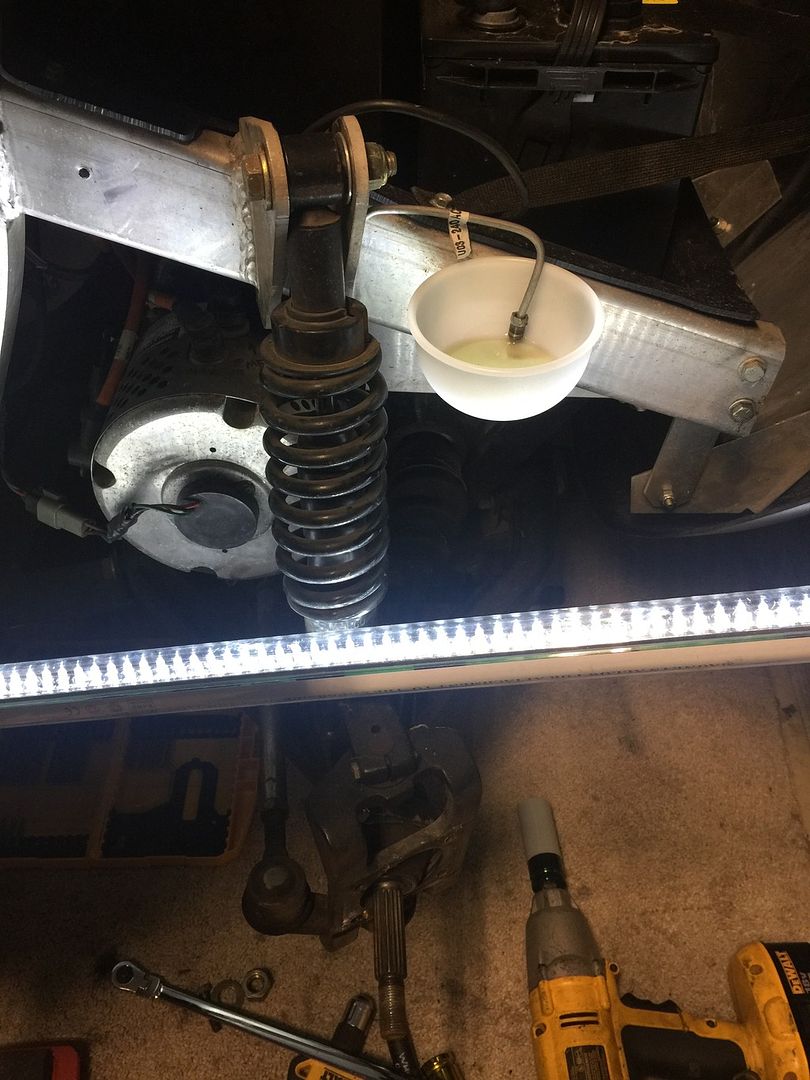
This is how I catch brake fluid:

The back brakes got completely rebuilt, new pads, cylinders and springs:

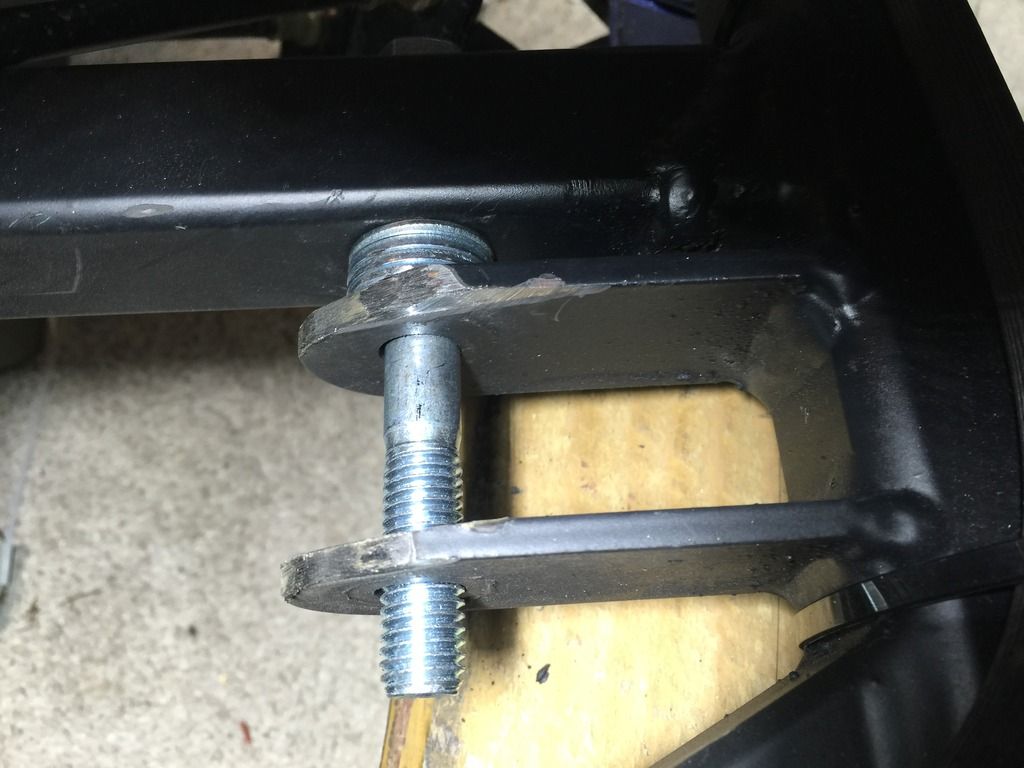
Grinned down some of the suspension bracket in the rear to properly fit the progressive 416’s. Its funny because it seems like they fit perfectly, but in reality the frame its on the bottom of the shock and slowly rubs it in. This can cause some damage, so I simply grinned down some of the bracket to make it fit better.

Rear wheels are on spacers in for the perfect fit. The fronts will be on 5mm spacers soon.

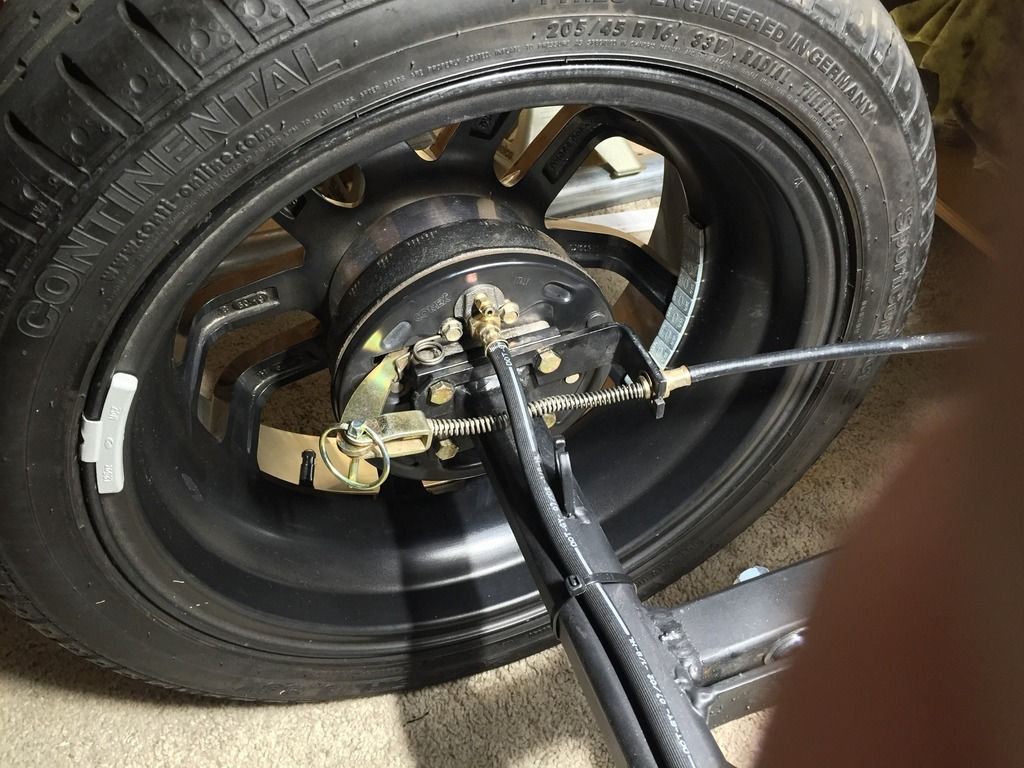
I also adjusted the E-Brake and lubricated the entire cable using a simple WD40. Works amazing now.

Thanks for all the positive energy everyone! This build is allot of fun. I am having a blast.

Tonights project is brake bleed and road test.
I have fender brackets that attach to the frame I need to install, but before that I need to clean and paint them. My old brackets stayed where the one that did not move.

I got new codes from OH Thanks again :slight_smile: and I need to reprogram the controller after the road test so I can do some comparison testing (just for fun).

I have Delta Q charger that I need to install, I am not excited for this as I took a bunch of pictures of the car I was removing it from however, I am scared to mess up the wires. Does anyone have a DIY on converting from Zivan to DQ?

Man those are some awesome looking wheels.

Yeah, the clear is peeling on them and I over paid, but otherwise everyone that has seen them said they look great! :stuck_out_tongue:

The clear is Pealing??? Didn’t you say

Got some new 16" wheels for the car and they look great! I am thinking about powder coating them after the paint job in order to better match the new color:

So what are you complaining about? Sounds like you should have paid more for the wheels because 1/2 the clear is removed for you making it easier for your to paint them. :slight_smile: :slight_smile: :slight_smile:

You sound like the kind of guy that would complain if some one gave you free money!
LOL LOL

[quote=OLD HOUSEBOATER;28685]I have 2 EZ Steer assemblies ready to ship.

Rodney[/quote]

What is the price for them?

Is there such a thing as disk brakes for the rear wheels…? (2008 e2 model)

$350 Exchange

So from looking at it, its the same exact fitment front to back on the 02. This means on the 08 you should be able to purchase a kit from NEV and install it in the rear because the brakes in the rear are all the same until 2012.

Hope that helps!

I have another update on the build!

Got everything out back together and the rear fender only needs to be pushed out a 1/4 of an inch (will use a washer) in order to get perfect clearance on the rear wheels. :slight_smile: The front wheels will be sitting on 5mm spacers in order to prevent rubbing, the lightly rub on the hood and A frame. The car drives nice other than a small rattle from the front and the trunk rattle in the rear and I should be able to pull it out into the the sun manyana for some photos.
Got the brain all programed up using OH’s codes and it seems to run fine.
Drove it around some hills and it ran great! Just when the charge was at 34% I had a bit of a hard time climbing up a hill.

I have Dekka Gels that have been sitting in my garage for a while that I need to install into the car. I am waiting for Gel compatible charger to be installed first aka the DQ I have laying around.

Need to do some alignment does anyone have any tips?

Couple things I will be working on next:

The new rear brake cylinder is leaking from the bleeding pin, so NEV sent me a replacement to be delivered within the next few days. Will be replacing that and seeing if there is something else that is also leaking.

Working on why the suspension is so stiff and offers almost 0 trail… ver strange to me. However I did notice that the new springs in the front barley had any compression when I lowered the car. Their may be a brake in period… Same issue with the 46’s in the rear. It is a little frustrating that the car is almost rock solid.

Replacing the Zivan with a DQ.

Strongly considering an EZ-Steer, does anyone have a used one for sale, to save on budget?